How to Tie an Multi Ribbon Bow for Valentines Day
So I’m in the wreath shop actually making something for MYSELF today! It’s a set of big bright pink and red bows for my front door. And I got through one of them and realized that so many of my beginner wreath making friends could use a video tutorial on how to make a big ol’ bow out of multiple sizes of ribbon. So while I made the second one, I put together this quick video for you showing you exactly how I put this kind of bow together!

I’ll give you the basic instructions here on the blog, but I definitely recommend watching the video so you can see the little details that make it super easy to do and will help move you out of that beginner stage of ribbon making.
Let’s get started!
This post may contain affiliate links for your convenience. Click here to read my full disclosure policy.
SUPPLIES FOR YOUR BOW
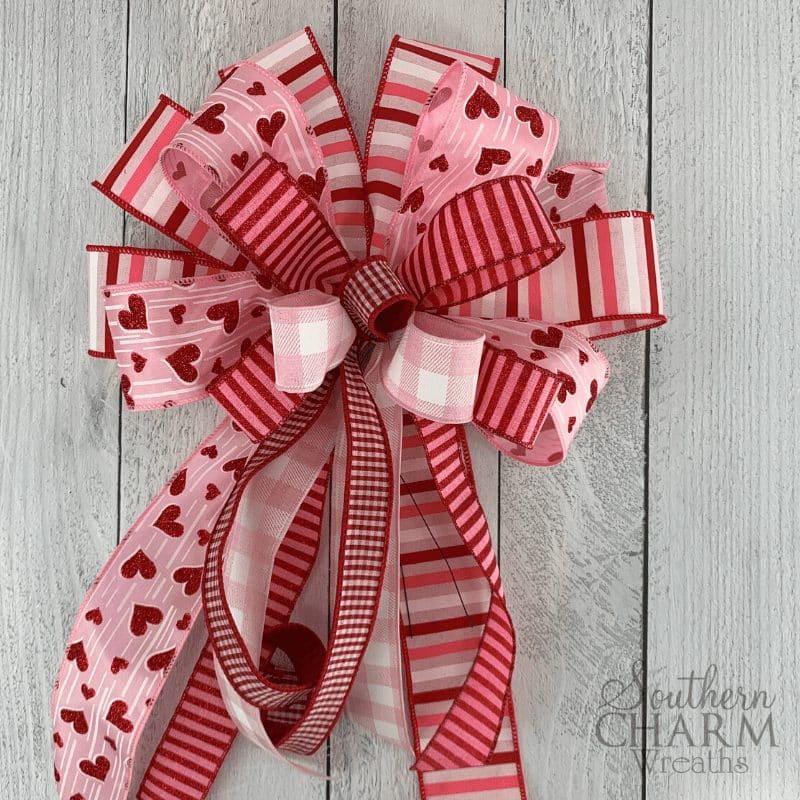
This bow is made with 5 coordinating ribbons. You can vary the sizes a little bit once you’re more comfortable, but if you’re following along with me, I used two 2.5” spools, two 1.5” spools, and one 1” spool. These particular ribbons came from 5thStreetStudio on Etsy.
You’ll also need a bit of floral wire.
STEPS FOR MAKING A VALENTINES BOW
Step 1 – Start by measuring out a 13” tail on one of your wide ribbons. From there, measure out a 14” length. Use that to make a loop, and pleat it into your fingers. Make 3 more 14” loops and pleat each into your fingers so that the loops form an X shape around your hand. Measure out another 13” tail, and cut the end.
Step 2 – Repeat step one with your next largest ribbon using 12” loops, and position the loops above the first layer.
Step 3 – Make the third layer the same, using the next largest ribbon, and with 10” loops.
Step 4 – For the fourth layer, make 8” loops. Your bow should start looking a bit more full now, so this layer will only have 2 loops.
Step 5 – For your last and smallest ribbon, you’ll just be making one 6” loop.
Step 6 – Now that all of the layers are put together in your hand, do any last-minute repositioning, and then you’ll secure everything with floral wire. Lift up your finger to place the wire in the middle of the bow. Then wrap it around tightly, and twist a few times to finish it off. (I like to turn the bow instead of the wire. I think it’s a lot easier that way.)
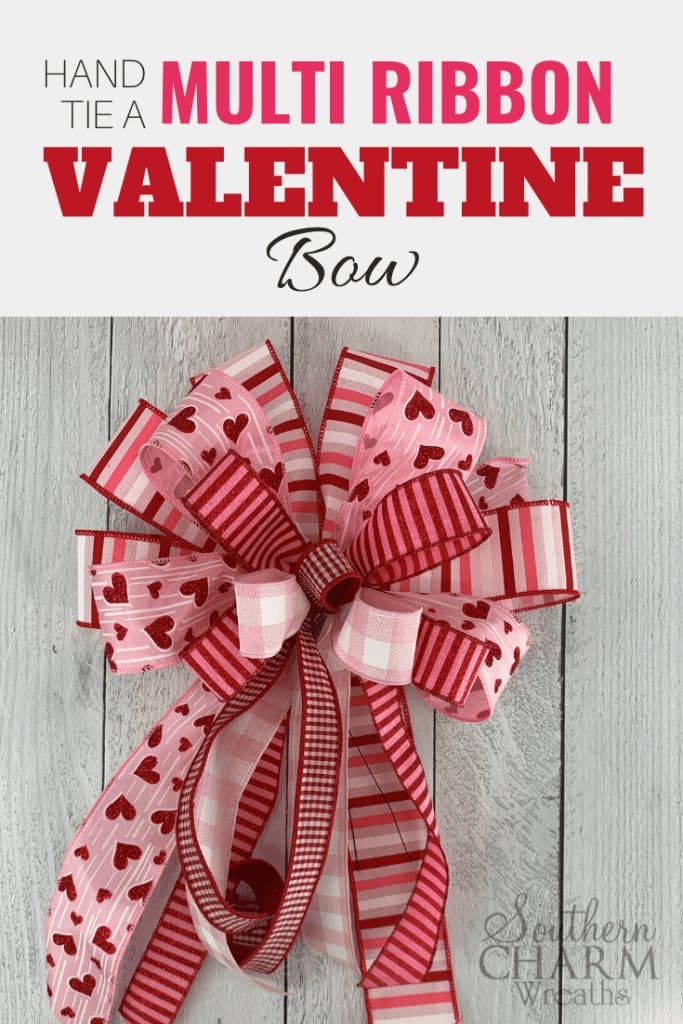
And that’s your finished bow! Watch the video for my secret tip on how to make it look a little more full-looking without adding any more loops!
(PS I also make an adorable little spring bow at the end of the video)
HOW TO MAKE A MULTI RIBBON VALENTINES BOW
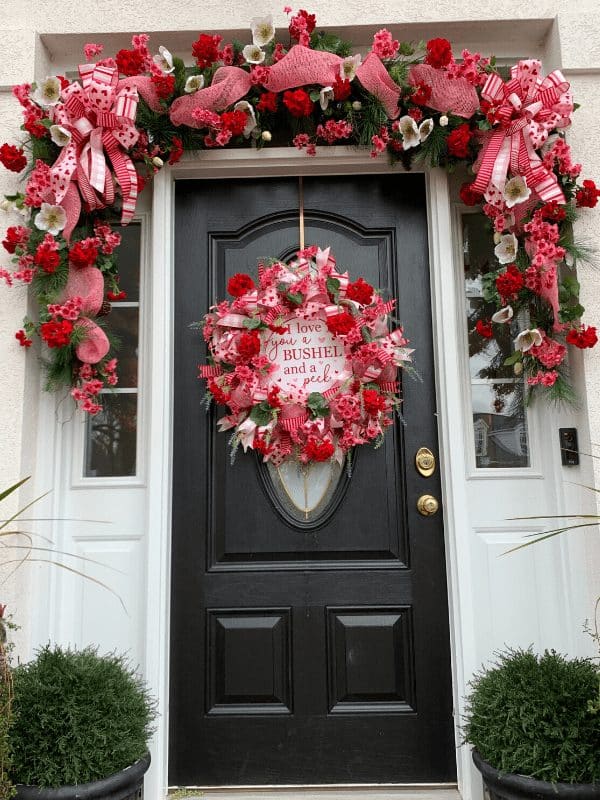
You can see how I added the bows to either side of my door garland below.

If you enjoyed this and want to learn to wreath the professional way, join me in our exclusive Wreath Making of the Month Club!
Happy Wreathing,
Julie
If you enjoyed this post, you might also like:
How to Make a Double Ribbon Bow
How to Make a Deco Mesh Valentines Wreath
Liked this Valentine’s Bow Tutorial? Pin it for later!


Great job!
Thank you Julie
I have a bow that I cant figure out how to make. May I have your email address so that I can send you an email with an attachment of picture of it. I am not a business just a grandma wanting to make something different. I do have your deco mesh program
Contact me here https://southerncharmwreaths.com/contact/
beautiful you make it look so easy
You are so talented and I love all your work.
love your wreaths !! do you show how to do the swag on your bfront door ?
The garland? Yes, in our wreath club.
Just found your site/video/instructions on pinterest…. LOVE IT!!!! You make things look easy and give basic directions which I can follow. Thanks for sharing your knowledge with us. Can’t wait to see more!!
Thank you so much! Your bows are Beautiful! Wreaths are too. You explained each step so well. I will be watching more.
Your written instructions do not match your video. I cut all my ribbon in lengths are you suggested. Your video doesn’t show that. Now I have no idea what to do with all this cut ribbon. Grrrrrrrrr!
I’m sorry, I can’t see the issue. I would watch the video all the way through before starting projects.
Hi Julie – I’m sorry if I missed this – did you use all wire ribbon? Thanks!
Yes, Julie only uses wired ribbon.