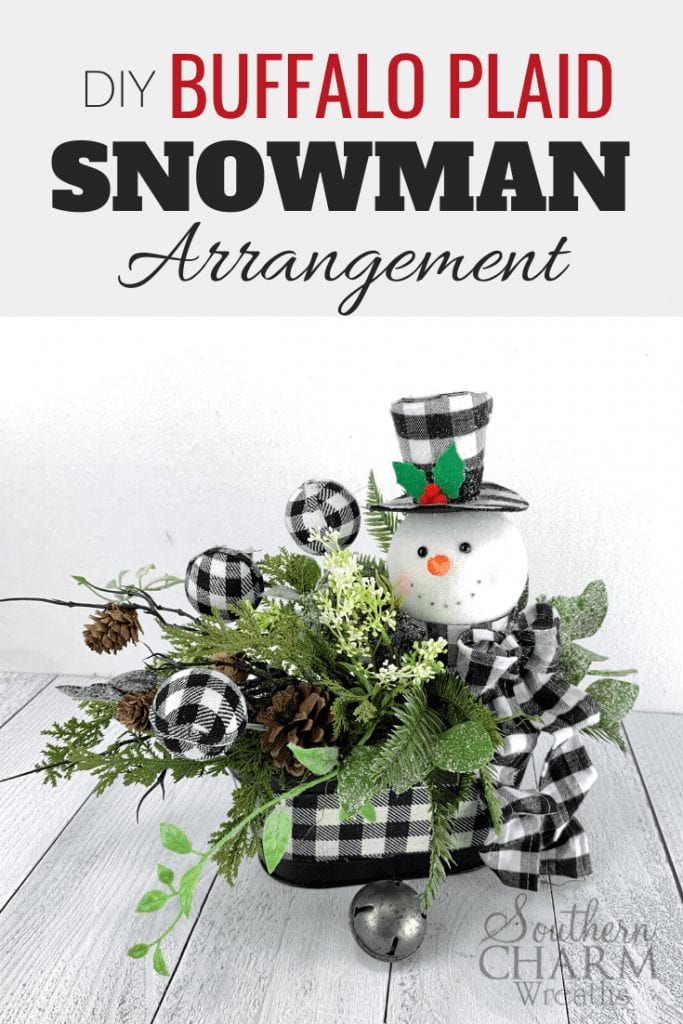
DIY Buffalo Plaid Snowman Table Arrangement
Last week we made a gorgeous buffalo plaid snowman hat wreath for your front door with some fun items from Carolina Pottery. Today I have another tutorial for you using some of the same items…
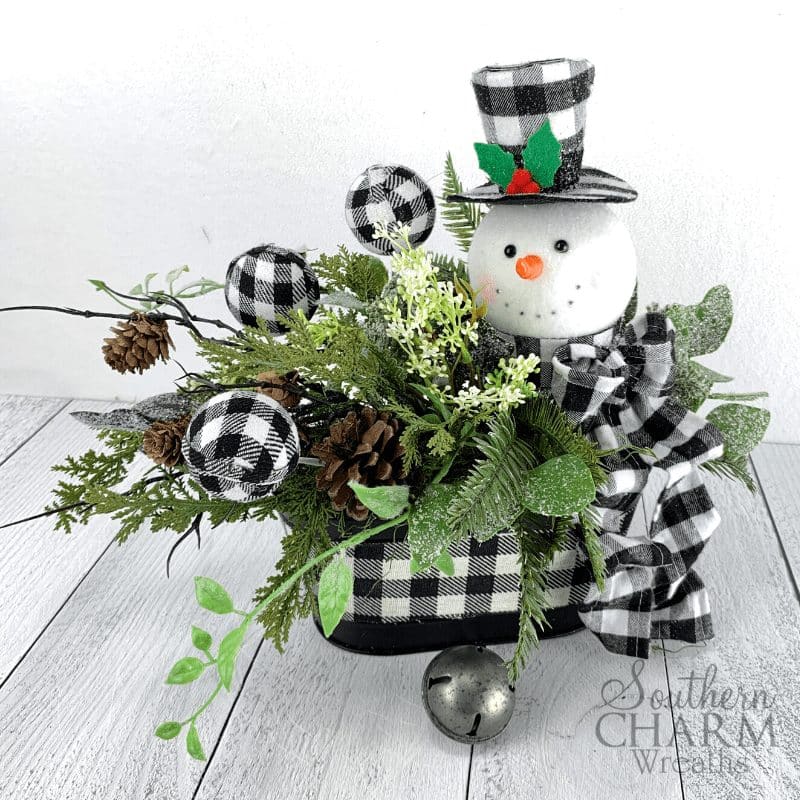
And this ADORABLE matching mini snowman!
This post may contain affiliate links for your convenience. Click here to read my full disclosure policy.
So let’s fire up the glue pan and get to work! (Don’t worry. He won’t melt!)
Supply List for Buffalo Plaid Snowman Winter Table Arrangement
- Buffalo Plaid Bucket, Snowman, and Ornaments (Carolina Pottery)
- Dry floral foam block
- Floral picks
- Glue pan
- Glue sticks
- Floral pins (optional)
- Moss
- Wooden dowel
- Green floral tape
- Pine spray and cedar greenery
- Frosted greenery
- Floral wire
- Wire cutters
If you don’t live near a Carolina Pottery location, you can shop on their website here. A lot of their items aren’t listed on the website, so you may have to give them a call. Don’t forget to tell them Julie sent you, so they can help you find what you need for this arrangement!
Steps for Making the Buffalo Plaid Snowman Table Arrangement
Step 1 – Place a piece of foam block into the container. You can glue it down if you want, or leave it unattached so that you can reuse the bucket for multiple pieces. We’ll be attaching another piece of foam to the top of this one to give the arrangement some height. You don’t want to have the base be too low in the container, or the greenery won’t lay right.
Heat up the glue in your pan (or in a hot glue gun) and spread it onto the bottom of the second block. Press the two blocks together to set the glue, and for extra support, hammer in a few floral picks while the glue is still hot.
Step 2 – The first thing you’ll be adding to the foam is a layer of moss to cover the unnatural color. I used several floral picks to secure the moss, but later in the video, I show you how to make your own floral picks out of wire.
Step 3 – Next, we’ll add the adorable Buffalo Plaid Snowman from Carolina Pottery. The snowman doesn’t have a pick of his own, so we’re going to have to give him one. Take your dowel and trim the end on an angle so it’s got a bit of a point. Poke a little hole into the fabric under his head, and glue the dowel in place. Let the glue dry and wrap your green floral tape around the dowel. Trim it to the height you want the snowman to sit, and place into the side of the arrangement.
Step 4 – Now it’s time to start adding the greenery. Sometimes I like to cut the spray up and arrange it on my own, but for this one I decided to leave the pine spray as it was and lay it across the centerpiece. (With the stem behind the snowman and the greenery facing forward on the other side). You always want to experiment a little before you make your cuts. Leaving the spray intact ended up looking darn cute, and it made the whole thing so much easier! Just use several homemade floral picks (instructions below) to secure the pine spray, spreading out branches as you go.
How to make DIY floral pins: Grab some floral wire and cut it into 4” sections. Bend the wire into a tall, thin U-shape. You want it to be thin enough to hold branches in place, and long enough to secure them tightly into the foam. (Of course, you can buy your own picks, but for how many get used in a piece like this, it’s cheaper to make your own. And it does the job just the same!
Now that the first spray is nice and snug, we’ll cut up the second one and glue the pieces into our arrangement to make it look fuller. Don’t forget to place some behind the snowman and and around the edges to hide the dowel and foam.
Step 5 – After that you’ll separate the frosted greenery and add it to the arrangement to fill in the rest of the spaces, and to give it a little sparkle. If you’re a beginner or you don’t make floral arrangements very often, you can use hot glue or wire to attach these.
However, if looking to make (and sell) arrangements on a regular basis, I would recommend investing in a Floral Pick Machine. The soft coating over a thin wire in this greenery makes it difficult to pierce the foam and secure it. With a floral pick machine, you can easily secure these kinds of stems by using this machine to attach a pick in the end with one press of the lever. If you’re interested in learning more about the pick machine, I talk more about it here.
Step 6 – The last thing we need to do is add the adorable matching buffalo plaid ornaments from Carolina Pottery. These ornaments come with nice long stems on them. When I made arrangement, I left them long and used that length to give the final design some height. That way the snowman wasn’t too tall compared to the rest of the arrangement. Just dab the end in your glue and stick it into the foam.
And that’s it!
Except for one last composition tip I want to give you: Don’t forget to leave some space in between your branches. Because in nature, those branches need air flow to survive. That is why if you overcrowd the florals and greenery in you arrangements, it will look unnatural.
Watch the video below for more tips.
How to Make a Buffalo Plaid Snowman Arrangement for Your Winter Table Decor
I hope you loved making this arrangement as much as I did. And I really hope you learned something!
If you did and you want to learn more tips and tricks for making beautiful arrangements, consider joining my Wreath Making of the Month Club! I post exclusive content every month to help you make designer wreaths and even teach you how to sell them. (If you can bear to part with them!)

Happy Wreathing,
Julie
If you enjoyed this post, you might also like:
How to Make a Buffalo Plaid Snowman Hat Wreath
DIY Lush Greenery Winter Wreath
How to make a Frosty Winter Lantern Swag
Liked this Wreath Making tutorial? Pin it for later!
The carolina pottery website never has the items you recommend getting from them. It’s so disappointing.
You can call them. I’ve seen people do that. They will ship.
you didn’t give us any item numbers
This is on my blog Donna. I only give items numbers for exclusive Wreath Club videos.
Watching replay from Bloomington ,In
He is so cute. Love the plaid look and snowmen.
I would like one already made.. How much?