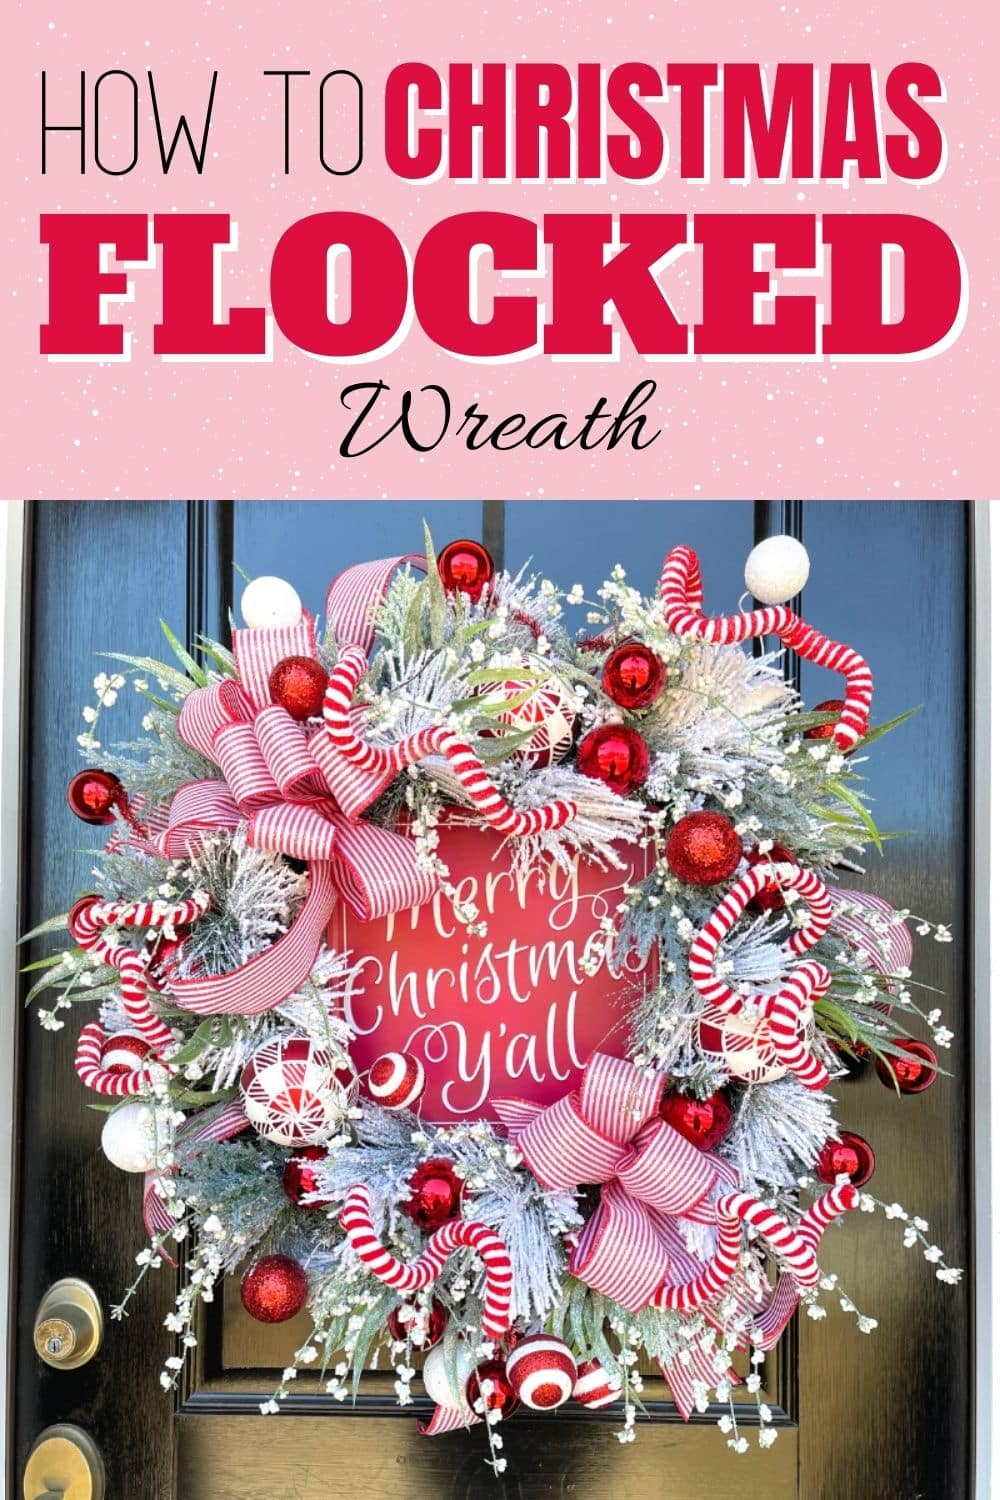
How to Make a Merry Christmas Flocked Wreath
How to make a Christmas flocked wreath for your front door that is festive with a little touch of whimsy and will hold up all season long.
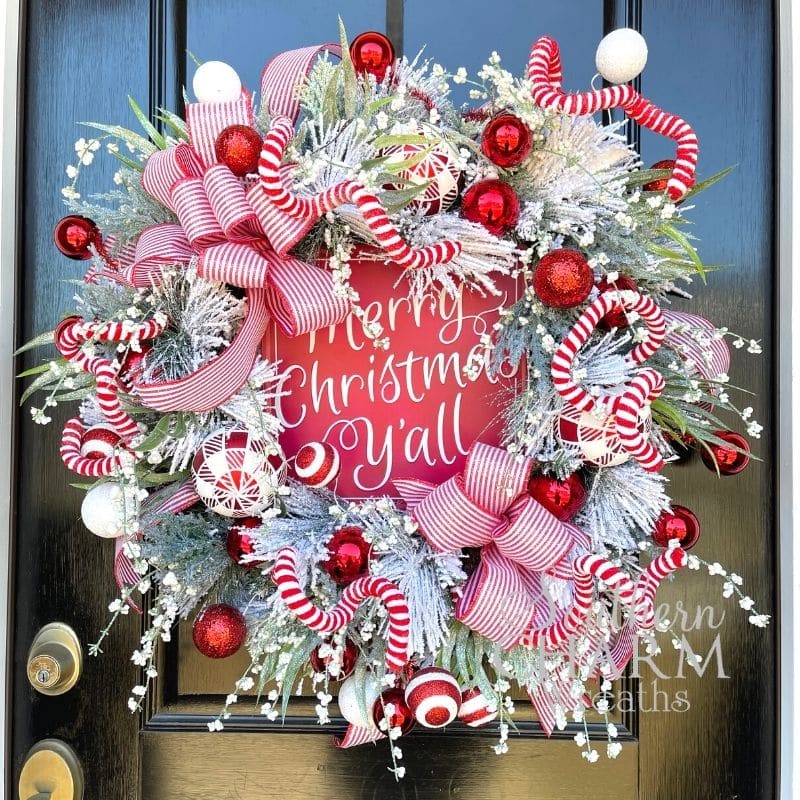
Merry Christmas Flocked Wreath
I love Christmas time and while I don’t love the mess, a good, flocked wreath is worth it! Let me show you how to make this beautiful, flocked wreath that is a showstopper on anyone’s door this Holiday season! There are so many different elements of whimsy and dimension that will draw your eye in. We have Christmas ornaments of various sizes and patterns that add festive touches throughout this piece. Red and White striped and plaid touches stay true to a traditional Christmas look.
As I’ve said in the past, layering different types of greenery on an already green wreath base, will add so much more texture and excitement. We’ll use frosted greenery and longleaf Eucalyptus to break up the flocking of the pine wreath base. Twisted candy cane striped craft picks and white popcorn flowers add more dimension and whimsy to this beautiful Christmas piece. They are the perfect finishing touches to this flocked beauty!
This post may contain affiliate links for your convenience. Click here to read my full disclosure policy.

Supplies For This Project
- 24” Flocked Wreath
- Merry Christmas Y’all Sign
- 2.5″ Red and White Striped Wired Ribbon
- Frosted Greenery Bunch
- Christmas Long Leaf Eucalyptus Stems
- Christmas Red and White Ornament Craft Pick
- 2 Large Red and White Plaid Ornaments
- 4 Red Ornament Pairs (Connected with Tinsel)
- 4 Solid Red Ornaments
- 5 Candy Cane Striped Twisted Craft Picks
- White Popcorn Flower Bunches
- Scissors
- Florist Wire
- Wire Cutters
- Hot Glue Pot and Hot Glue
How To Make A Merry Christmas Flocked Wreath: Step-By-Step Tutorial
1. Make Your Bows
Start by adding your Merry Christmas Y’all Sign in the center of your wreath before we start building around it. Always use wired ribbon for your bows. Take your 2.5” red and white striped ribbon and start with a 10” tail and pinch in your hands. Create your first 12” loop and pinch and twist towards you so the right side of the ribbon is facing up. Repeat with a second 12” loop and twist in the center of your fingers.
Add another 12” loop for a total of five loops, making sure to fluff and adjust your loops as you go. Make another 10” loop and trim the 10” tail with scissors. Add another streamer behind your bow. Turn your hand over like you are checking your watch and run a piece of florist wire under your finger and rotate it around. Twist closed on the back of your bow. Dovetail the ends of your ribbon.
Repeat the same process above for a second red and white striped bow for your flocked Christmas wreath.
2. Add the Bows to Your Wreath
Use the florist wire to insert the first bow on the top left of your Christmas sign, twisting into the base on the backside. Add a second red and white striped bow opposite the first on the lower right side. Fluff or adjust any loops after you’ve inserted each bow.
3. More Greenery and Texture
Next, take your large greenery bunch and divide your stems and fluff your branches. Use wire cutters to trim the stems and push up the branches to make them shorter. Grab your Christmas Fern stems and separate them into smaller pieces.
Start with the frosted greenery stems and dip the ends into the hot glue. Add a piece to the right of the top left bow and another opposite of that. Continue adding these stems throughout the wreath base in various spots.
Add the longleaf eucalyptus stems in by using hot glue on the ends. I think I will add a piece on the top left and top right. Add two more on the bottom left and bottom right. Insert another piece on the bottom of the wreath and slightly to the left. Continue adding into any various spots you’d like.
4. Insert the Christmas Ornaments
Run a florist wire through the hanger and attach the red and white plaid ornament on the bottom left of your sign. Secure on the back by twisting the wire tight. Attach a second plaid ornament to the right of the top bow. Add another plaid ornament on the right side.
Trim apart the individual ornaments from the craft pick and cluster two together. Insert a pair using hot glue on the left side and top right of your wreath. Adding a single ornament from the pick coming up from the bottom, and another pair at the bottom coming into the bow. Next, insert another pair behind the top bow and another on the right side. Add another on the bottom left and bottom right of your wreath. Use hot glue if necessary to secure them in there.
Now let’s add some red ornaments, that are connected with tinsel. Twist your first set behind your top bow. Twist in the second pair to the left of your bottom bow. Add another pair into the top, and one more on the lower right side.
Remove the hanger on your solid red Christmas ornaments and dip the top in hot glue. Attach to the bottom, holding it in until it adheres. Repeat the same process and add hot glue onto the left side, top right, and one more behind the bottom bow.
5. Add More Ribbon and Whimsy
Cut some red and white striped ribbon streamers and dovetail the ends. Twist them into the needles throughout your wreath base in various spots that need an extra touch of ribbon. Add four or five streamers.
Trim the ends shorter and wire the candy cane striped twisted craft picks into the back of the frame. Add one to the right and left of the top bow. Bend and adjust the ends to go wherever you’d like. Add another one on the bottom left of the sign and one on the top right of the wreath. Let’s put one more on the right side and adjust the curls to lay just right.
6. Create Dimension with Flowers
Separate the flowers into smaller clusters and shorter stems with your wire cutters. Dip the ends in hot glue and start adding to the bottom. Continue adding throughout the wreath into various spots that need some more texture. Place them evenly for more dimension throughout your piece. Enjoy your beautiful Flocked Christmas Wreath!
Watch The Video: How To Make a Merry Christmas Flocked Wreath
If you enjoyed this post, you might also like:
- How to Repurpose an Old Christmas Wreath
- 30 Minute Christmas Wreath Tutorial
- How to make a Slim Storm Door Christmas Wreath
Like this post? Pin it for later!
Love the sign! Love the wreath!
Pretty, I would make this wreath.
I love it! It’s beautiful. As always you succeed in making the most beautiful wreaths and arrangements. Would love to see you make another one. Have a great day.
Love the flocked wreath!
Love this wreath!! Thank you!!
what is the item number for the white popcorn you added at the end
Hey Donna – We only provide item numbers for our Wreath of the Month Club projects.