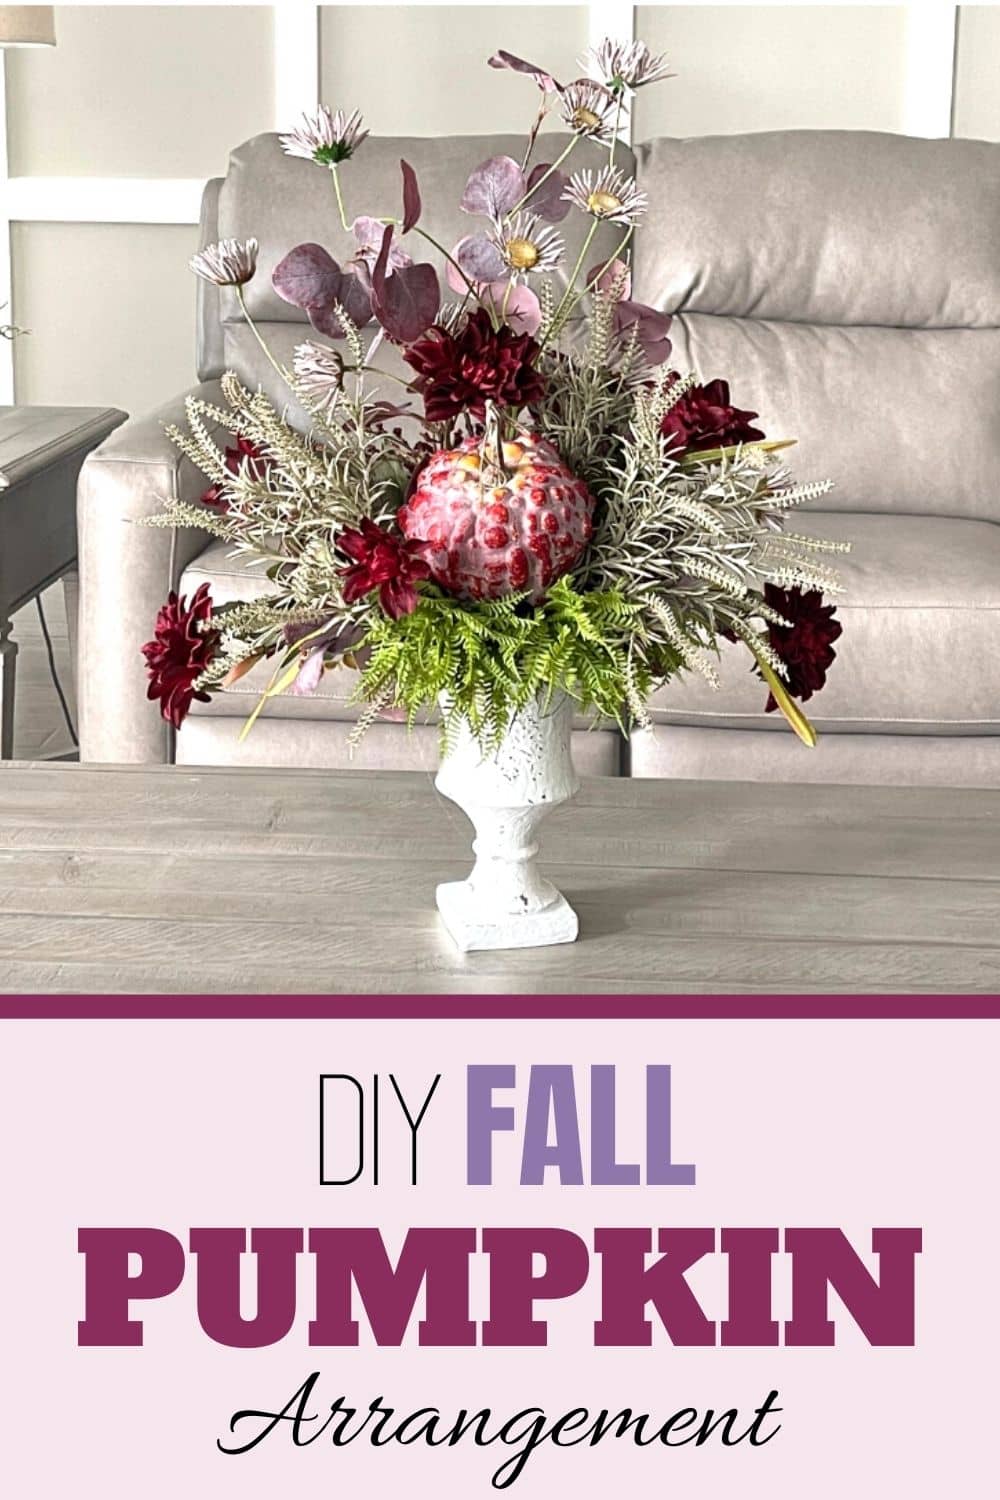
DIY Fall Arrangement With Pumpkins
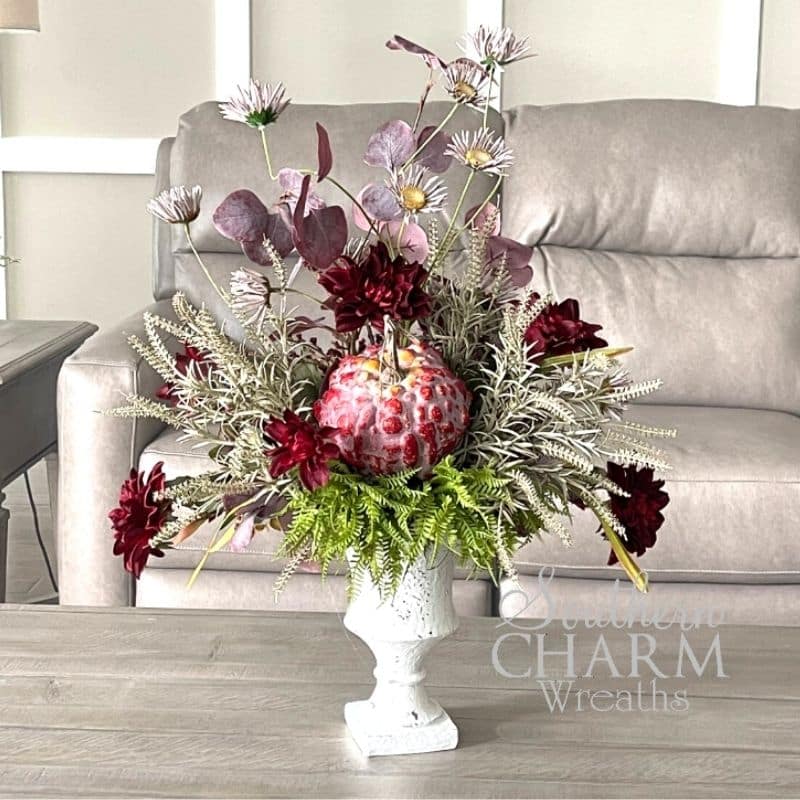
This DIY fall arrangement with pumpkins is a beautiful, unexpected way to decorate for autumn. It looks beautiful all season long.
How To Make A DIY Fall Arrangement With Pumpkins
Floral arrangements are so much fun to make! It’s a completely different experience from making wreaths, but it still follows the same design principles.
I’ll show you how to create a florist-worthy floral arrangement that you can use in your home or sell in your shop. This arrangement is bursting with stunning fall colors.
The best part about this fall pumpkin flower arrangement is that it is incredibly versatile. There are so many ways you can change it around with just a few tweaks. If you are one of those people that doesn’t love the standard fall orange and yellow palette, this is the perfect project for you!
Plus, I’ll explain some different choices you can make that will help your arrangement stand out.
Are you ready to get crafting? Let’s go!
This post may contain affiliate links for your convenience. Click here to read my full disclosure policy.

Supplies for this project:
- Faux Cement Vase
- Foam Blocks
- Silk Flowers
- Pumpkin Picks
- Greenery
- Wire Cutters
- Glue Sticks
- Faux Moss
- Ribbon
How To Make A Fall Arrangement With Pumpkins: Step-By-Step Tutorial
1. Choose Your Color Inspiration
How are you going to create unity within your floral arrangement? Choose one single thing and build the design around it. For me, it was the burgundy red, gold, and plum pumpkin. I decided to choose colors that complement and match the pumpkin in different ways.
Your inspiration might come from ribbons or a sign. Build the color around it.
I found some flowers that have the same mustard yellow and plum colors as the pumpkin. I also found some berries that match the mauve colors in the pumpkin. Another plum color I found was some plum eucalyptus and some burgundy dahlias too.
After you have your greenery and flowers ready, you can begin placing them and building your arrangement.
2. Prepare Your Container
I used a beautiful aged white container and put some florist foam into it. Use a dome-like shape since that will enhance the design of your arrangement. Then, add some faux moss on top of the green foam. This adds to the floral vibes without letting the foam stand out too much.
3. Attach The Pumpkin
Since it is the largest item, attach the pumpkin first. I didn’t want to place the pumpkin directly on the foam because I wanted to place some florals and greenery under the pumpkin.
Use some thicker u-shaped floral pins to attach the pumpkin to the foam. In order for the pumpkin to angle out, I pierced the pumpkin with a wooden floral pick and angled the pick as I cut it. Add it where you want it on the foam.
4. Add Some Height
Choose the flowers that you want to be the tallest elements in your arrangement. I used the daisies and the eucalyptus. Lightly place them on the foam so you know how much to trim them. Then begin to insert them into the foam blocks.
Dip the end of the floral pick in your glue and then insert it into your foam blocks. Bend the florals on each stem so that they look as real as possible.
5. Keep Adding More Flowers
Now you are ready to really have some fun. Start filling in the bottom of the arrangement soo add some darker colors near the bottom. I love how the dahlias looked as they draped over the side of the container.
My favorite way to create a design is to just lightly place the flowers on it and look at it. Does it enhance the design? Does it keep the eyes moving toward the main focal point? Just keep measuring and placing things around until you feel like it looks the best to you.
6. Fill In Extra Spaces With Greenery And Florals
Continue adding more pieces as you begin to notice empty spots that need more filling. Bend the floral stems around to enhance the feeling of life and movement in your arrangement.
Don’t be afraid to trim greenery bunches and just use one or two little pieces in the smaller areas around your pumpkin.
That’s it! Stop when you feel like the arrangement is full and perfect!
Watch The Video: How To Make a Fall Arrangement With Pumpkins
If you enjoyed this post, you might also like:
Liked this Fall Pumpkin Flower Arrangement Tutorial? Pin it for later!
Absolutely stunning.. I love watching your YouTube channel. You have inspired me too make my first deco mesh wreath. I can hardly wait for wreath of the month club to open back up again.
Beautiful!!
Beautiful arrangement Julie!!