DIY Hydrangea Christmas Centerpiece
Hey everyone! Lately, I’ve been doing tutorials for the cute and whimsical side of Christmas. We’ve made a snowmen arrangement, Santa wreath, elf wreath… all that fun stuff.
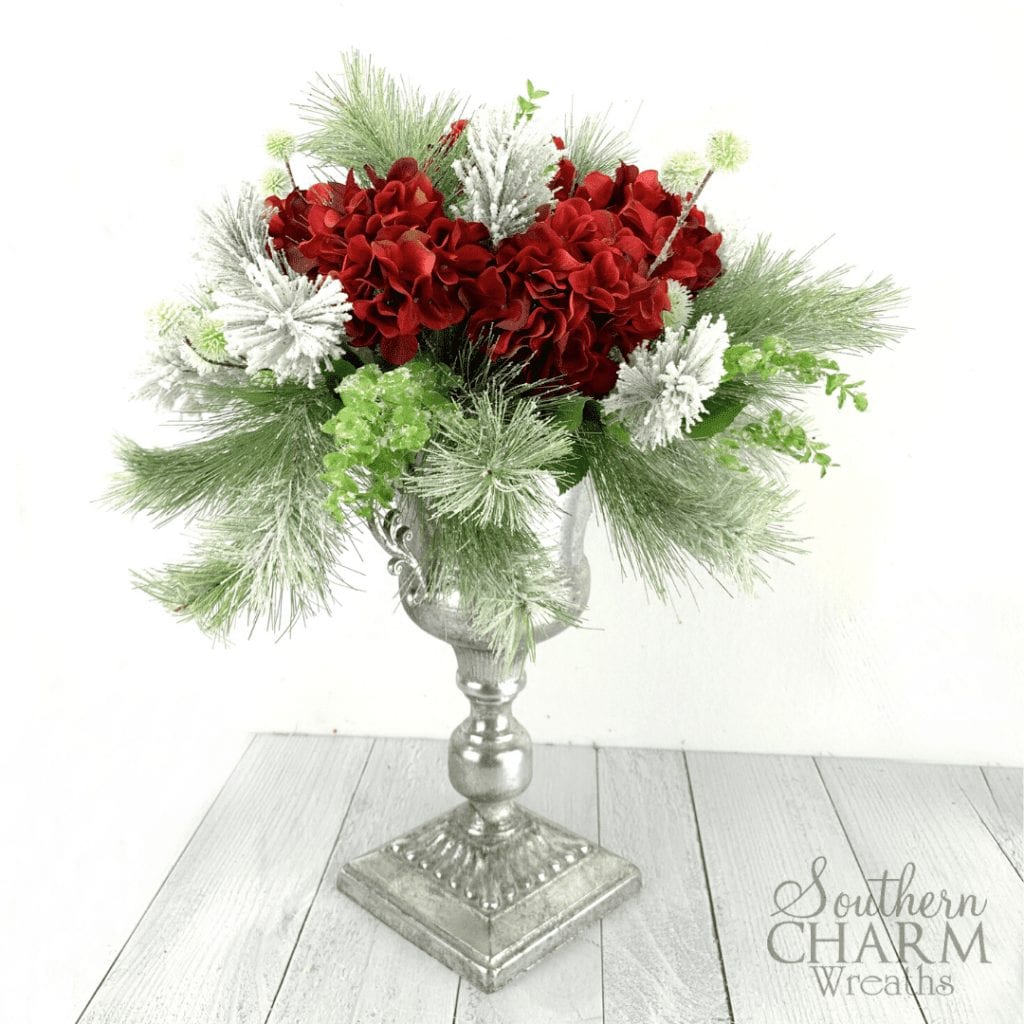
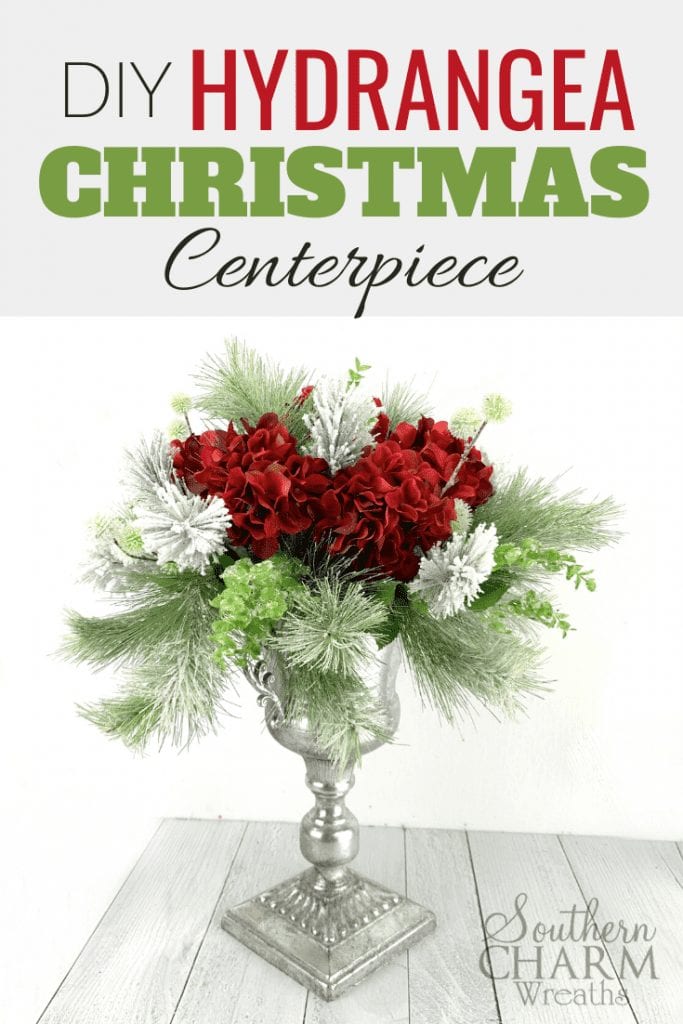
Today, we’re going to change directions a bit and make an elegant DIY Christmas hydrangea centerpiece that’s got a very classic Christmas look to it. It will be sure to dress up your holiday decor this year.
And there are only 5 steps!
Keep reading or watch the video to learn how to make this beautiful Christmas centerpiece for yourself.

This post may contain affiliate links for your convenience. Click here to read my full disclosure policy.
I just love this pedestal container. I think a nice container is a really simple way to make your arrangement a little fancier without adding any extra steps!
Like I said – this arrangement is SO EASY (and beginner-friendly).
Let’s get started!
Supplies for DIY Hydrangea Christmas Centerpiece
Hydrangea Bush (TrendzandGemz)
Teardrop Evergreen Swag (TrendzandGemz)
Metal Pedestal Container (TrendzandGemz)
Dry Foam
Hot Glue
Hot Glue Pan
Wooden Floral Picks
Wire Cutters
Steel Pick Machine (optional)
Scissors
TrendzAndGemz is one of my favorite floral suppliers. I use their products in many of my tutorials and the wreaths and arrangements that I sell. You can find all of their items that I’ve featured in my tutorials here.
Steps for Making the DIY Hydrangea Centerpiece
Step 1 – Cut and hot glue the first piece of foam into the bottom of the metal container. Glue a second and third piece on top and secure with wooden floral picks. Don’t worry about filling the entire container with foam. It’s ok if there are some spaces on the edges. We’ll be covering that up anyway.
Step 2 – Cover the top layer of foam with green moss and secure with floral pins.
Step 3 – Bend your teardrop evergreen swag into a circle and position on the top of your container. Secure your now-rounded swag into the foam with hot glue and floral pins. (I made my own from thick floral wire since I’m using a lot here.) Fluff up the branches if needed.
Step 4 – Separate the branches of the hydrangea bush and glue into the arrangement throughout. Place them low to keep the shape of the arrangement short and squat.
Step 5 – Glue or pin in various greenery to give some dimension to the color of the arrangement. I’m using a variety of plain and frosted greenery as well as the leaves from the hydrangea bush.
And that’s all there is to it!
Or if you still want to add a little something to this centerpiece, I think some red berries would look nice in it.
…Or not!
But that’s the beauty of learning how to do professional arrangements – it’s all up to you!
How to make Hydrangea Christmas Centerpiece
If you enjoyed this and want to learn to wreath and make silk flower arrangemets the professional way, join me in our exclusive Wreath Making of the Month Club!
Happy Wreathing,
Julie
If you enjoyed this post, you might also like:
Rustic Winter Table Centerpiece
DIY Farmhouse Table Centerpiece with Hydrangeas
DIY Christmas Potpourri Wreath
Liked this DIY Hydrangea Christmas Centerpiece? Pin it for later!


Very pretty. Very talented and enjoy seeing what you have been up to.
Thank you
I love this arrangement! It’s so elegant for Christmas.
I was looking for the video for this arrangement but cant find it. Am I missing the post for it? Thanks in advance for this.
Thank you for the reminder. We will be adding this in today, we missed this piece.
Very elegant. Love it
You are wonderful‼️?Even though I’ve never met you, I feel like you are my friend next door‼️Thank you for sharing all your ideas and talent with me‼️??
Dear Julie,
Thank you for all your guidance and inspiration over this past year. I have made some lovely wreaths and arrangements since following you. My Remembrance Day wreath is my favourite so far.
Have a Wonderful Christmas Julie and All the Best in 2020!
Lynda
Love hydrangeas, my favorite! Big here all summer in Massachusetts, blue matching the ocean,