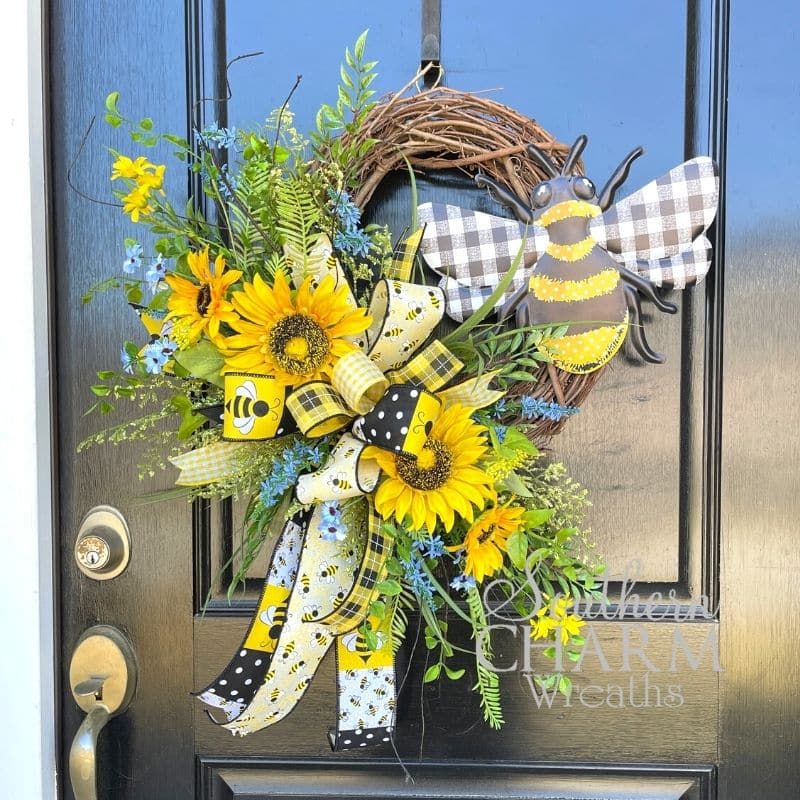
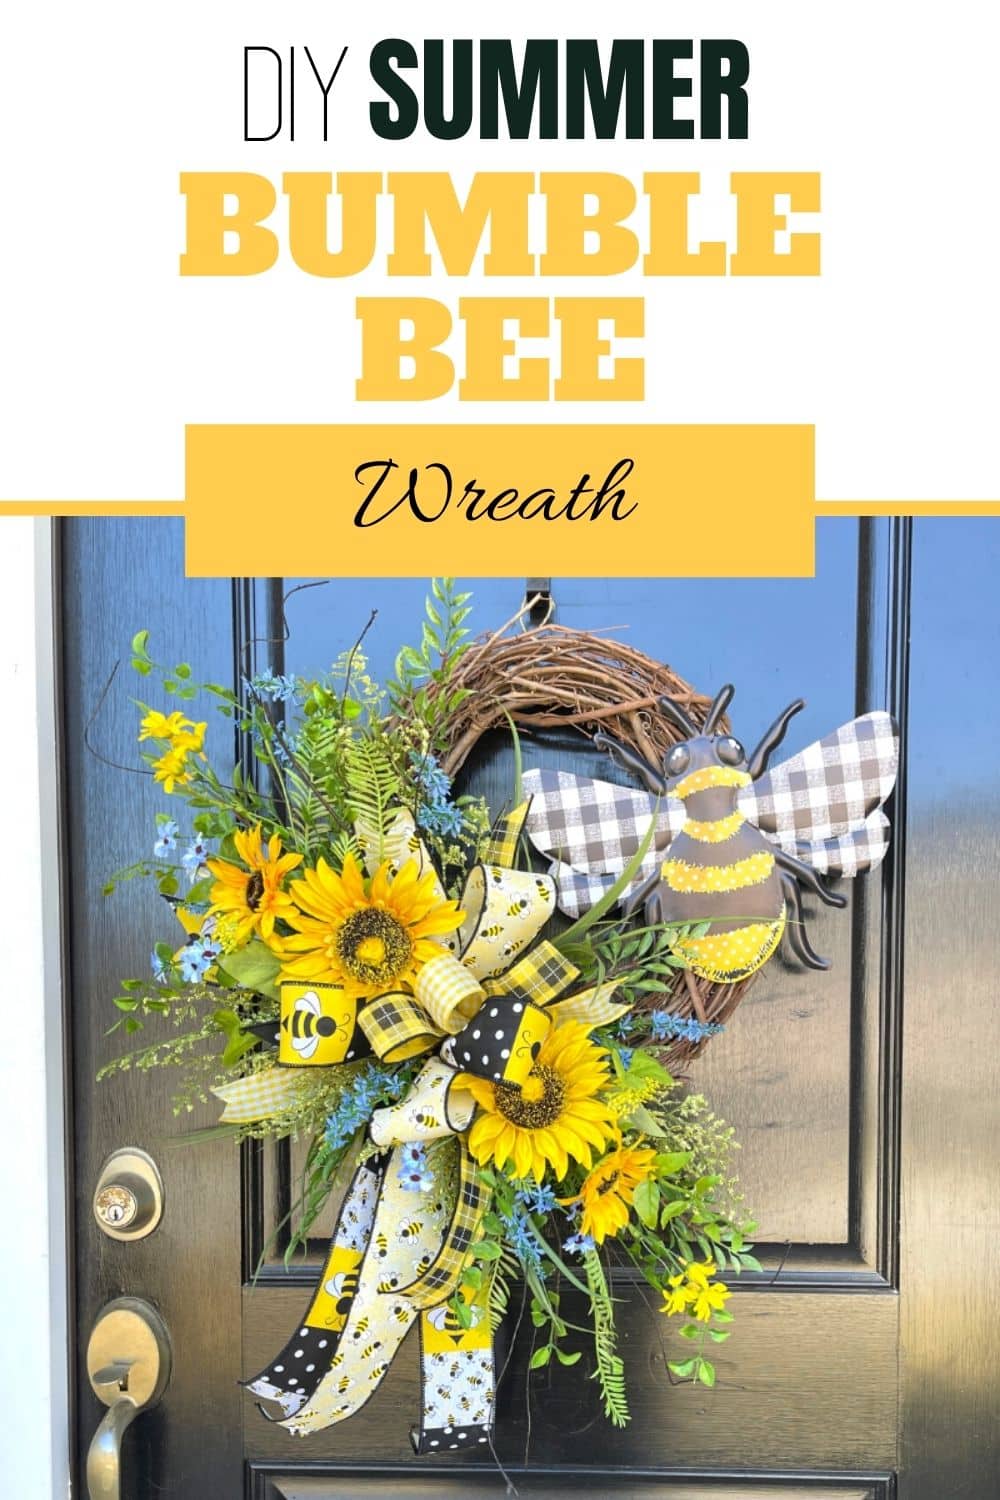
DIY Summer Bumblebee Wreath On Grapevine
Create a buzz around your front door decor! This summer bumblebee wreath grabs people’s attention and looks like it takes hours to craft – but it’s easy enough for beginning wreath makers!
DIY Summer Summer Bumblebee Wreath
This DIY Summer Bumblebee Wreath celebrates everything you love about summer! From the happy and bold sunflowers to the attention-grabbing bumblebee sign, this wreath has a simple design that creates plenty of chatter.
Dress up your front door, sell this in your Etsy shop, or both! Bees are a popular summertime theme, and people love the cheerful yellow colors.
This post may contain affiliate links for your convenience. Click here to read my full disclosure policy.

Supplies For This Project
- 16″ Grapevine Wreath Form
- Bumblebee Sign
- Bumblebee Printed Ribbon
- Yellow Plaid Ribbon
- Yellow Ribbon
- Greenery
- Sunflower Stems
- Floral Wire
- Glue Pan
- Wire Cutters
- Scissors
- Staple Gun
DIY Summer Bumblebee Wreath: Step-By-Step Tutorial
1. Prep and Attach Sign
Start by laying your sign down on your wreath and moving it around to find a nice place for your sign to go, so it does not wobble back and forth. To do this, I just lightly lay the sign on the wreath and gently push on it. When I find the flattest spot, that is where I will attach it.
Attach wire to the back of the sign and then tightly twist the wire to the grapevine wreath base. You will want to thread your wire through the wreath instead of around. Later on, this helps you be able to place your floral and greenery pieces into your wreath.
If you wrap the wire around your wreath, you are squishing your wreath form tight together and will find it much harder to add the other elements.
2. Make Bow
Next, make the bow (or bows) for your wreath. Either follow along with how I do it in the video or make as many (or as few) loops as you want.
In my video, I made a bow with three different ribbons, and each ribbon has two loops. Here’s a quick overview of how to make a simple bow.
First, measure your tail. Then, make a loop and twist. Next, measure out 12 inches and make a loop, twist it, and make another loop. Finally, pull your tail down. Repeat this process with your two other ribbons. Be sure to hold each ribbon tight in the middle as you add your layers.
Twist some florist wire around the middle of your bow, twisting it as tightly as you can. Once it is secured, dovetail the ends of your ribbon tails.
3. Attach Your Bow
Use the wire you used to secure the bow together and thread that wire through the grapevine at the bottom left of your wreath. Then, twist the wire together. Make sure you take the time to fluff and arrange your bow – this step is what really makes your bow look pretty!
4. Add Sunflower Picks
Use florals and greenery to establish the line of sight for your wreath’s design. To do this, arrange individual pieces around the bow by dipping the ends in hot glue before placing them into the grapevine base. Work your way around the top and bottom of the bow, and make sure to keep both sides balanced.
5. Add Greenery Picks
This is the best part of the process because it’s where your creativity takes over. Use greenery to add depth and fullness to the wreath. I picked out greenery bushes that contained other types of flowers. I also used a few long sticks that made the wreath appear taller.
Remember to keep the design balanced. Whatever you do to the left, you should also do to the right. Continue to layer and add greenery, working your way away from the large bow and sunflowers.
6. Add Ribbon Streamers
Ribbon streamers are really useful. If you look at your wreath and see some holes and you don’t want to use more greenery, add some streamers.
Use the same ribbon that you used in your bow for the streamers. You can use a floral pick to add an attachment to the ribbon, so that you are able to place these into the wreath. Once you have your ribbon streamers placed, go back and dovetail the ends.
8. Final Touches
With your leftover greenery and ribbon tails, start filling the empty holes you see on your wreath. You may find that all it needs is a nice ribbon streamer or a piece of greenery to make it look complete and finished.
Watch The Video: Summer Bumblebee Wreath
If you enjoyed this post, you might also like:
- DIY Summer Sunflower Door Hanger
- How To Make A Ladybug Summer Geranium Wreath
- Deco Mesh Bumblebee Wreath DIY Tutorial
Liked this DIY Summer Bumblebee Grapevine Wreath? Pin it for later!
Beautiful wreath. Love this!
Thank You! ?
It’s just adorable, Julie!!❤️❤️❤️
Thank You! ?
Do u sell your whole wreaths? If so I would love to purchase this 1.
Hey Sandra – You can find all the wreaths Julie currently has available for purchase in her Etsy shop here:
southerncharmwreaths.etsy.com
I don’t see any links to the bee or ribbon. Any chance those are still available?
Hey Gayle – We only provide SKU numbers and links to supplies on our Wreath of the Month Club tutorials. You can find most of these supplies from one of Julie’s favorite vendors mentioned in our Big Book of Faux Floral Suppliers. For more information, click the link below:
southerncharmwreaths.com/faux-floral-suppliers/