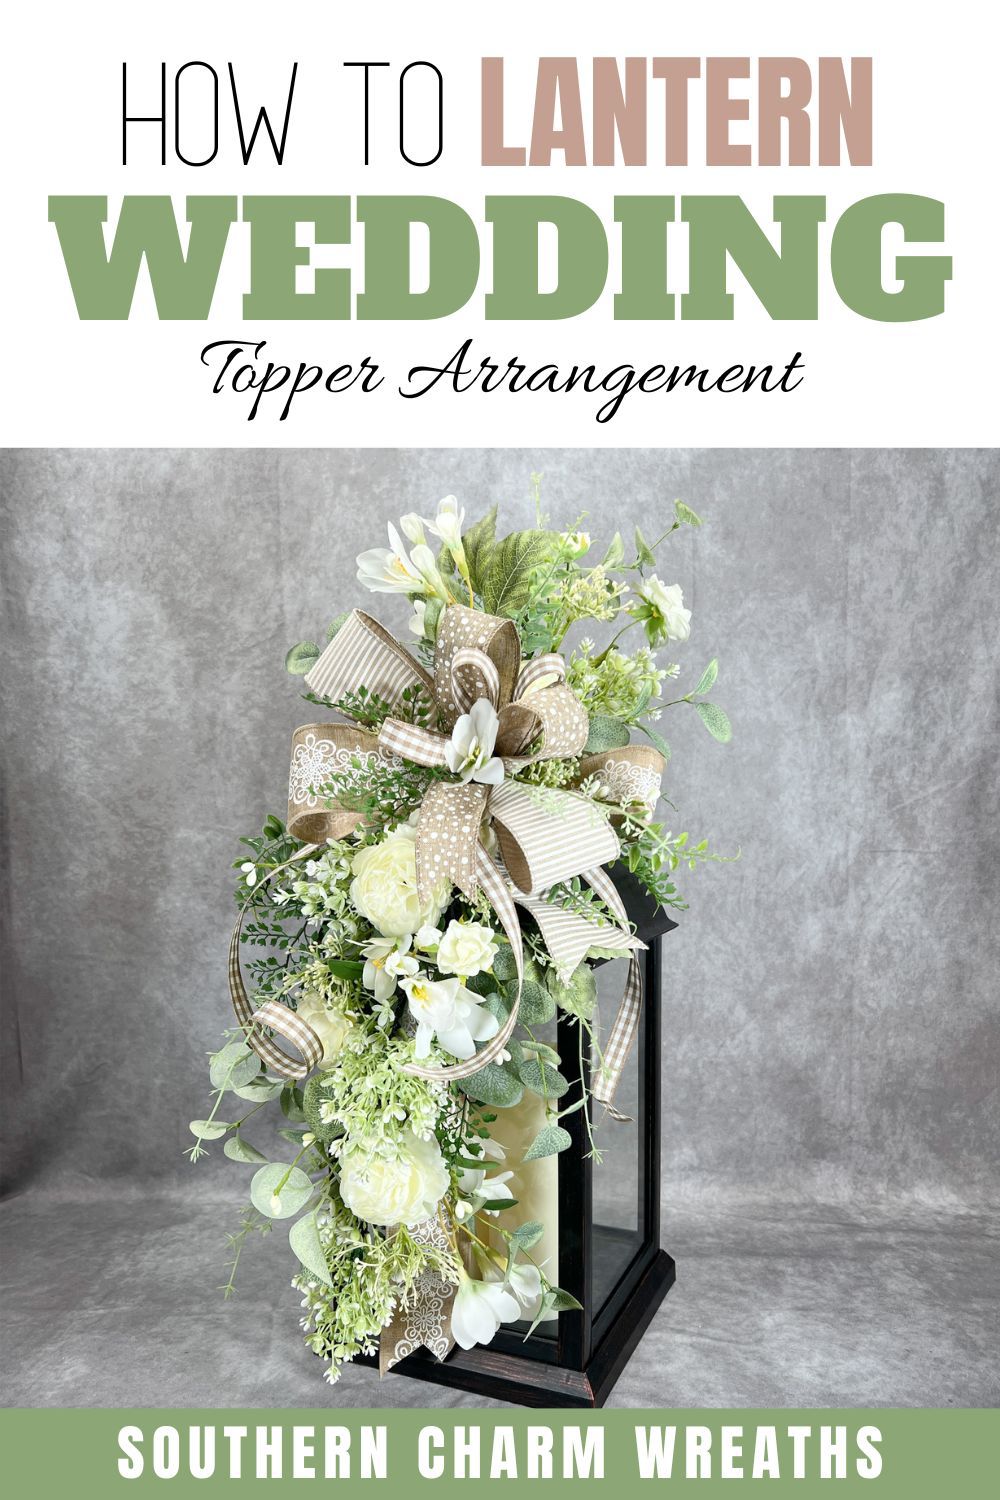
Easy Silk Flower DIY Wedding Lantern Topper
Prepare for the wedding season rush with a stunning DIY wedding lantern topper. Create a brilliant display with whimsical ferns, textured white florals, and a neutral bow that is filled with dimension.
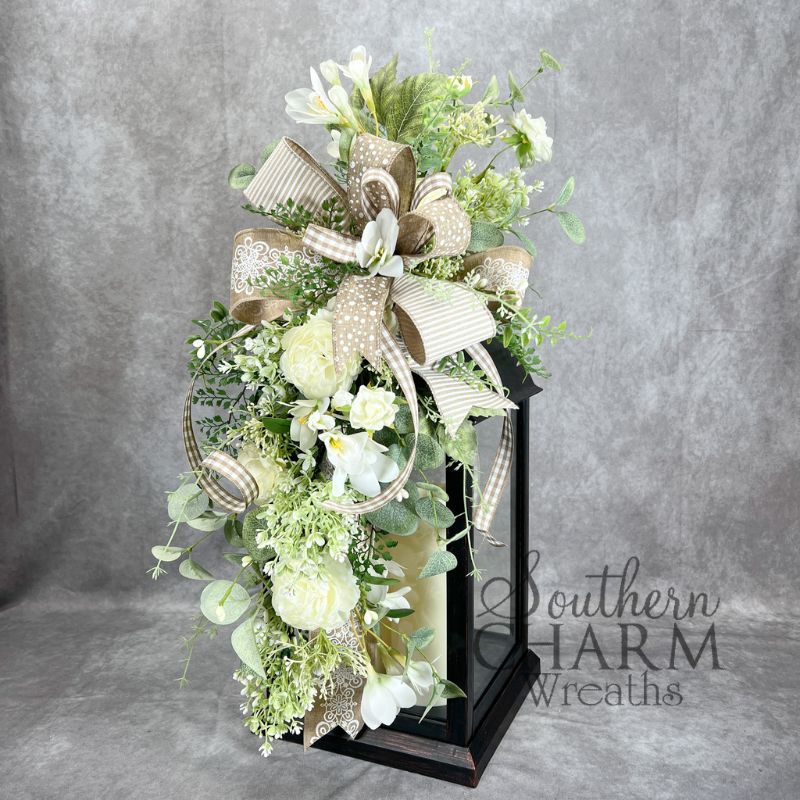
DIY wedding lantern topper
Wedding season is nearly upon us, so it’s time to get stocked up with some popular silk floral arrangements that brides will love!
This DIY wedding lantern topper is created with spindly greens and a variety of neutral flowers that come together for a truly lovely arrangement– perfect for anyone’s special day!
Best of all, this neutral arrangement can be customized with any wedding color to suit a variety of wedding styles.
These lanterns look spectacular lining an aisle. And in this post, I’m showing you how to easily create this popular design!
This post may contain affiliate links for your convenience. Click here to read my full disclosure policy.

Supplies for this project
You’ll need:
- Lantern centerpiece
- LED candles
- White/cream floral sprays
- Peegee hydrangea
- Garden rose + eucalyptus
- Freesia
- Greenery
- Maidenhair fern
- Wired ribbon
- 2 ½ inch lace
- 2 ½ inch striped
- 1 ½ dotted ribbon
- ⅝ inch plaid ribbon
- Zip ties
- Florist wire
- Heavy binding wire
- Hot glue
- Scissors/wire cutters
How to make an easy silk flower DIY wedding lantern topper: Step-by-step tutorial
1. Measure your topper
Begin by draping a garden rose spray over the top of your lantern and measuring how far down you want it to fall.
Trim accordingly, or add length to the spray if necessary.
2. Establish bottom florals
Start with one large spray of garden rose and eucalyptus, binding a spray of peegee hydrangeas to this base. Wrap your wire stems to secure.
Fill out with clippings of peegee hydrangeas, maidenhair fern, and white freesia, layering the flowers on top of each other.
Once filled out, zip-tie the entire bunch together. Then, fluff and lift your sprays to add dimension.
3. Create top florals
We’re going to repeat this process for our top floral bunch, this time creating a slightly smaller bouquet.
Begin with your garden rose spray, trimming excess length and adding your filler florals. Zip-tie everything together.
Next, zip-tie both arrangements together, leaving about the width of your hand between the arrangements.
Trim extra stems to eliminate excess weight. Then, hot glue a leaf around the center, helping to disguise the zip ties.
4. Create a transition bow
Measure a 12-inch tail of your 2 ½ inch lace ribbon, pinch, and pleat. Then, measure out 12 inches for a 6-inch loop, pinching a twisting to secure.
Repeat this step for one more loop, then trim for an 8-inch streamer.
Complete this process for your 2 ½ inch striped ribbon, continuing on top of your work.
Next, repeat these steps for your 1 ½ inch dotted ribbon, this time measuring a 10-inch tail and 10 inches for a 5-inch loop. Pinch, pleat, and repeat for a total of two loops.
Finally, repeat the process for your ⅝ inch plaid ribbon, cutting a long streamer and 10-inch measurements for three 5-inch loops.
Reposition your loops so they’re going in every which way. Then, wrap some florist wire around the center of the bow, pulling tight and twisting to secure it.
Use the ends of the wire to attach the finished bow to the center of your prepared sprays.
5. Attach your lantern topper and add finishing touches
Attach your arrangement with thick blinding wire from the center of your bow to your lantern.
Then, shape your topper around the lantern. The goal is for the greenery, florals, and ribbons to drape naturally over the lantern.
Add extra florals and single blooms to your topper for interest, attaching with hot glue. Continue to fluff, check for symmetry and add sprigs of fern where needed.
Pull apart your bow loops, curl some ends, trim ribbon streamers, and add some dovetails.
Once you’ve fluffed it to perfection, your DIY wedding lantern topper is complete!
Watch the video: Easy silk flower DIY wedding lantern topper
If you enjoyed this post, you might also like:
- How to Make an Elegant Wedding Wreath for Front Door
- DIY Year-Round Elegant Wreath
- How to Make a Silk Flower Cream Sunflower Arrangement
Like this post? Pin it for later!
Hi, I really enjoyed your tutorial I do have a question about placement of the topper. How do you know where to place it. Side or back.? Thank you Nancy
Have it swag on the side of the lantern.