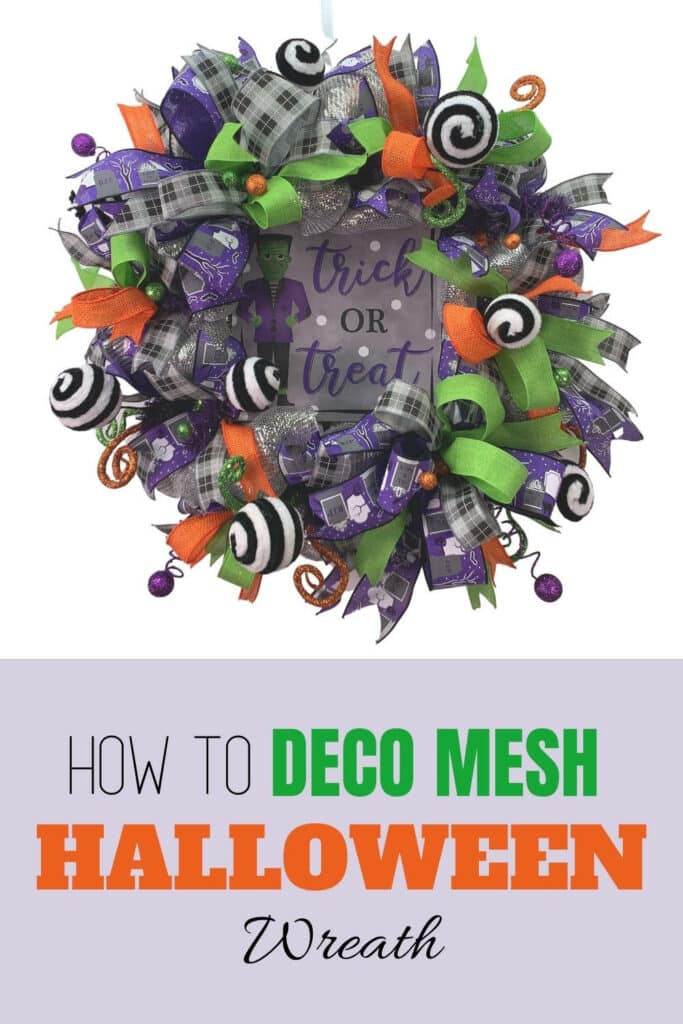
DIY Halloween Deco Mesh Wreath {with Video}
Follow this tutorial and discover how easy it is to make your very own Halloween deco mesh wreath! Learn some tricks that will give your Halloween wreath the extra spookiness it needs AND speed up your crafting time.
If you love making your own mesh wreaths with a touch of seasonal flair, then you are going to really get into this Halloween deco mesh wreath. There is so much going on with it – and there are plenty of ways you can customize it too!
What Is A Deco Mesh Wreath?
A deco mesh wreath is wreath where you twist garland, mesh ribbon, and all sorts of craft supplies and bling on them.
The best part is (in my opinion), no two deco mesh wreaths look alike! Now, you can buy them at the store, but it’s a lot cheaper (and way more fun) to make them yourself.
How To Make A Halloween Deco Mesh Wreath
This Halloween wreath is a fun project to make at home by yourself or even with a bunch of friends or family at a wreath party. It’s also super beginner friendly!
Interested? Follow along and I’ll show you how to make your own.
Supplies:
- Work Wreath Form – I used a wreath form that already has needle ties attached to it.
- Mesh – I used shiny silver mesh that reminds me of the Disco
- Ribbon – 2 1/2-inch and 1 1/2-inch streamers cut into 12-inch strips
- 2-inch steel Halloween Picks
- Liquid Glue
- Green and Orange Ribbon Streamers
- Bows
Step 1: Put The Mesh On The Form
Bunch up the mesh in your hand and twist the needle ties around the mesh. Do this around the inner circle of the wreath form. The loops should be 10 inches wide and bunch them up as you attach them to the form.
As you go around the form, poof out the mesh so it appears thicker between the needle ties.
When you make it completely around the inner circle of the form, keep going around the outside circle too.
Step 2: Add The Ribbon
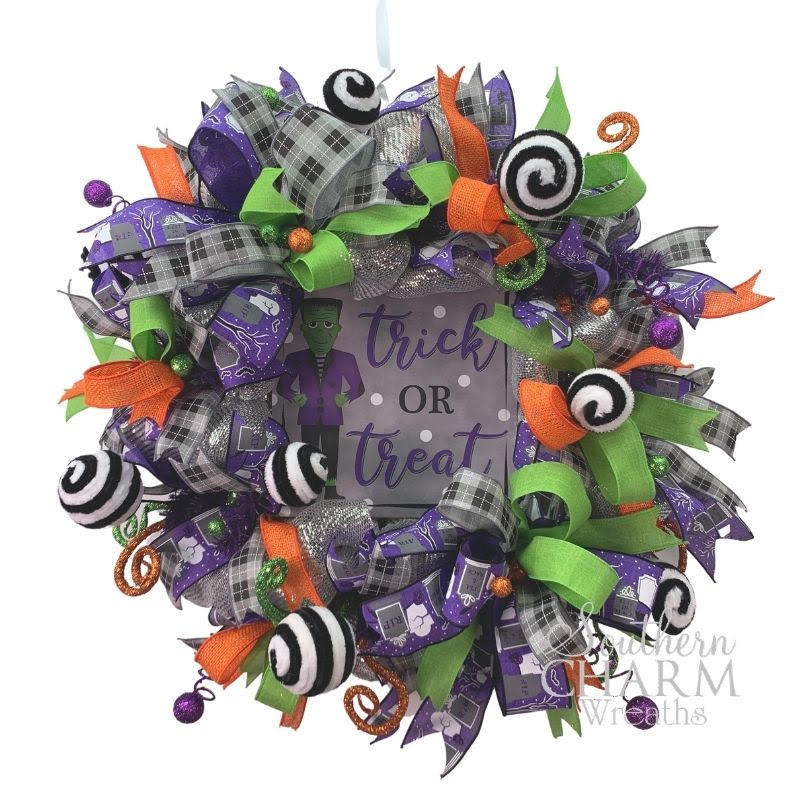
Before I added the ribbons, I cut my ribbons into 12-inch strips. I used both 2 1/2-inch and 1 1/2-inch streamers. One of them has a Halloween print and the other has the trendy black and white Buffalo check print.
This part is so easy! I just laid the smaller ribbon on top of the larger one and then used the needle ties to attach them to the wreath. Go completely around your wreath and add as many ribbons as you want.
After the ribbons are on the wreath, use your fingers to spread out the ribbon layers into an “x” shape. This makes the ribbons fill up space around your wreath more effectively.
Step 3: Add The Sign To The Back Of The Wreath
I think the most difficult part of a deco mesh wreath is adding the signs, but you’ve got this!
You can add the sign first or last, it is completely up to you. I like to add it after the ribbon because I never know where I am going to have to put the wire.
Gently place the sign on top of your wreath and get it where you want it to set. Then, take the wires from each corner of the sign and attach them to the wire wreath form.
After the sign is completely attached, I like to pull the mesh and ribbons around the edge of the sign so it sets deeper into the wreath.
Step 4: Attach Your Bows
We already made these bows in my bow challenge, so this step goes by pretty fast. I like to attach the ribbons to the corners of my wreath sign, but you can place them anywhere on the wreath that you like.
Step 5: Add More Colored Ribbon
I added some green and orange ribbon to my wreath to give it even more color. I cut my orange and green streamers about 26 inches long and I cut about 3 strips of each color.
Put a green ribbon on top of the orange ribbon and fold them in half and pinch them at the bottom of the loop. Attach them to your wreath so that the loop appears on your wreath. This is the opposite thing that we did with the other ribbons earlier.
Add the colors wherever you think the wreath needs it. I spread it out all over the wreath to create a nice, cohesive color scheme.
Step 6: Add Halloween Picks
Now this is the fun part.
Choose your favorite Halloween picks and stick them all over your wreath! If your picks come in a bunch, spread them out before you attach them to your wreath.
The picks will add lots of color and textures to your wreath. Choose your favorites with some fun designs and patterns on them.
To make them stick, first trim your picks so they don’t stick out the back of your wreath too much. Then, dip the end of the picks into some glue and place them in your wreath. If there are things on your Halloween pick that you don’t like, just use some wire cutters and remove them.
Step 7: Dove Tail and Trim Your Ribbons
When you are almost finished with your wreath, go in and dove-tail the end of your ribbons if you want. This is a totally optional step, it only depends on how you want the ribbons to look. You can also trim up the ribbons so they are the length you want.
Step 8: Hang It up!
I think this step is self-explanatory. Time to show off your hard work!
VIDEO: DIY Halloween Deco Mesh Wreath
If you are a visual learner, take a look at our video tutorial on how to make this mesh wreath!
Tips on How to Really Make This Halloween Mesh Wreath Amazing
As you make your wreath, here are some tips that will help you feel more confident in your creativity. Remember, this is your wreath and you have the freedom to make your own rules with it.
Pay Close Attention To Texture On Your Wreath
When you are picking out the materials for your wreath, pick out fabrics that have the best textures that you want. In this wreath, I chose a silver mesh that glitters in the light. As it hangs on the front door, it will make your door come to life, especially when the sun glistens on it.
Add Lights To Your Front Door
When you use shimmering fabrics like this silver mesh, they react fabulously with lights. Add some fairy lights around your door and turn them on at night. This will make the wreath glisten and glow in the dark.
Pinch Ribbon Layers Together
As you attach the two ribbons to the wreath, pinch them in the middle with your fingers. This will make them look like a bow. Then, use the needle ties to attach this faux bow to the wreath.
Do this around both the outside and the inside of your wreath.
Don’t Overthink It
Deco Mesh is great for beginners. It’s very simple – you don’t have to think about a whole lot of things. You can add as little or as much to your wreath as you want. I’ve seen some tutorials online with lots of steps and I just want to encoureage your not to feel overwhelmed. You can feel free to add just a few things to it – some mesh and ribbons and a sign is all you really need for a poofy wreath.
Adjust and Trim Ribbons
One very important part of making a mesh wreath is all the adjusting that you’ll do. Move ribbons around and poof out the mesh. Make all the tiny adjustments that you want until your wreath looks perfect to you.
If you enjoyed this and want to learn to wreath the professional way, join me in our exclusive Wreath Making of the Month Club!
I need help with the blue Christmas wreath. It’s the one with the nativity scene from Greenery Market.
I didn’t do a video with a nativity scene.
Could you please tell me what size the metal wreath form is?
Is there a tutorial on how to make the bow?
Tara – Julie has several bow tutorials on the blog. You can find them here: https://southerncharmwreaths.com/?s=bow&post_type=post
We also are hosting a Holiday Bow Making Masterclass next week. If you are interested, you can learn more here: https://southerncharmwreaths.com/bow-challenge/
I have some wreath bases minus the needle ties. Could I use ribbon or pie cleaners in lieu of the needle ties?
You can use pipe cleaners. It will be more difficult but yes, you can do that.
Hi Julie,
I’m brand new and want to make this as my first wreath. Do you recall where you got that silver deco mesh? I got some that is kinda stiff and it didn’t look good after getting it on my wreath form. Thank you!
Hey Sally – You can find all of Julie’s favorite vendors in her Big Book of Faux Floral Suppliers here:
https://southerncharmwreaths.com/faux-floral-suppliers/