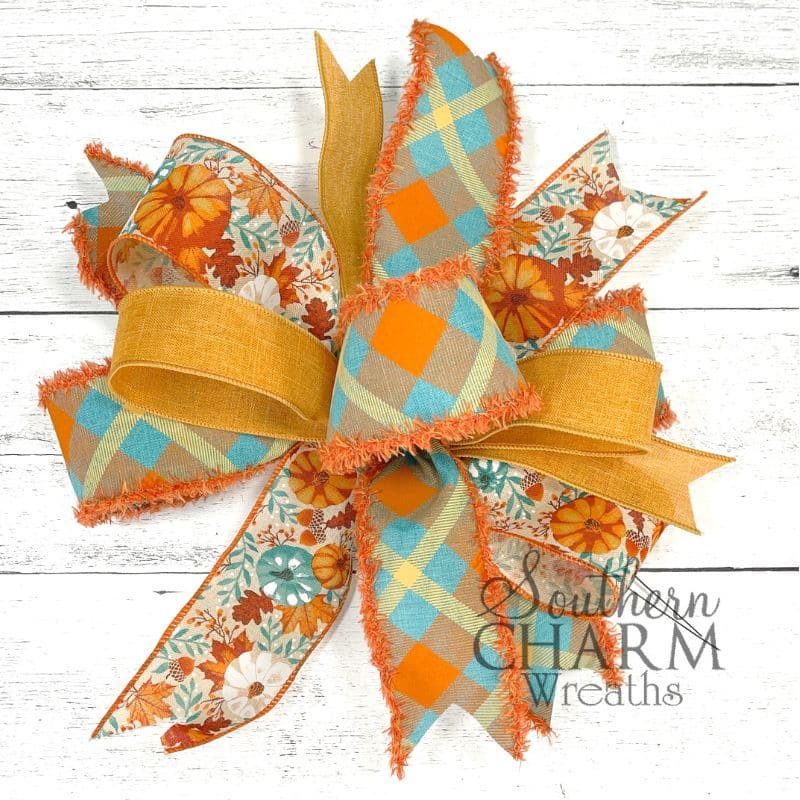
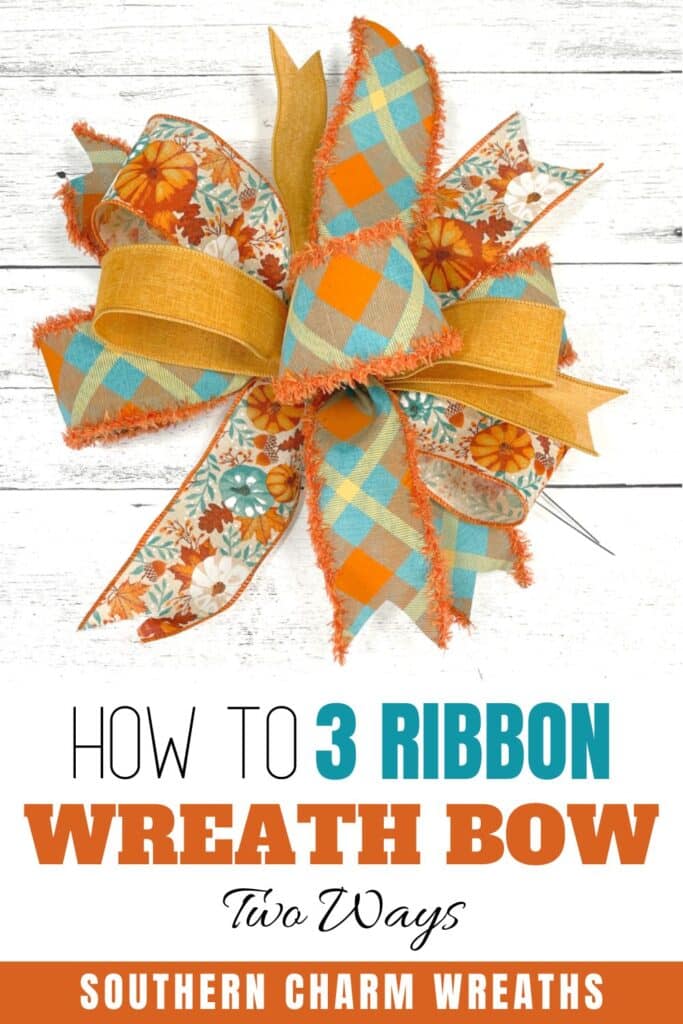
How To Make a 3 Ribbon Wreath Bow Two ways
It is finally time to take your Bow Making Skills to the next level. I am here to help you feel calm, cool and collected as you create the most adorable 3 Ribbon Wreath Bow. The best part is that I will show you 2 different ways to get the job done!

How to make a 3 Ribbon Wreath Bow Two ways
Making a beautiful bow has never been so easy. And the best part about this is that there are 2 different options to decide which one is your absolute favorite. Creating your own 3 Ribbon Fall Wreath Bow can be done by hand or with the help of an EZ Bow Maker. Having this skill will take your wreath making up a notch. We all want that, right?
You won’t believe how easy it is to create a beautiful, luscious, full bow, no matter the season, the holiday, or the occasion. Selecting your ribbons to coordinate will be the hardest part because there are so many beautiful selections out there to choose from. But what I can promise you, is that making an amazing bow with those gorgeous ribbons will not be hard at all.
Are you excited to get started on creating your very own bow/bows? Which tutorial do you think you will prefer more? By hand or with the EZ Bow Maker? I know my favorite! Either one you choose, you will get amazing bows to add to your fall wreaths in less than 10 minutes. Let’s get started.
This post may contain affiliate links for your convenience. Click here to read my full disclosure policy.
Supplies for this project:
- 2.5” Cream, Fall Pumpkin Ribbon
- 2.5” Turquoise, Orange, Mustard, Cream Plaid Ribbon
- 1.5” Mustard Ribbon
- 22 Gauge Wire
- EZ Bow Maker

How To Make Your Bow by Hand
Step 1
Let’s start with an 8” streamer with your 2.5” ribbon. Dovetail that end. You can make your streamers a little longer if you prefer. Pinch your ribbon nice and tight. Measure out 12” of your ribbon to create your first 6” loop being sure you have the fancy side of your ribbon facing out. Pinch into your 2 fingers, pointer and thumb. Twist the good side towards you so your loop is facing up towards your thumb, and your pretty ribbon side is seen.
Lay down on the mat again to measure out 12” for your next loop. Pinch away from you, pull off your next tail from the bolt and trim.
Keep pinched in the pad of your 2 fingers and grab your next 2.5” ribbon. Do not pinch too tight or you will get a cramp.
Step 2
Pull out another 8” streamer and pinch it into your 2 fingers. Create about 5 pleats as you pinch it in.
Your ribbon placement in your fingers should gradually be moving back toward the palm of your hand as you add more and more ribbon throughout this process.
Repeat with another set of 12” measurements to create 2 more 6” loops. You are doing the exact same steps to create this next layer of your bow. Intermingle your loops from the 2 different ribbons.
Step 3
Next you will grab your 1.5” ribbon. Repeat with the same steps from earlier. Always remember to twist your ribbons, even if they are not a patterned design. This keeps the look cohesive.
Once complete with this layer of your ribbon, you should have 3 loops above your thumb and 3 loops below. Be sure you adjust and intermingle all your ribbons for a consistent look.
Step 4
Create one more loop for this bow. Decide which 2.5” ribbon you want to accent a little more, but know you can’t go wrong with your choice. Create your streamer, pinch and pleat.
This time, measure out your ribbon 10” for a smaller singular center 5” loop. Pinch, pleat, twist towards you, and trim your tail from the bolt.
Adjust that center loop to make its way into the center by placing the coordinating loops around your bow. Play with the placement of your streamers as well so your handmade bow is full and fancy.
Step 5
When you are finished making your bow, use floral wire to secure the center of the bow by holding the bow upside down like you are checking your watch. Slide your wire under your pointer finger, and begin to rotate around the center of your bow, adding your florist wire.
Manipulate your loops to be the same lengths if necessary. Once satisfied, turn the bow over, pull the bow towards you as you twist the wire to secure it on your bow.
Now go through and dovetail all of your ends or cut at an angle. You decide which look you prefer best.
Make Your Bow with an EZ Bow Maker
Step 1
Grab your EZ Bow Maker and your 1st 2.5” ribbon. Measure out about 8” and slide vertically in between your two pegs. Twist to create your first streamer being sure the good side of your ribbon is shown.
The ribbon should be on the back side as you create your first loop. Measure out 6” on your EZ bow Maker, marking with your thumb and fold over to insert vertically into the center pegs, to create a beautiful start to your first loop. Rotate and twist so you see the back side of the ribbon on the opposite side of the pegs.
Repeat on the opposite side, measuring out the 6” to create a 2nd loop. You will NOT need to twist your ribbon as you bring it to the center. Pull out your streamer measuring about 8”. It should be placed on the opposite side of your EZ Bow Maker from your 1st streamer.
Step 2
Next, grab your 2nd 2.5” ribbon. Repeat the exact same directions, starting on the opposite side of your EZ Bow Maker this time when creating this layer of 2 loops.
To complete layer #3, grab your 1.5” ribbon. Your streamer direction does not matter so don’t overthink it. Repeat the same steps to complete your 3rd layer.
Step 3
To finish it off, grab your 2.5” ribbon of choice. Create another streamer of 8” and insert into the center pegs. Measure out 5” to create your next singular, center loop. Remember no need to twist the ribbons on the ending of your bow loops for each layer.
You should have a total of 3 loops, all different ribbons on one side of your center peg and 4 loops on the opposite side. Adjust placement if needed.
Step 4
Next, grab your florist wire, and carefully remove your bow from sliding it up off of the EZ Bow Maker. Use the floral wire to secure the center of the bow by holding the bow upside down like you are checking your watch. Slide your wire under your pointer finger and begin to rotate around the center of your bow, adding your florist wire.
Manipulate your loops to be the same lengths if necessary. Once satisfied, turn the bow over, and pull the bow towards you as you twist the wire to secure it on your bow.
Step 5
Now go through and dovetail all of your ends or cut at an angle. You decide which look you prefer best.
Watch The Video: How To Make A 3 Ribbon Bow Two Ways
If you enjoyed this post, you might also like:
- DIY Multi Ribbon Football Bow
- Quick Christmas Bow Hack For Your Seasonal Wreaths
- How To Make A Bow With Two Pieces of Ribbon
Like this Post? Pin it for later!


Julie, your such an inspiration. You don’t pretend that you have had problems along the way but that it does take time and many learning moments along the way. I was inspired by your testimonial and started out with your directions but have come to a stand still thinking maybe I just can’t do this. But, I’ve decided I’m going to start back slowly and try not to be so critical of myself. God is truly working in your life and I wish you and your family the best.
Thanks I struggle with bows