Fall Planter Idea – How To Make a Fall Urn Planter Filler
This easy fall planter idea will dress up your front porch with vibrant fall colors. Learn how to add planter filler easily for a beautiful look that’s sure to draw the eye.

Easy fall planter idea
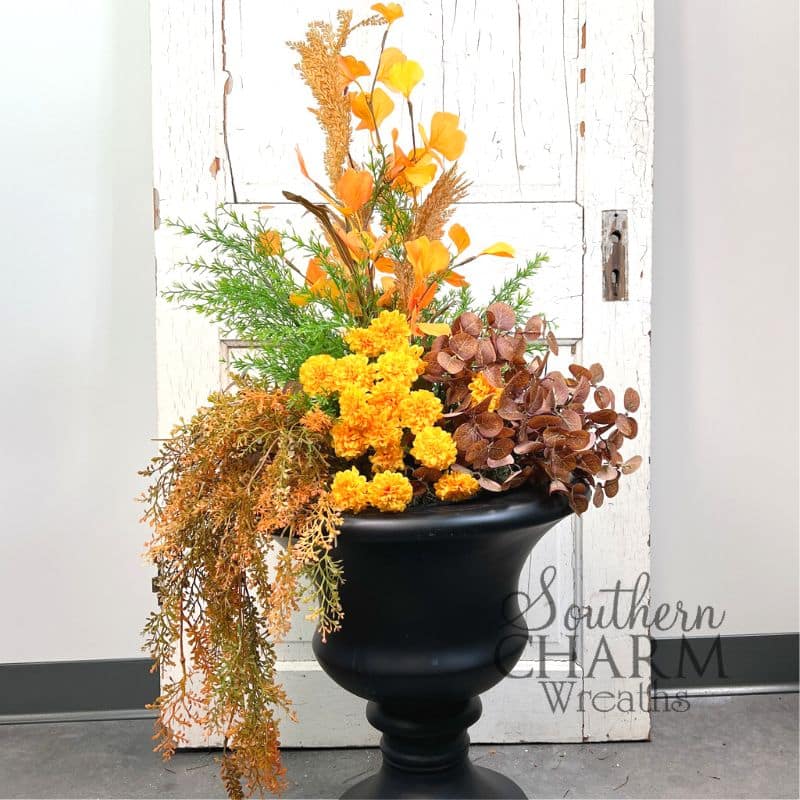
Want a really easy fall decor you can make? Grab this kit from our friends at Greenery Market while supplies last! I’ll show you how to use it to make a lovely black urn fall planter.
Is fall your favorite time of year too? I can’t get enough of these stunning gold, orange, and rusty-red colors. The trees and leaves outside inspire so many of my projects – I just want to capture their beauty forever.
If you have an Etsy shop or you sell wreaths at craft fairs, this fall planter idea is a fun diversion from wreaths. It gives you something different to offer your customers.
The best thing about silk flowers inside a black urn planter is that the leaves and flowers won’t die. You can reuse this arrangement every fall.
You won’t believe how simple this is! Just follow along in this post or watch the video as I make it, step-by-step.
This post may contain affiliate links for your convenience. Click here to read my full disclosure policy.
Supplies for this project
- Black Plastic Urn
- 9-inch Planter
- Foam Blocks
- 1 – Hanging Leaf Bush
- 1 – Gingko Leaf Spray
- 1 – Yellow Mum Bush
- 1 – Bamboo Greenery
- 1 – Rice Grass
- 1 – Orange Grass Bush
- 1 – Julie’s Favorite Fall Bush
- 2 – Brown Eucalyptus
- Wire Cutters
- Glue Sticks
- Faux Moss

How to make this fall planter idea- Step by step tutorial
1. Prepare the container
First, you need to fill your container with something that will give your artificial flowers a base they can stick to.
This planter is what you will place inside the large black plastic urn.
If your planter already has dirt or soil, use it. Don’t dump it out. If you are using a brand-new container, fill it with foam.
Either stack and glue foam blocks into the container until they reach the top. Or spray some foam filler into the container. I used one that is like Gaps and Cracks, but it was made for floristry, not insulation.
Be careful not to add too much – always leave room for expansion. Fill it up to about 2-inches from the top because it will expand and reach the top of the planter.
2. Top with moss
Next, begin adding green Spanish moss to the top of the foam. Give it a very light coverage. Once you cover the entire top, secure it to the foam with wire.
3. Prep your greenery and florals
Set the planter aside for a moment and grab the greenery and florals that you will be using (or the ones that came in the kit).
Prepare them for use by trimming them shorter, removing any tags that are on them, and fluffing out any flat bundles or leaves.
4. Add the greenery
Start with the greenest bunch of leaves, insert the pick into the foam and make sure you like how tall it is. Once you are satisfied with where it will set, dip the end of the pick into some melted hot glue and then stick it back into the foam block.
Fluff out the green leaves and make them look more natural and full.
Next, add the golden leaves behind the green ones. Measure them to the height you want and then trim them. Dip the end into the hot glue and insert it into your planter.
5. Tone down the yellows with wheat
I love how realistic the wheat picks are. Their muted tan colors tone down the gold yellows in the tall leaves we just added.
Fluff out the wheat stems and picks, and place them in between the yellow and gold greenery.
6. Add the focal mums
Separate the mums and add them individually. Cut them as long as you can so that the flowers reach as close to the golden leaves as possible.
These flowers do a wonderful job of covering up the mossy base too.
Add plenty of mums and vary the height, too, making some almost brush the bottom.
7. Insert greenery to the back
Now that you have mums in the front of the planter, add some orange and yellow greenery to the back. I used pushers – that means you can push them up and down the stem. This is really handy when you don’t know how tall you want to trim them.
Trim them apart from the bunch and add them individually as well. This ties the bright yellow and bright green leaves together.
8. Insert brown eucalyptus
I just love how the brown eucalyptus ties all the yellow and green shades together! It is so muted that it really makes the yellow in the mums pop!
Trim the eucalyptus bunch apart so you have more control over how many pieces you add. Place them right next to the bunch of mums.
9. Add your spiller
For the spiller – or the pieces that appear to spill out of the planter, giving it depth – I used long wispy foliage.
Insert it into the foam and look for any gaps. The spiller needs to kiss the foam blocks to give it the appearance of spilling out of the container.
Place each piece individually into the foam blocks as deep as you can.
10. Final touches
Take a step back and look for any holes in your design. Fluff out the leaves, or add more picks in any places that are lacking depth.
I added more bushes and pieces to the back, so it completely covered every piece of foam.
Watch the video: How to make a fall urn planter filler
If you enjoyed this post, you might also like:
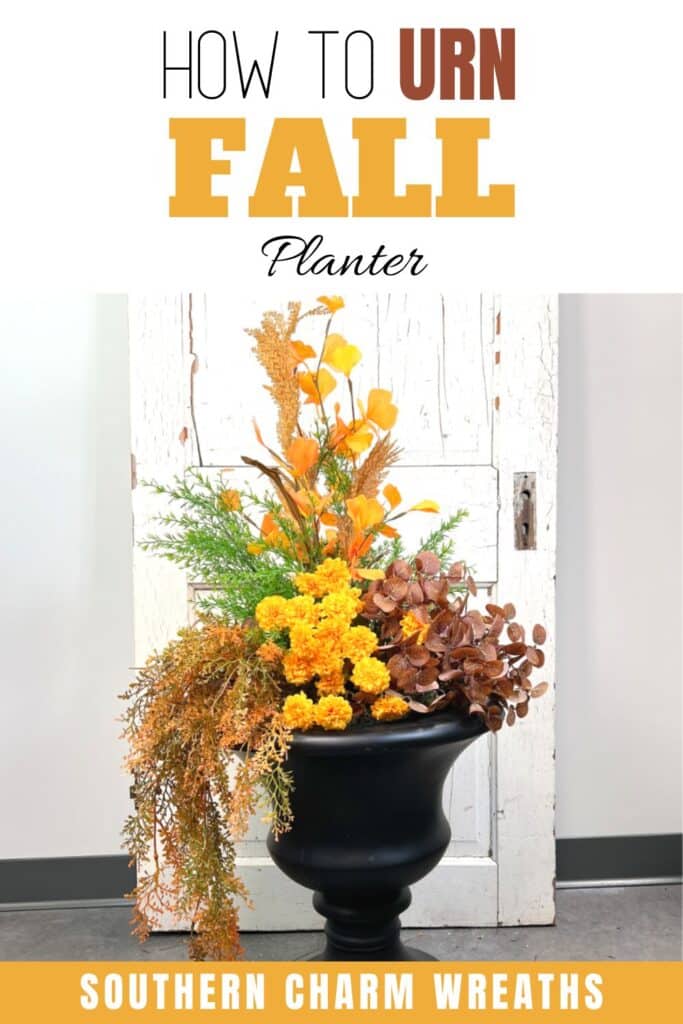
Like this fall urn planter tutorial? Pin it for later!


Although I do not usually like fake flowers or plants this is really pretty and looks easy and fast to make! Also the bonus of not watering. I could actually do this and I love the colors. I usually forget to do any decorations until I run out of time but I think this could be done quickly. Good for people like me who do not plan well!!
You have me some great ideas for decorating my salon outside to welcome our clients.