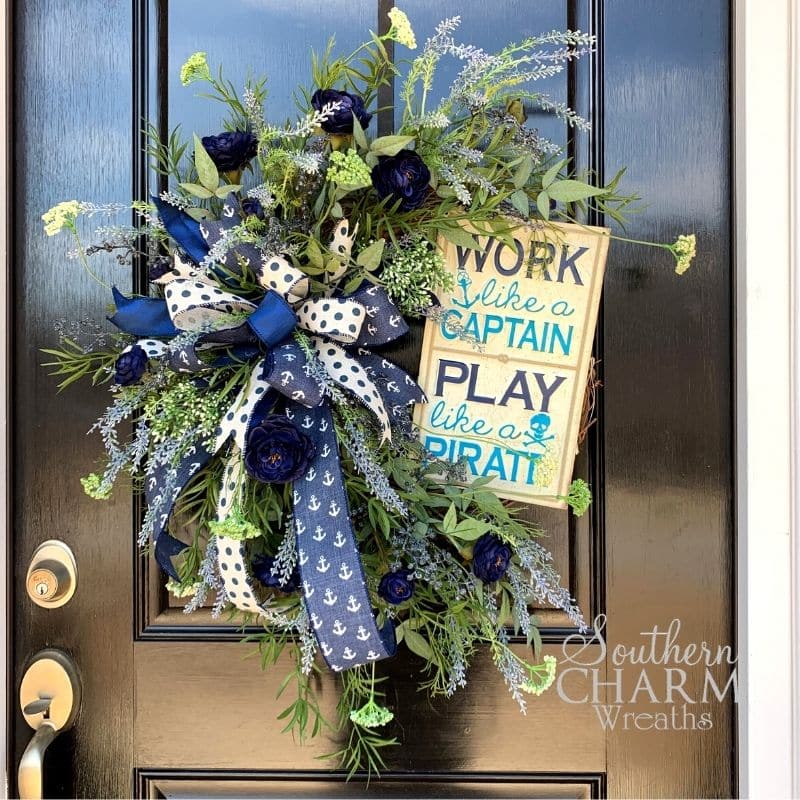
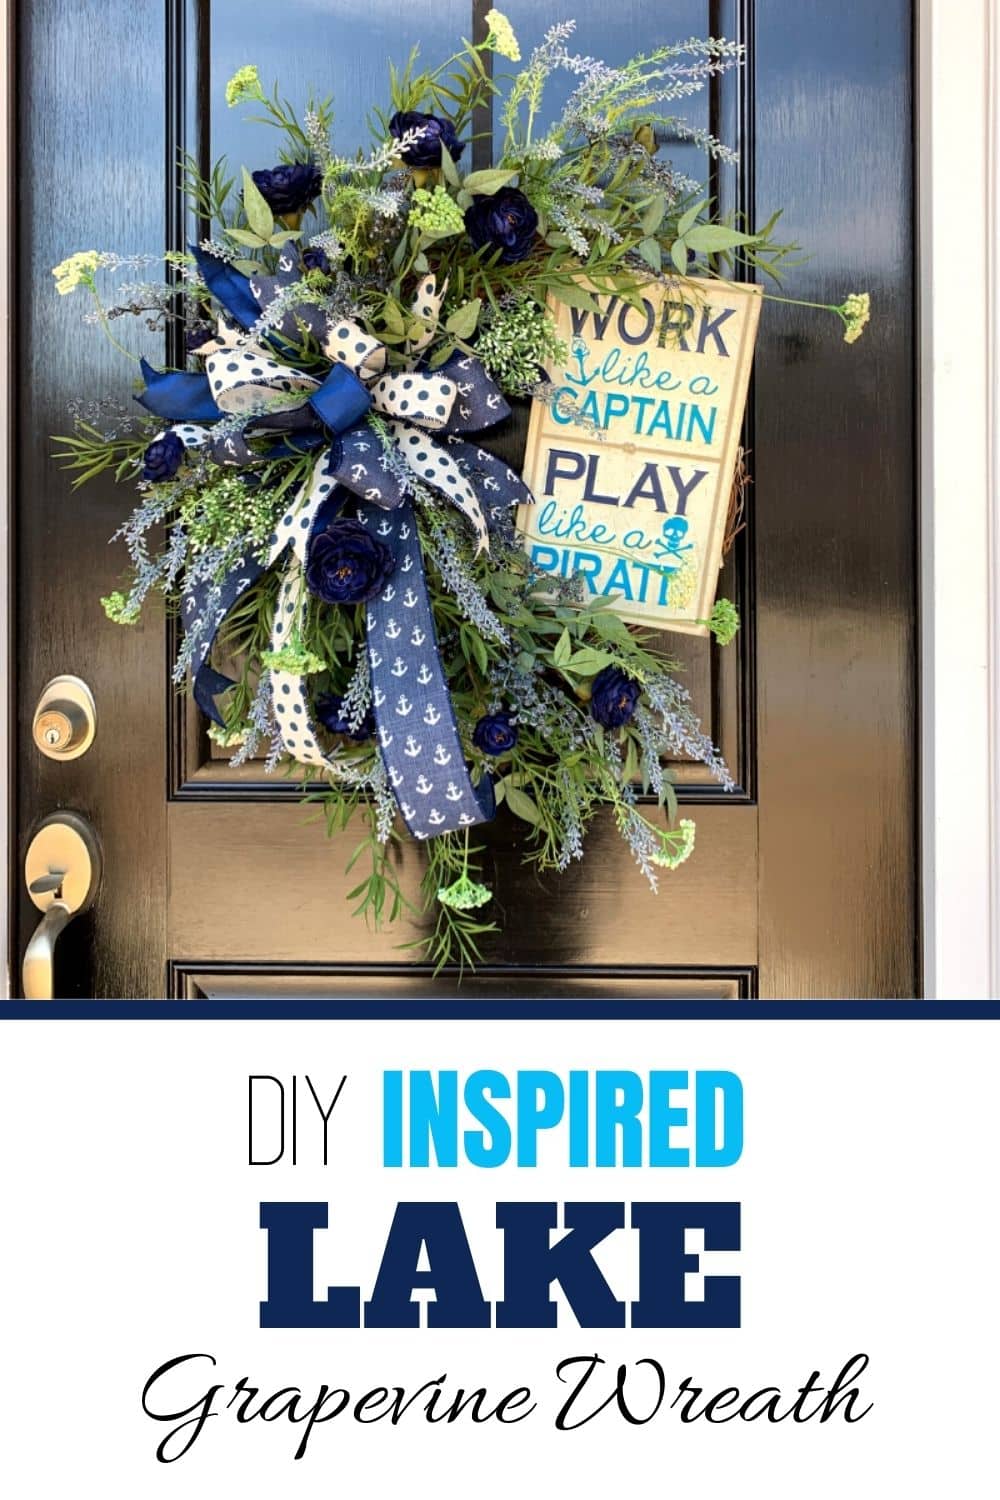
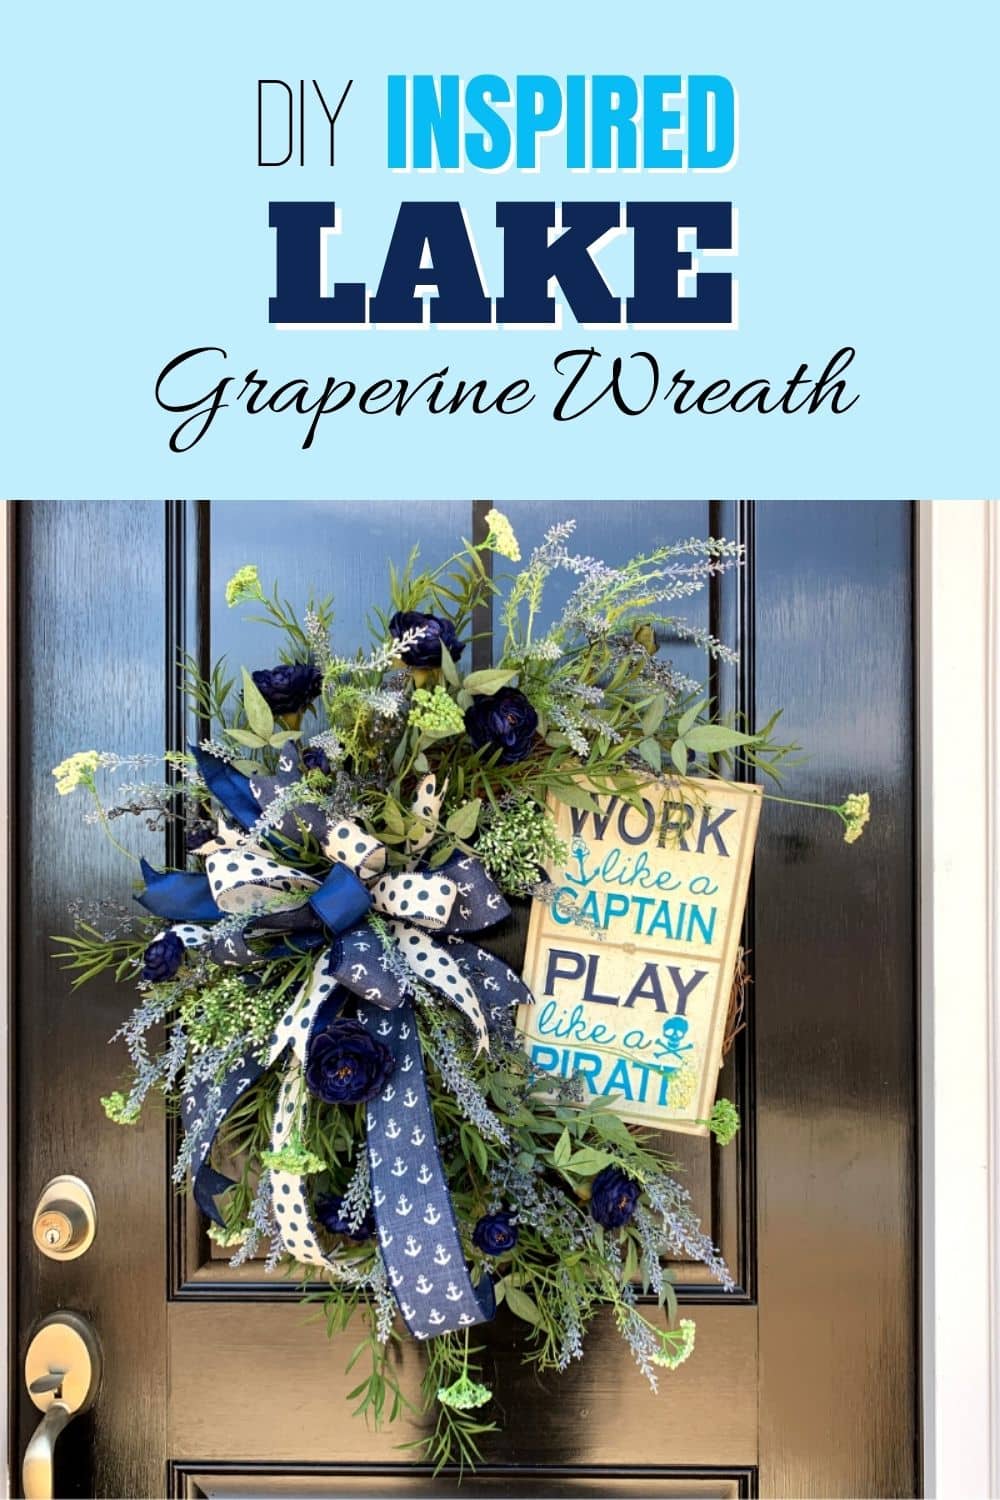
DIY Lake Inspired Grapevine Wreath for Door
This stunning blue and white nautical wreath is simple to put together and will add a splash of lakeside charm even to land-locked homes. Learn how to make your own DIY lake inspired grapevine wreath.
How To Make A Lake Inspired Grapevine Wreath
If you peek closely, you can see that this wreath is made with a simple grapevine wreath, filled with nautical and other lake themes. Ready to make your own? Grab your ribbons and get ready to make a wreath that celebrates life on the lake!
This post may contain affiliate links for your convenience. Click here to read my full disclosure policy.
Supplies
- 16-inch Grapevine Wreath
- Lake-themed sign
- Florist Wire
- Wired Ribbon
- Greenery Picks
- Glue Sticks and Hot Plate
Lake Inspired Nautical Wreath: Step-By-Step Tutorial
Use these tips to make a wreath of your own. You can even sell this one at crafts stores or online – it’s a very popular item, particulalry in the summer months!
1. Attach The Sign To The Wreath
I don’t always attach the sign to the wreath first, but I wanted to this time. I decided to put it on first so that I could design around it. Punch holes into the sign, add the wire, and then use the wire to secure the sign to the grapevine wreath.
2. Make The Bow
I like to make my bows by hand, but if it is too difficult for you, you can use a bow-making machine. For this wreath, I made a bow with a 12-inch tail and after I folded the loops, it made 6-inch tall loops.
Want more information about how to make a bow? Here are 9 different ways to make a bow! My best advice is just to practice. The more you do it, the easier it will become.
Use as many different layers for the ribbon as you want. I like to vary the width of my ribbons in the bows because it adds dimension. I used 3 different ribbons in my bow.
When you are finished with your bow, attach it to the wreath.
3. Add Some Greenery
Next, find your favorite greenery. I found a bunch of different leaves with various textures, shapes, and sizes. Some of it looks like rosemary and some of it even has flowers already on it.
I always trim my greenery so that I can place it where I want it in the wreath.
I like to build out my base first, so I attach the leaves first closest to the bow and then start layering around the bow from there.
4. Start Adding Flowers
Finally, start adding some beautiful blossoms to your wreath. Since I there is blue on my sign and in my ribbons, I used blue flowers on the wreath. Pull out the colors from your ribbon and accentuate them with your flowers.
Keep adding flowers and greenery layer upon layer until you are happy with your gorgeous wreath!
Watch The Video: DIY Lake Inspired Grapevine Wreath
If you enjoyed this and want to learn more on how to get started with wreath making, try my Wreath Making 101 Workshop!
Thanks for joining me today in the wreath workshop! Comment below and tell me what’s your favorite part or let me know what I should make next!
Happy Wreathing,
Julie
More Grapevine Wreaths
If you enjoyed this blue and white grapevine wreath, then here are some more grapevine wreath projects you will enjoy too.
Where did you get that cool sign? I took the bow mastery class and am now joining the WOTMC. You do great work, thanks for sharing your God given talent!!