How To Make A Silk Flower Summer Ladybug Wreath
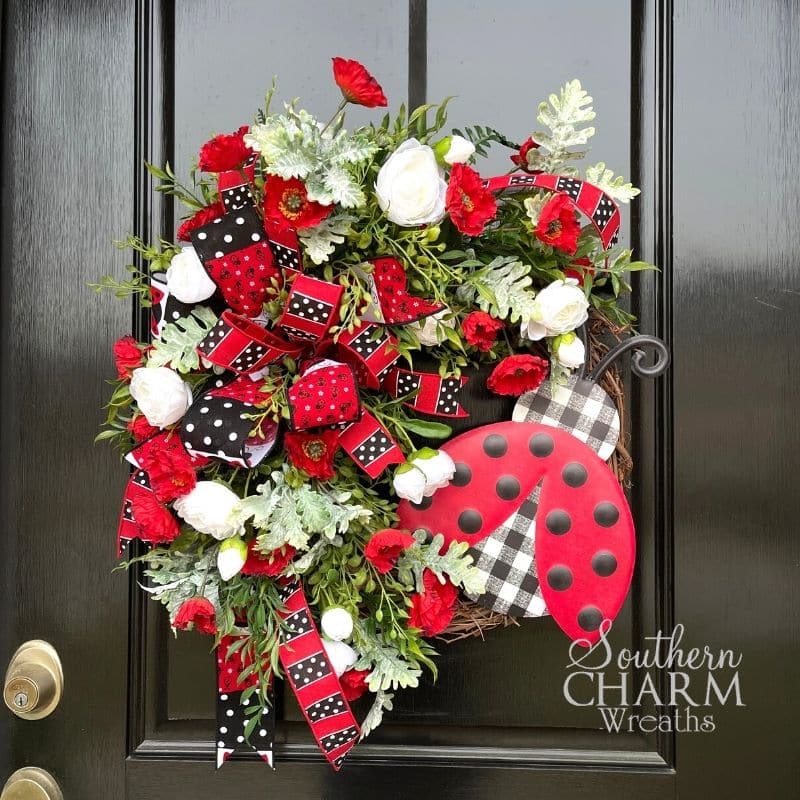
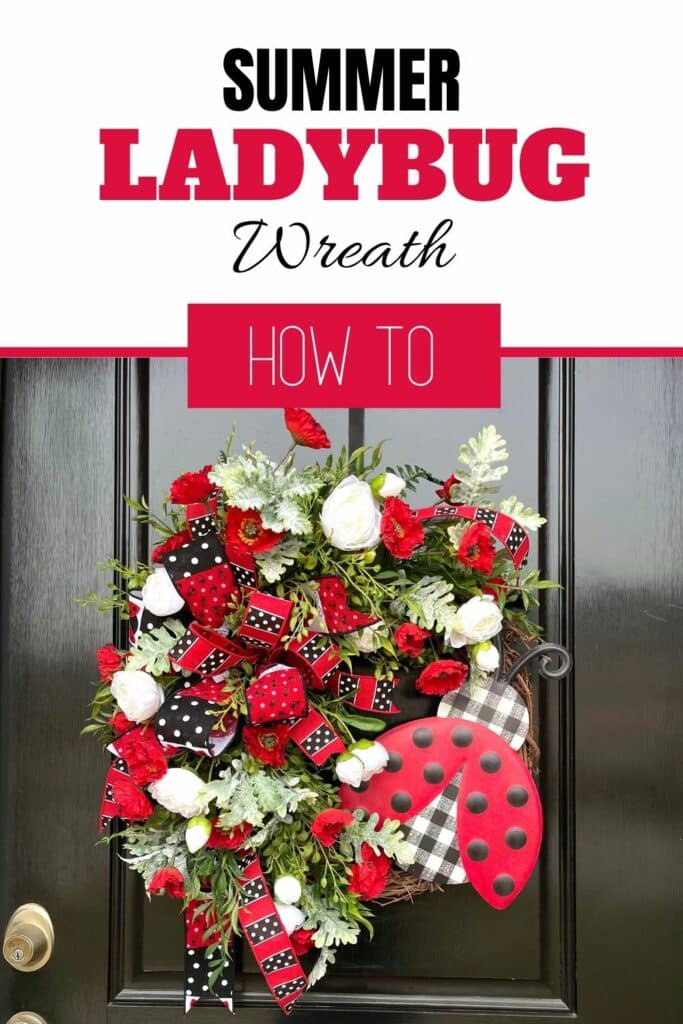
This lovely silk flower ladybug wreath is perfect for summertime. It’s popping with red and white colors – here’s how to make it!

How to Make a Silk Flower Summer Ladybug Wreath
I just adore the combination of polka dots and buffalo checks on this vibrant summer wreath. It instantly makes me think of picnics and cookouts. This wreath uses the classic summertime combinations of red with black and white as the accent colors.
This wreath will dress up your door this summer because all of the fun patterns accentuate the playful ladybug sign nestled in the green leaves.
Supplies for this Project
- 14″ Grapevine Wreath
- Ladybug Sign
- Red, Black, and White Wired Ribbon
- Ladybug Ribbon
- Greenery
- White Silk Ranunculus
- Silk Red Poppies
- Bind Wire
- Glue pan
- Glue Sticks
- Scissors
- Wire Cutters
How to Make a Ladybug Wreath– Step by Step Tutorial
1. Attach The Sign To The Wreath
Use a beadsmith tool to punch holes in the sign in the locations you want to add the wire. Then, use florist wire to thread it through the sign and attach it to the grapevine wreath. Twist the wire tight on the backside. Cut off any excess wire and give the wreath a good shake to make sure your sign is nice and secure.
2. Make The Bow
Keep balance in mind as you add the bows and greenery on your wreath. This means, whatever you add on one side should balance out the elements that you have on the other side.
Measure the length you want the tail to be and then start creating a 6-inch loop. In the video below, I show you how to make a bow – it’s a simple matter of looping the ribbon, pinching it, and twisting it. If you want even more bow-making ideas, check out my free video that shows you how to make 9 different types of bows.
After you make about 4 loops out of your 3-inch ribbon, add the 1.5-inch ribbon on top for some extra dimension. Just make 3 loops out of the smaller ribbon.
Finally, add a few longer pieces of streamers at the bottom to give the ribbon some length.
When you are satisfied with your bow, secure it with florist’s wire. Then, attach it to the wreath.
3. Green The Base
When you green the base, you use greenery to establish some type of floral design.
To do this, I dipped the greenery pick into some melted glue sticks that I keep in a hot plate. This is a time-saving hacking that helps me attach floral picks to my wreaths quickly.
Attach the greenery to the wreath, starting close to the ribbon and moving out away from it.
Another tip: Always attach the greenery to the grapevine wreath, don’t stick them through the grapevine. Go with the grain and glue them on top of it. If you stick them through the grapevine wreath, you’ll have a bunch of sticks poking out of your wreath.
As you add greenery, use different colors and textures. Layer them to add visual interest.
4. Add A Hanger To The Back Of The Wreath
You can do this step at any point in the process. I like to create a hanger out of wire and glue it to the wreath. This way, it’s easier to hang up (and it will always be hung up right-side up!).
5. Attach The Silk Flowers
After you are satisfied with how much greenery you added, begin to attach your silk flowers. Start with the red poppies and then begin adding the white ranunculus’ as the accent colors.
If you need to, add a wooden floral pick on the end of your silk flowers so that they are easier to add to the wreath.
When you pick out silk flowers to add throughout your wreath, use wire cutters to separate bunches of flowers and add them as individual blooms.
That’s it! Step back and take one final look at your wreath. Fill in any areas that you think are needing more color or texture and then enjoy your finished wreath.
Watch The Video: Silk Flower Ladybug Wreath

If you enjoyed this and want to learn more on how to get started with wreath making, try my Wreath Making 101 Workshop!
If you enjoyed this post, you might also like:
- How to Make a Ladybug Summer Geranium Wreath
- DIY Summer Silk Flower Ladybug Wreath Tutorial
- Deco Mesh Bumblebee Wreath DIY Tutorial


Beautiful and stunning as usual Julie! ROCKSTAR!!
Julie, you make the prettiest bows EVER!!! What is the tool you use to punch holes in your signs?
Dianne – Here is Julie’s affiliate link for the Beadsmith Hole Punch tool Julie recommends:
http://amzn.to/2hDqh9B