How To Make a Spring Butterfly Wreath
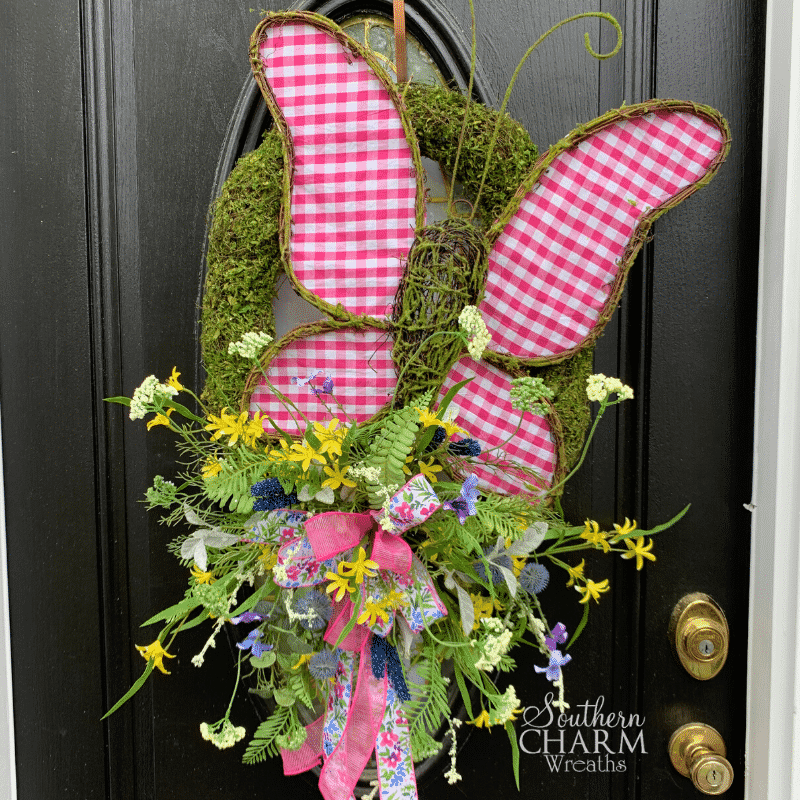
Today in the wreath shop we’re making a pretty and bright butterfly wreath for spring with this beautiful butterfly from Carolina Pottery! They also have it in black and white but I think we all need a little colorful spring cheer right now, don’t you? Read the instructions below or watch the video at the end to learn how to make this project yourself.
Let’s get started!

This post may contain affiliate links for your convenience. Click here to read my full disclosure policy.
Supplies for the Butterfly Wreath
Oval Moss Wreath
Large Butterfly
Fern bush
Blue Cattail bush
Yellow Lily bush
Queen Anne’s Lace bush
You can find the same moss wreath and butterfly that I used at Carolina Pottery. There are several locations here in the South, but if you can’t get to one yourself, check out their online shop.
The flowers and greenery for this wreath were all from Greenery Market on Etsy.
You will also need:
Foam
Zipties
Moss
Floral Pins
Floral Wire
Wooden pick
Hot glue pan
Hot glue
Steps for Making the Floral Butterfly Spring Wreath
Step 1 – First, attach a small piece of foam to the bottom of the wreath so we have a base for the flower arrangement. Use one or two zip ties to secure the foam, then cover it with a bit of moss using floral pins.
Step 2 – Now figure out how you want your butterfly to sit, and use floral wire to attach it to the wreath in several places. Since this isn’t a grapevine wreath, it’s a little tricky. Watch the video below to see how I do this without the wire showing.
Step 3 – Next we’ll make the bow. I did mine with three loops of the first ribbon, three loops of the second, and then one extra loop of the first color. There’s no right or wrong way to make your bow. Just do what looks good to you. Shape the bow how you like it, then use floral wire and a wooden pick to attach it to the front of the foam.
Step 4 – Now we’re going to separate the stems on the greenery bushes and Glue them into the foam around the back of the bow to make a green base for your flowers.
Step 5 – And of course you can’t have a butterfly arrangement without flowers! Trim up your bushes into stems and add them in above the greenery. You can keep them behind the bow it you’d like, but I love the look of having flowers come out through the bow. Just start in the back and keep adding more layers of flowers until it’s nice and full.
And that’s all there is to it!
How to Make A Spring Butterfly Wreath
If you enjoyed this and want to learn to wreath the professional way, join me in our exclusive Wreath Making of the Month Club!
Happy Wreathing,
Julie
If you enjoyed this post, you might also like:
Spring Flower Arrangement in a Tool Box
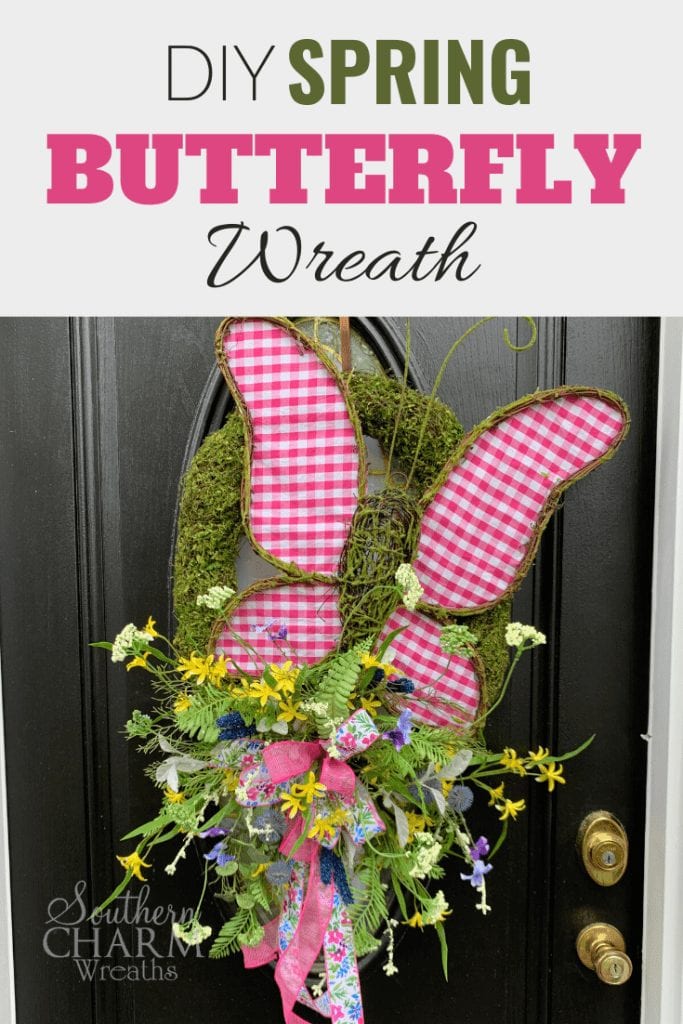
Liked this Spring Butterfly Wreath? Pin it for later!


I looked on Carolina Pottery for both the wreath and butterfly and I don’t see either of them. Were they on the site and maybe sold out? Sorry, but I am not close to Carolina Pottery.
Call them directly in their West Columbia location to see if they will ship. They don’t list everything on their website.
Hi Julie, I found you recently on YouTube and love watching you make wreaths. I’m just making them for my self and family and have learned so much from you. My question is, what is the little machine on your work space that looks like it might be a bow maker but I saw you use it to put silver spikes on the ends of stems?? I watch from my phone a lot so sometimes I can’t see it so well. Thank you
Pick machine, learn more here on my blog
Love this wreath & all your tutorials. However, I do not live anywhere near Carolina Pottery & have been unsuccessful in purchasing the oval moss wreath & large butterfly online from them. Searching for the items doesn’t help.
No, you’ll need to call them and ask.
Loved your Butterfly Wreath!