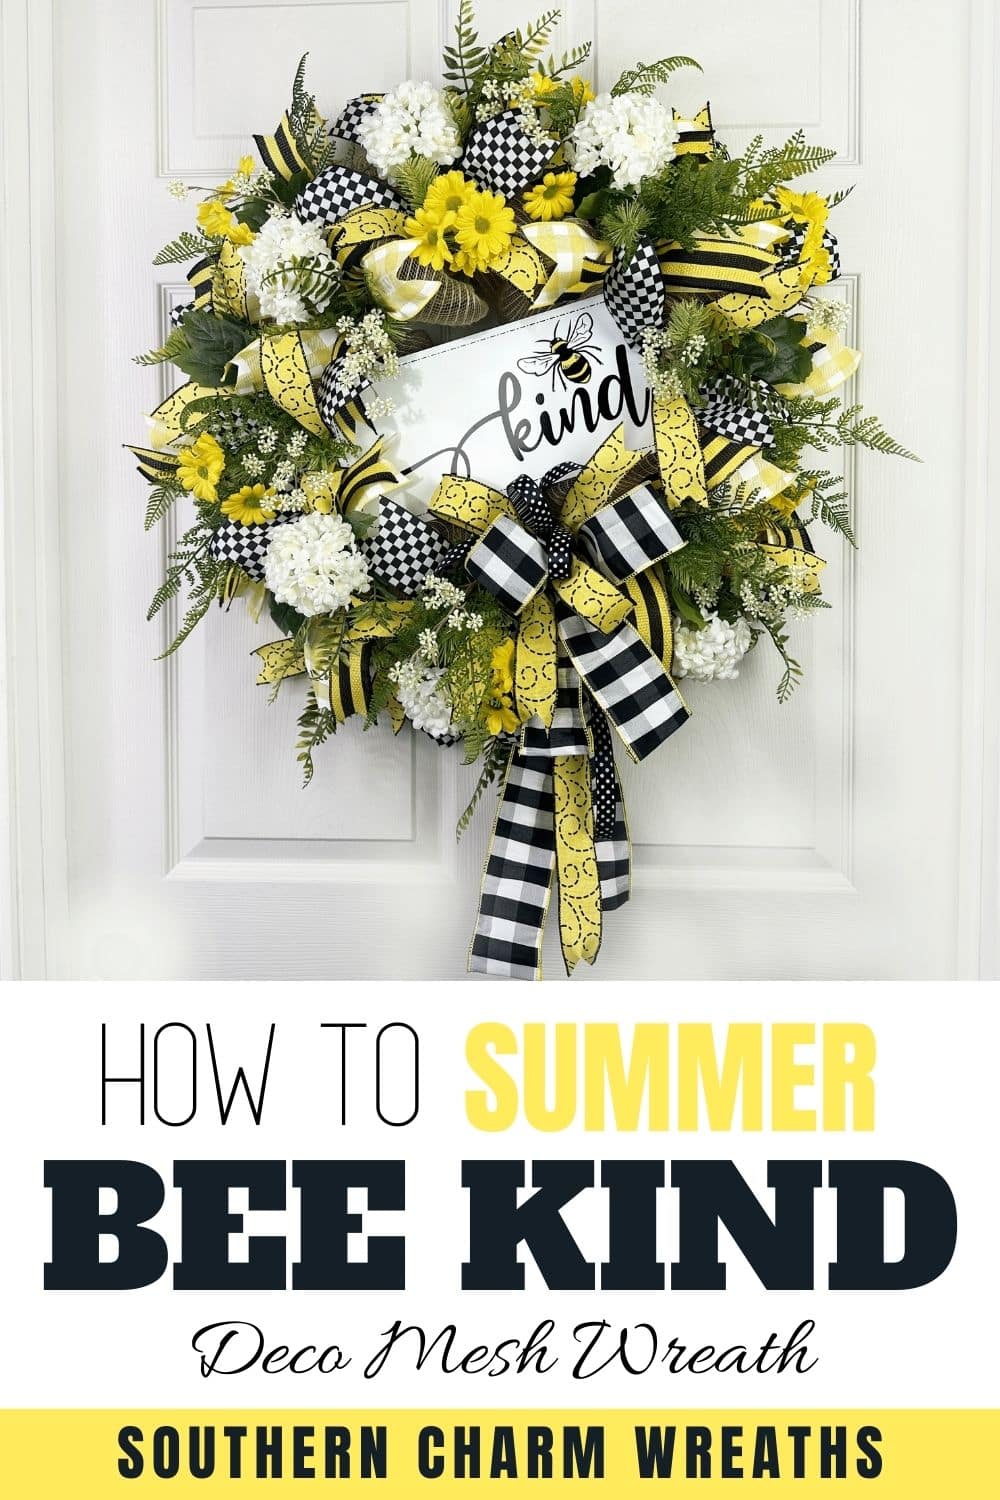
Summer Deco Mesh Bee Kind Wreath
Calling all deco mesh fans! Make this summer bee kind wreath your next seasonal project. It’s bright, cheerful, and sure to turn heads at any summer craft market.
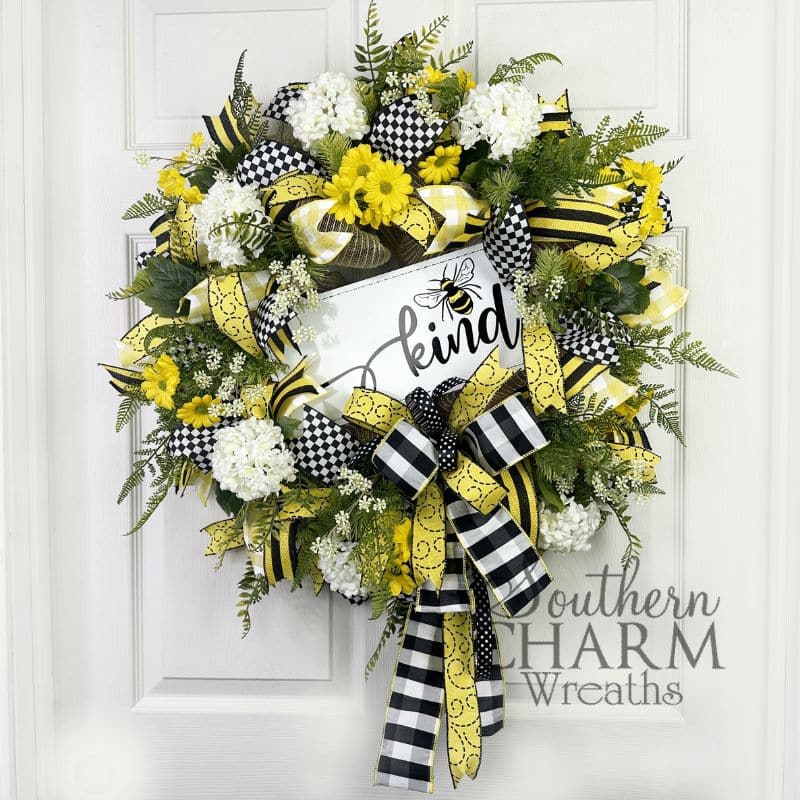
Summer bee kind wreath
This summer wreath makes a big statement on any front door! With full, fluffy ribbons and puffy white snowballs, it demands our attention.
Though deco mesh wreaths can be pretty time-consuming, they’re super easy to make and last for years. So today, I’m sharing with you how to make this dreamy seasonal wreath.
This post may contain affiliate links for your convenience. Click here to read my full disclosure policy.

Supplies for this project
You’ll need:
- 16-inch wreath form
- 10-inch burlap deco mesh
- Wired silk ribbons
- 2 ½ inch black silk gingham
- 1 ½ inch yellow & black swirls
- 2 ½ inch black and white checkered
- 2 ½ inch yellow plaid
- 1 ½ inch yellow and black stripes
- ⅞ inch black and white polka dot
- Artificial flowers
- White snowballs
- Yellow daisies
- White filler flowers
- Fern greenery (2 varieties)
- “Bee kind” focal sign
- Florist wire
- Zip ties
- Hot glue
- Clippers
- Jewelry hole punch
How to make a summer bee kind wreath: Step-by-step tutorial
1. Prepare your base
Set your base by wrapping your wreath with three levels of burlap deco mesh. Each level should have 10-inch burlap poufs working all the way around.
Between each level, trim your burlap and tuck the end into the back of your frame, zip-tying to secure for a finished look.
2. Add your ribbons
Next, we’re going to add our ribbons.
Pre-measure 13-inch cuts of your:
- 2 ½ inch black checkered ribbon
- 1 ½ inch yellow ribbon with black swirls
- 2 ½ inch yellow plaid ribbon
- 1 ½ inch black and yellow striped ribbon
Make sure to dovetail the ends.
Then, lay a piece of yellow swirly ribbon over a black checkered ribbon, twisting in the middle to attach them.
Add it to the top level of your wreath, spreading the ribbons out to form an X.
Repeat this process with the next ribbon combination, adding it to your wreath.
Work your way around the top level of your wreath, alternating the ribbon combinations as you go. There should be about 10 ribbon combos in total.
Repeat this process on your bottom wreath level.
3. Attach your bee kind wreath sign
Next, use a jewelry hole punch to create two holes on each side of your focal sign. Weave florist wire into the holes and use it to secure the sign to your wreath, slightly off-center.
4. Incorporate your bow
To make your bow, measure an 8-inch tail of your black silk gingham ribbon, pinching, then measure out another 12 inches. Pinch and twist to make a 6-inch loop. Repeat for one more loop and trim your tail at 8 inches.
Complete this exact process with your 1 ½ inch yellow ribbon with black swirls, working on top of your bow.
Finally, repeat this process with your ⅞ inch polka dot ribbon, this time measuring 10 inches for two 5-inch loops.
Use florist wire to secure the center of the bow and attach it to your wreath.
5. Include greenery
Include small sprigs of fern, adding fluff to your outer and inner wreath rims. Complete this process with a different color fern for more visual interest.
6. Finish with florals
Finally, it’s time for silk flowers!
Add snowball focal flowers throughout for a balanced look, gluing to the twist ties on your wreath. Then, add filler flowers of yellow daisies and white, airy florals for more depth and movement.
Fluff up the wreath, adjust the ribbon tails, and you’re finished!
Watch the video: How to make a summer bee kind wreath
If you enjoyed this post, you might also like:
- DIY Deco Mesh Summer Sweet Tea Wreath
- How To Make A Deco Mesh Summer Wreath
- Deco Mesh Bumblebee Wreath DIY Tutorial
Like this post? Pin it for later!
Gorgeous