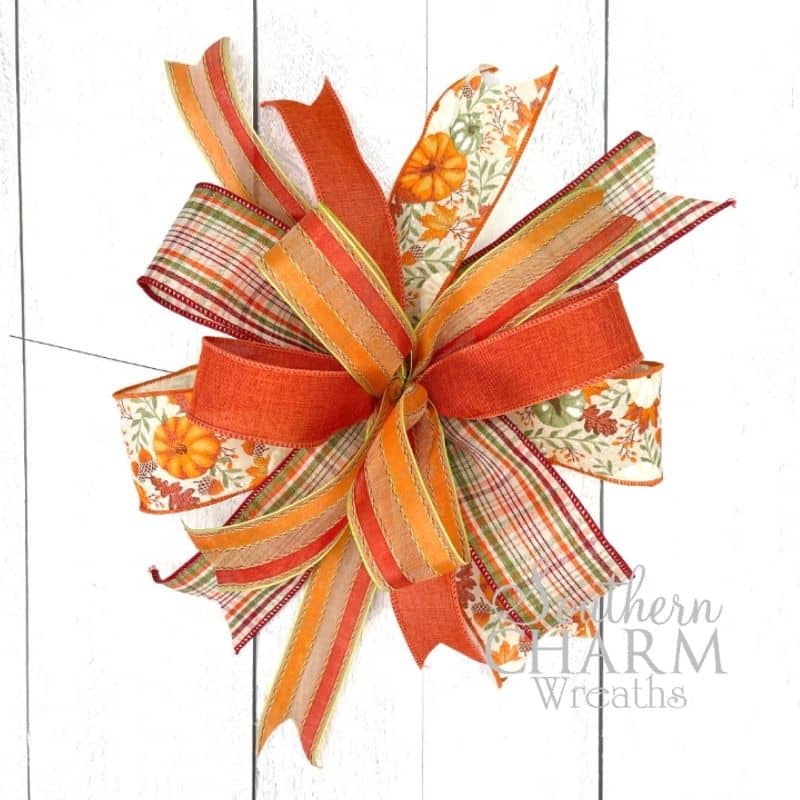
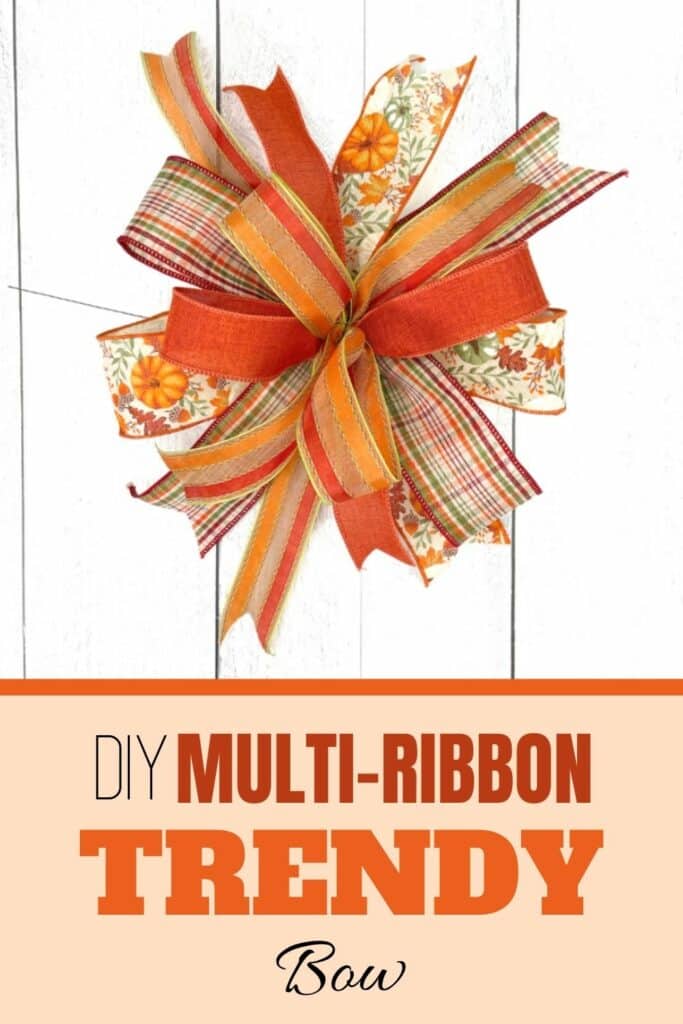
Trendy Multi Ribbon Fall Bow – 2 Ways
If there’s one tool every wreath maker should have in their tool belt, it’s knowing how to make bows! The multi-bow in particular allows you to pair different types of ribbon together to make a beautiful accent for wreaths or decor. In this tutorial, you’ll learn how to make this beautiful fall bow in two different ways!

How To Make A Trendy Multi Ribbon Fall Bow Two Ways
The multibow is one of my favorite types of bows. Why? Because it allows you to use multiple types of ribbon to create one stunning look!
I’m a huge fan of mixing and pairing ribbon patterns together, and this is one of my favorite ways to do so.
This is true year round, but I particularly love mixing and matching ribbon to create a pretty fall bow like the one above!
There are two different ways you can make a fall bow like this one: by hand or with an EZ bow maker. Choose which method works for you!
This post may contain affiliate links for your convenience. Click here to read my full disclosure policy.

Supplies For This Project
- 2 1/2″ Wired Ribbon
- 1 1/2″ Wired Ribbon
- 22-gauge Florist Wire
- EZ Bow Maker
How To Make A Multi Ribbon Hand-Tied Bow
Step 1: Roll Out Your Ribbon
Make the tail as long as you want it. In my video, I made an 8″ tail. Either measure it on your table or just eyeball it. There isn’t a right or wrong way to make the tail.
Step 2: Pinch The Bow
Using your index finger and thumb in your non-dominant hand, pinch the top of the tail. This hand is where you will be holding all the ends of the loops.
Step 3: Measure and Make The Loops
You can either eyeball it or measure it on your table, but it’s time to make your loops. I measured 12″ of ribbon and folded it in half in my bow-holding hand. This made a 6″ loop.
When you are making the loop below your hand, twist the ribbon towards yourself as you bring it up to your hand. This will keep the print facing outward. Basically, before you make the next loop, the pretty side of the ribbon should be facing forward (towards you).
Make as many loops as you want. I thought that two loops of the first ribbon were plenty. When you have enough loops, cut the ribbon off from the bolt.
Step 4: Repeat With Another 2.5″ Wired Ribbon
Next, choose another wired ribbon in a complementary shade or pattern. Repeat the above steps until you are satisfied with how many loops you have.
Gradually move the first part of the bow closer to your palm so that you can pinch the loops of the 2nd ribbon with your index finger and thumb.
Remember, when you are creating a loop above your thumb, twist away from you. When you create a loop below your thumb, twist towards yourself.
Step 5: Incorporate The Bows Together
After you have both ribbons folded into a bow in your hand, you might notice that you have one ribbon close to your palm and another type of ribbon in your fingers.
Twist and move the bows so that they are laying in between each other. Make it look like they are all part of the same bow, not two separate pieces.
Step 6: Make Loops With 1.5″ Ribbon
To add more texture, choose a slightly smaller ribbon and make the loops a little smaller as well. I made two 5″ loops (measured 10″ of ribbon and folded in half) with a 1.5″ ribbon.
Loop them above and below your thumbs again and then intermingle them with the rest of the loops.
Keep repeating with as many smaller ribbons as you want. Eventually, it gets kinda difficult to hold them all, so only do as much as you can.
Step 7: Add A Ribbon Streamer On The Back
Finish the look by adding a piece of the last ribbon you used as a streamer on the back.
Step 8: Secure It Together With Florist Wire
Grab a piece of 22-gauge florist wire and twist it around the middle of your loops so that it secures them together tightly.
At this point, it is done! If you want to add a little finesse to it, you can dovetail the end of the tails, but that is just optional.
How To Make A Multi Ribbon Bow With the EZ Bow Maker
Step 1: Place The Piece Of Streamer Down First
Pull a 2.5″ piece of wired ribbon through the two vertical pegs. Anything you make on the bow maker, you have to build from the back of the bow forward.
Step 2: Make The Two Largest Loops
Grab another 2.5″ wired ribbon and make 2 loops that are 6″ long each. To do this, pull 6″ of the wired ribbon through the two vertical pegs. This is the first tail of the loop. Then twist it, and pull 12″ of the same ribbon, fold it in half to make a 6″ loop, and thread it through the 2 vertical pegs.
The bow maker has a ruler on it so you can measure as you go.
Repeat this process until you have an equal number of loops on both the right and left of the vertical pegs. When you have enough (I made one on each side) cut the ribbon off the bolt.
Step 3: Make 2 Loops With The Other 2.5″ Wired Ribbon
Repeat the previous steps using your 2nd 2.5″ wired ribbon. Feel free to make as many loops as you want, as long as you have the same number on both sides.
Just like we did with the hand-tie method, begin to twist the loops so they are incorporated among each other. I like to be able to see every other pattern so that no two patterns are next to each other.
Step 4: Create 10″ Loops
Now it’s time to use that 1.5″ wired ribbon for the top of the bow. Thread it through the vertical pegs and make as many 5″ loops as you want.
Repeat the process with another 1.5″ wired ribbon if you want to, or just stop with this one.
Step 5: Finish With Florist Wire
After it is completely fluffed and all the loops are laying how you want them to, it is time to finish it off with the florist wire.
Life the entire bow off the bow maker and pinch the middle with your index finger and thumb. Add the florist wire to the back of the bow and bring it around in half to the front of your hand. Use a twisting motion to secure the florist wire to the bow so tightly that it won’t come loose.
Watch The Video: Trendy Multi Ribbon Fall Bow 2 Ways
If you enjoyed this post, you might also like:
- DIY Multi Ribbon Football Bow
- Quick Christmas Bow Hack for your Seasonal Wreaths
- How to Make a Bow with Two Pieces of Ribbon


It’s a beautiful bow, I would like to make something like that for a different occasion.
I love your videos. You get me so inspired!! Thank you.
Great bow – now I’m off to make one for my fall lantern!
Videos are very easy to follow. Thank you for sharing!!