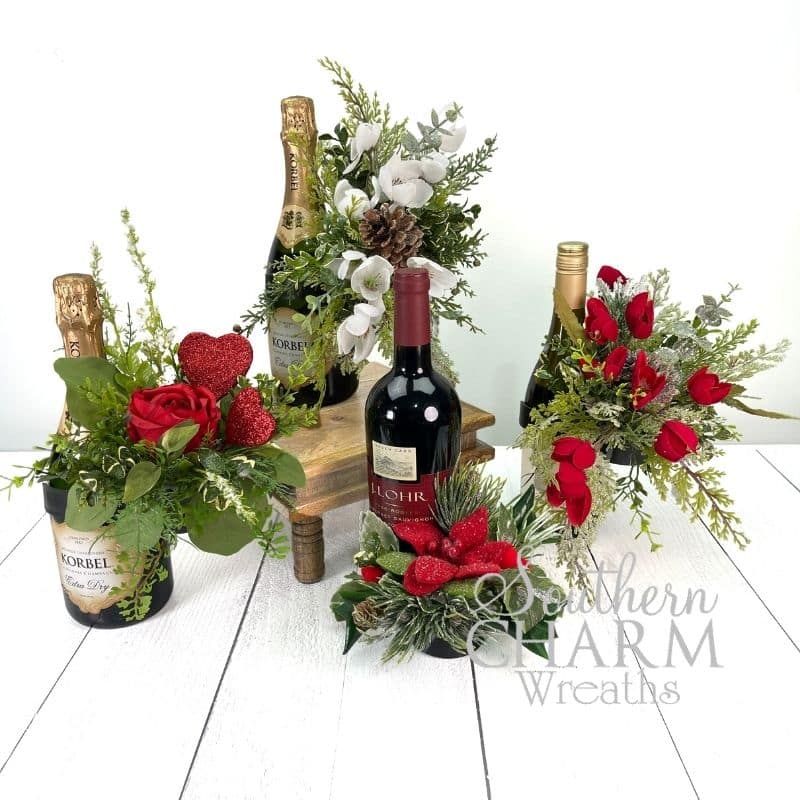
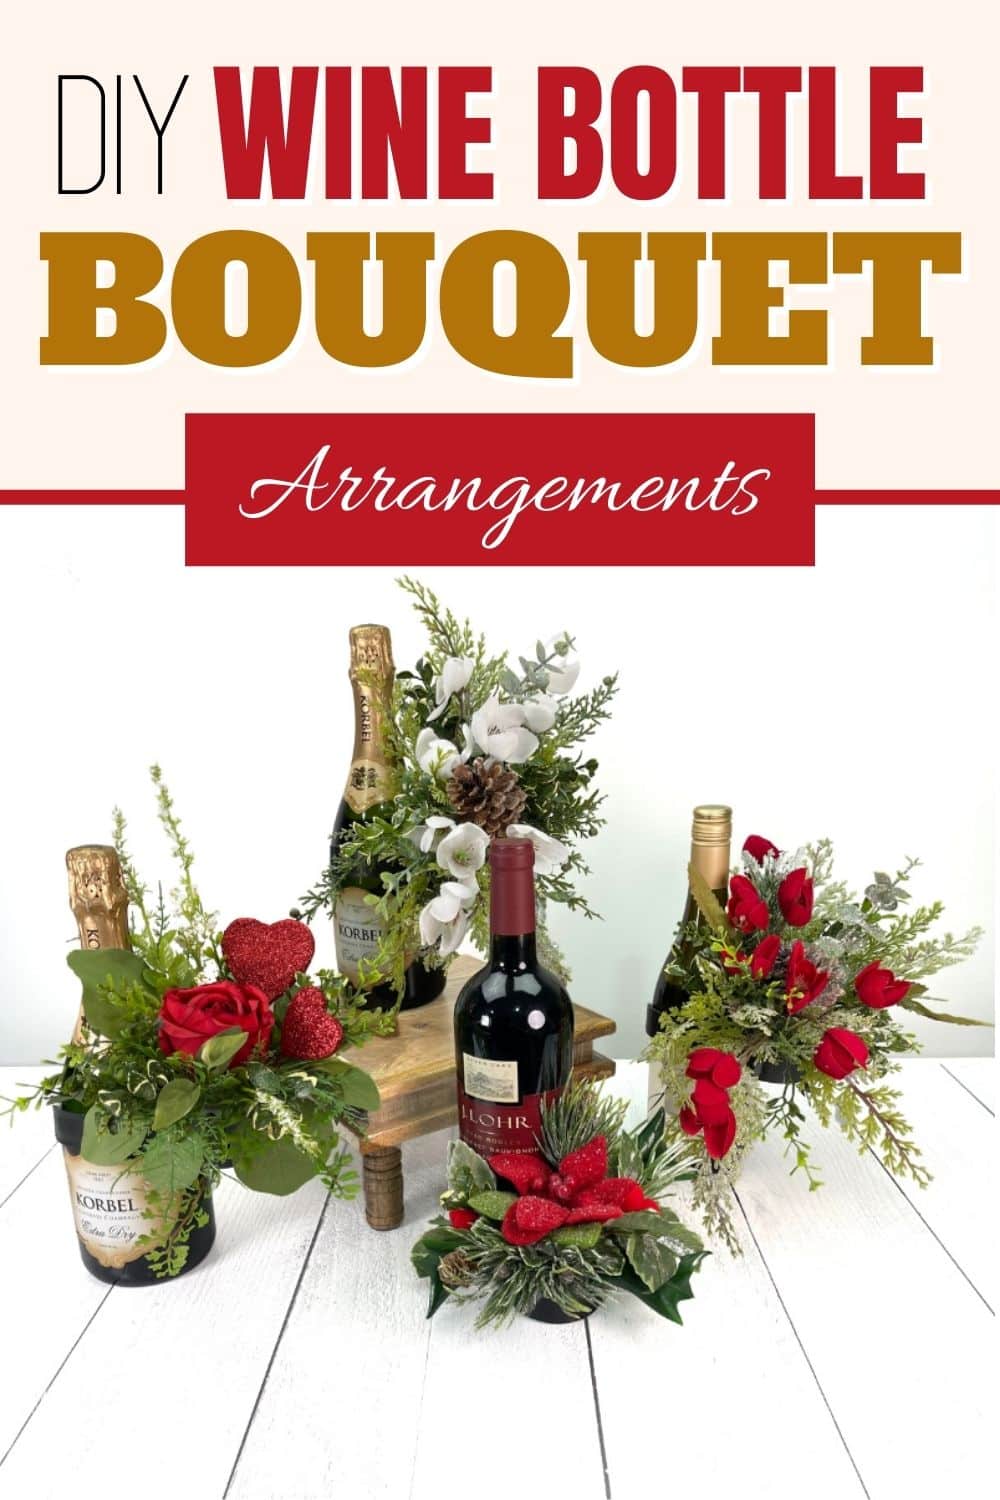
Wine Bottle Flower Bouquet Arrangements
How to Make Your Own Flower Arrangement on a Wine Bottle
I saw these cute wine bottle bouquet floral arrangements and was dying to try this fun idea! What a perfect way to elevate a hostess gift, a Christmas gift, or a special addition to celebrate any occasion. I’ve already created one that would be perfect for Winter and your favorite Valentine. Let’s try a few more together!
This idea is proof that you can find inspiration anywhere and use other ideas to make your own with some simple personal touches. You could also tweak the designs and supplies a little to use fresh flowers and greenery as well! That would be a perfect way to deliver an ordinary bottle of wine! Let’s explore this new and fun project together!
This post may contain affiliate links for your convenience. Click here to read my full disclosure policy.

Supplies for Wine Bottle Bouquet Arrangement:
- Wine Bottle of Your Choice
- Bloom-in-Box Wine Vessel
- Desert Craft Foam
- Frosted Greenery Craft Spray
- Pine Craft Spray
- Pittosporum Greenery Bunch
- Red Velvet Tulip Blossom Craft Spray
- Wire Cutters
- Glue Pot with Hot Glue
- Floral Wire
How To Make A Wine Bottle Arrangement: Step-By-Step Tutorial
1. Prep Your Vessel for Your Arrangement
Start with a bloom-in-box plastic vessel that attaches to your wine bottle and will hold the base of your floral arrangement. Cut a piece of craft foam in a circle to fit into the side holder.
Take your frosted greenery spray and use wire cutters to cut it into separate pieces.
2. Start Building Your Floral Base
Next, take a longer piece of greenery and dip the ends in hot glue. Add into the front of the foam to give your piece some height. Dip a second piece into the hot glue and insert it into the back of the craft foam to start creating a line you are going to work with.
Place a second piece in the front and another piece into the back of the craft foam, making sure to secure it with hot glue. Use some smaller pieces of greenery to start filling in the center.
3. Add More Greenery
Now, add a separate piece of eucalyptus and pine with wire cutters. Place the eucalyptus stem into the center and a small bunch of white flowers in the middle. Twist some floral wire around your pinecone and insert it into the center of your craft foam. Don’t forget to use hot glue on the ends before placing them into the foam.
Separate your Pine craft spray into individual pieces. Use hot glue and add one to the front and back of your greenery base. Add a third pine stem to the backside. Continue adding stems from the green leaf craft spray starting with two stems towards the front. Work along the line you’ve established and add another in the back.
Add two shorter pieces of greenery from your craft sprays into the backside. Grab another variety of greenery and hot glue the end to insert into any holes that may need filling.
4. Let’s Add Flowers
Using your wire cutters, cut your red tulips bunch into smaller pieces, making sure to keep some longer for some height. Work along your line and add a few taller tulips into the front and do the same to the back for balance. Hot glue the ends before adding to the foam.
Keep adding a few more tulips throughout the arrangement using hot glue and following the line of your design. Make any necessary changes or adjustments to your piece as you go.
Fill in any holes you may see with the various greenery you have left from the craft sprays you have used. Try to make sure the craft foam is completely covered as you work.
Watch The Video: How To Make A Wine Bottle Arrangement
If you enjoyed this post, you might also like:
- Succulent Arrangements For Gift-Giving
- DIY Fall Arrangement With Pumpkins
- How to Make an Easter Lantern Swag Arrangement
Like this post? Pin it for later!
This is the cutest idea and will work for all holidays. Thank you Julie for sharing your talents and making so many people happy and feeling special when you show us how to create.
Exactly how can I obtain the flower holder to attach to wine bottle.
You can order them from Flower Box here: https://flowerbox.com/products/bottle-bouquets
I want to the website and tried to order and they said they don’t ship it US . How did you get them to ship to you?
You can order them from Flower Box here: https://flowerbox.com/products/bottle-bouquets
Love this!!! You can use this for anything! Thanks !!!?????
Julie, I by passed this video earlier. Then I found out that I was going to do a small community craft show. Immediately I remembered you making these. I ordered the materials made one on my own. Then came back to watch the correct way to make one. You are always an inspiration.
Thank you!
I found this while looking through the videos and then ran into a facebook tutorial with an update. I have made two, one for a housewarming gift and a second for an engagement gift. They both have been big hits.
-if I was selling these (finished) online, what size box and how to pack for shipping to buyer?
-what is the price point of finished?
I just love these!
Thanks.
Hey Janet – This is something Julie teaches inside her Wreath Making of the Month Club and the Success Circle group. If you are interested in learning more, please go to:
http://www.learntowreath.com
http://www.howtosellhandmade.com
this is so beautiful. I must try one or two.
What diameter candle would fit in place of the wine bottle and how tall would you recommend it be?
Hey Ginger – a 3″ – 3.5″ wide candle should fit.