Deco Mesh Christmas Joy to the World Wreath
Create a festive and holiday-inspired Christmas wreath with our easy step-by-step tutorial. Craft your own joy to the world Christmas wreath using deco mesh, wood sign, and ribbon! Follow along and let me teach you how!
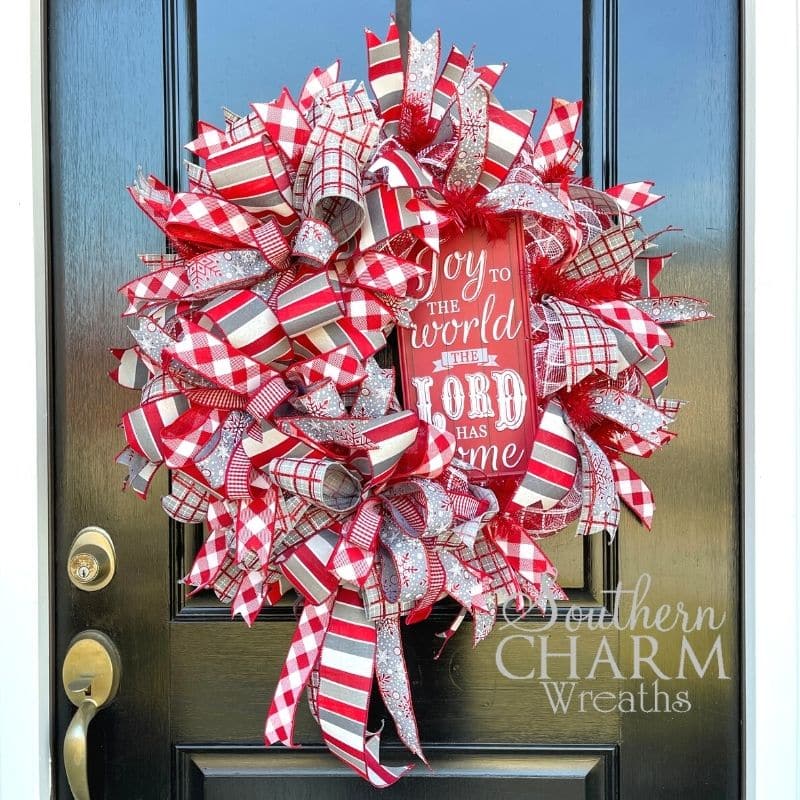
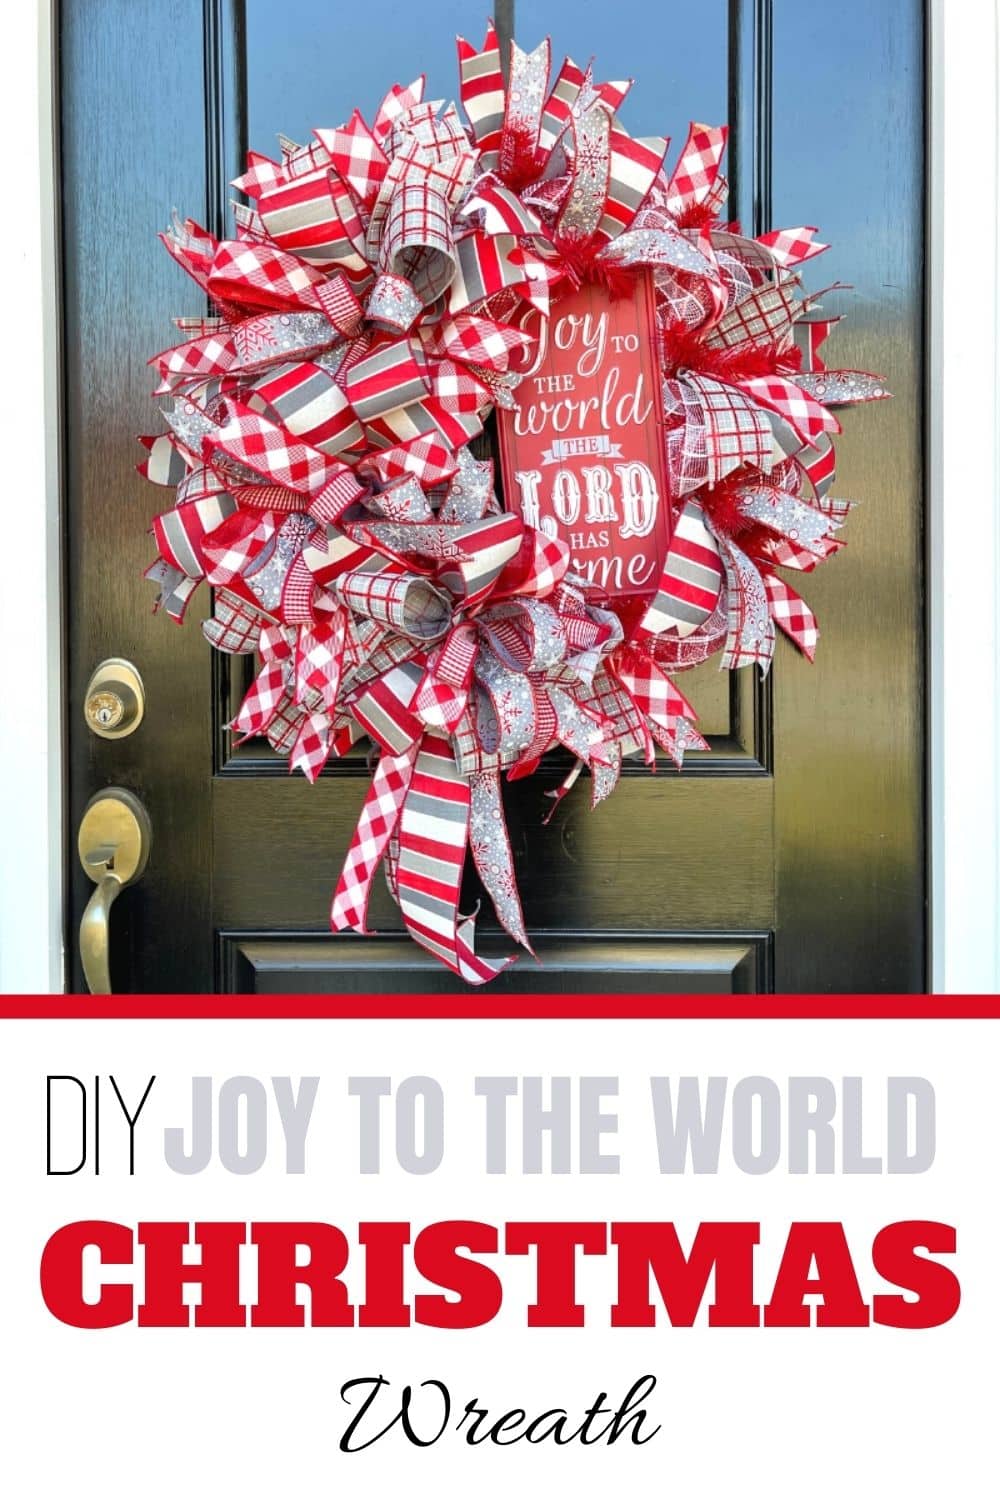
DIY Joy To The World Christmas Wreath
This red and white plaid deco mesh is a great material to work with and is not only for Christmas time! It would make a great base to use for a Valentine’s Day wreath or even work it into Independence Day projects and other holiday seasons. Working with an elevated work wreath framework will give your wreath such thickness and depth in its design.
We made three big and full, beautiful bows for this piece using many different layers of ribbon. Each pattern coordinates so well together with the reds, whites, and a touch of gray that go perfect for winter and Christmas. I also mixed it up and added a cute vertical sign that fits so well with the colors and theme. Let’s make this fun and festive wreath that will make your front door pop this Christmas Season!
This post may contain affiliate links for your convenience. Click here to read my full disclosure policy.

Supplies For This Project
- 24” Elevated Work Wreath Frame
- 10.5” Red and White Plaid Deco Mesh
- 1.5” Gray and Red Snowflake Ribbon
- 1.5” Red and White Gingham Ribbon
- 2.5” Gray, Red and White Plaid Ribbon
- 2.5” Gray, Red and White Striped Ribbon
- Joy to the World Metal Sign
- Florist Wire
- EZ Bow Maker
How To Make A Deco Mesh Joy To The World Wreath: Step-By-Step Tutorial
1. Add the Deco Mesh
Start with your mesh and add it into your work wreath frame by tying the end into a twist tie. Measure a 10” pouf and twist it into the next tie. Each time, make sure the poufs are the same height. Continue all around the inner ring, making any adjustments to poufs as you go.
Keep going by transitioning to the outer ring by pulling the mesh to the closest needle tie and securing it in. Measure 10” poufs as you rotate around the outer circle, securing the mesh at each needle tie.
Open the first needle tie you started with and secure the end of your last pouf on the outer ring. Repeat the same process adding 20” poufs again along the outer ring. Untwist each needle tie before you add the new pouf. Then twist and secure. This will fill in any holes around your wreath base.
Cut the end of your mesh and tuck the tail into the center to hide any edge.
Cut and dovetail 13” ribbon streamers with each of your four rolls. Layer a 1 ½” snowflake ribbon on top of a 2.5” striped ribbon and fold to find the center. Pinch the center and add into each needle tie. Then create an “X” shape with your ribbon tails.
2. Insert the Joy to the World Sign
Next, cut the twine off from your metal sign and add to the right side of your wreath base. Thread florist wire through the holes on the corners of the sign. Twist the wire around each corner.
Use a metal hole punch to punch another hole in the center on the bottom and top of the sign. Thread another piece of florist wire through the new hole.
Attach the sign to the base of your work wreath by fishing the wire through the mesh and securing it onto the metal base on the backside. Trim any excess wire.
Once you get your sign in, if you need to punch any new holes on the sides to help it lay flat, go ahead and attach with more florist wire.
3. Let’s Make Some Bows
Now, let’s make a bow! Grab your EZ Bow Maker and add the 2.5” ribbon spool. Start with a tail about 8” long and make two 6” loops, twisting in the center. Dovetail the ends of the first layer.
Take your second 2.5” ribbon and add it into the center, making a tail on the opposite side of the first later. Make two 6” loops and a streamer on the opposite side of the first. Dovetail the ends and shape each layer as you go.
Repeat the same process with the red and white 1.5” ribbon with a tail, two 6” loops, and a second tail laying opposite of the first. Twist in the center of your EZ Bowmaker. Dovetail the ends.
Do this again with the gray and red snowflake 1.5” ribbon with a tail, two 6” loops, and the last tail laying opposite. Dovetail the ends.
Let’s add another layer with a red and white striped ribbon with two 8” tails and one 5” loop. Take all of the layers and pull off the EZ Bow Maker between your fingers. Tie each layer together using wire and twist in the back to secure your bow.
Repeat the same process to make three full bows.
4. Finishing Touches
Add your first bow on the opposite side of your metal sign. Use the wire from tying your bow to secure it into your wreath base on the backside. The second bow will be inserted below the previous on the bottom of your wreath base. The last bow can go above the first one you put in.
Adjust any tails or loops you need to after adding all three bows onto your wreath base. If you want to add some more ribbon streamers, you can take some ribbons and layer the patterns you like. Cut the length of each ribbon and add into a needle tie towards the bottom. Dovetail each end at the right length. You can also use a pick machine to attach one or two ribbon tails to the bottom of your wreath base.
Watch The Video: How To Make a Joy To The World Christmas Wreath
If you enjoyed this post, you might also like:
- How To Make A Christmas Wreath With Flowers
- How To Make A Multi-Ribbon Funky Christmas Bow
- How To Make A Traditional Christmas Wreath
Like this post? Pin it for later!
This is a beautiful wreath. I’m so happy to have it hanging in my house. Thank you.
Yes I would like to try this