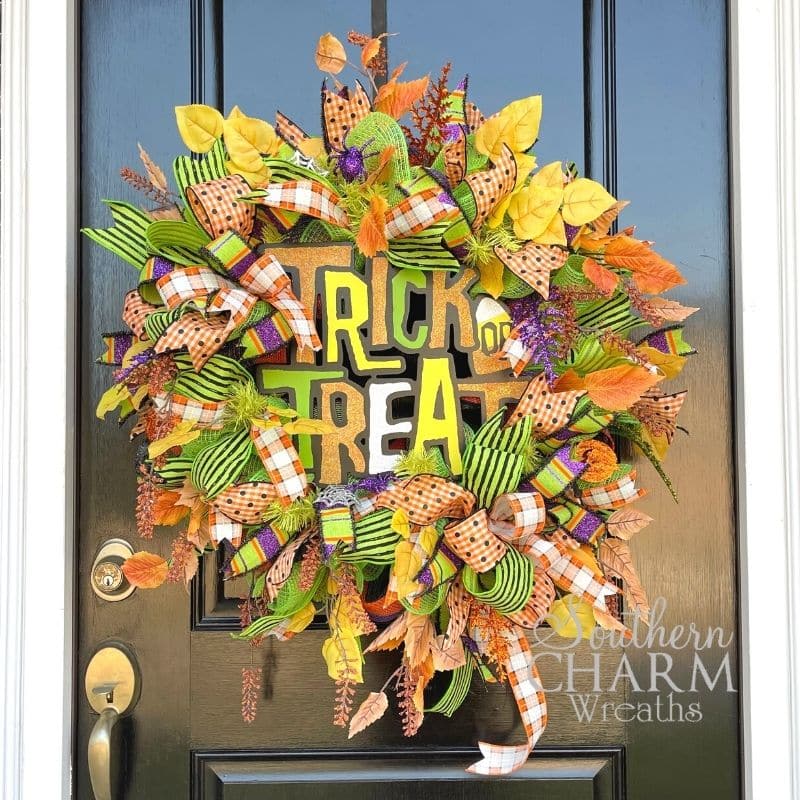
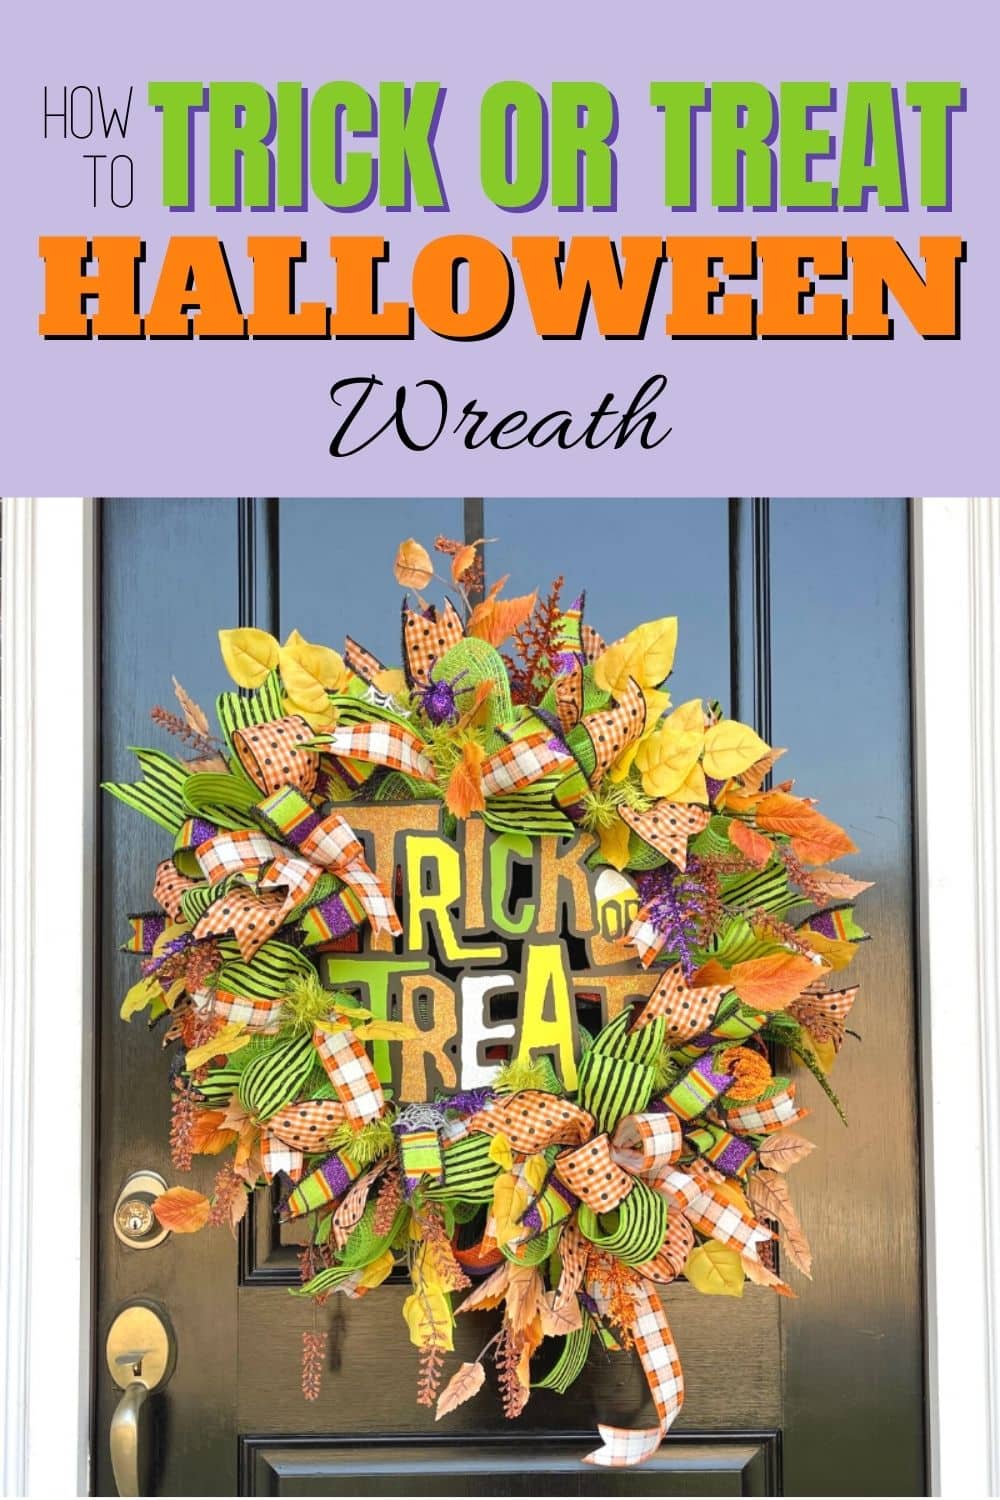
Deco Mesh Trick or Treat Halloween Wreath
Learn how to make a beautiful Halloween wreath using deco mesh and ribbon. You will love how this wreath makes the perfect addition to your front door this year!
How To Make A Deco Mesh Trick or Treat Halloween Wreath
Deco Mesh wreaths are a great versatile project for any holiday. There are so many different colors and patterns to choose from to go along with whatever color scheme or holiday theme you can dream up. I love the pops of green and purple on this Halloween wreath, with some added touches of the traditional black and orange. The various mesh poufs and loops add elevation and depth to this project that is full of color, texture, and fun. Let me show you how to make your own by following this step by step wreath tutorial!
This post may contain affiliate links for your convenience. Click here to read my full disclosure policy.

Supplies for this project:
- 24” Wire Work Wreath Form
- 10” Roll Striped Halloween Striped Mesh (Black, Green, Purple and Orange)
- 10” Lime Green Mesh
- 2.5” wide Coordinating Halloween Ribbon
- 1.5” wide Coordinating Halloween Ribbon
- Trick or Treat Wooden Sign
- Yellow Fall Leaves Floral Bunch
- Orange Fall Leaves Floral Bunch
- Orange Floral Bunch
- Various Glitter Halloween Craft Picks
- Glue Pan
- Hot Glue
- Florist Wire
- Staple Gun
- Pipe Cleaner
- Wire Cutters
How To Make A Deco Mesh Trick or Treat Halloween Wreath
1. Add Deco Mesh
Start by attaching the mesh to your work wreath by twisting it to secure it into the pine tines. Make a 10” Pouf with your deco mesh in between each set of pine tines, working along the inner circle first. Continue throughout the entire wreath. Fluff each loop as you go. Once you have completed the inner circle, move to the outer ring. Using the same looping method, add 10” mesh loops, securing in between with your pine tines on your work wreath.
Once the inner and outer rings have been looped, continue adding your 10” loops in between the inner and outer rings. Try to keep your mesh from twisting as you go and don’t forget to fluff your loops! Use your outer ring pine tines to secure the middle loops. This creates an elevated wreath with a lot of depth. Cut the end of the mesh and tuck under a loop to hide the rough edge.
2. Add Mesh Poufs
Pre-cut your lime green mesh into 12-14” lengths. Roll the ends inward and pinch the center before securing into the pine tines that your mesh loops are also holding. Keep adding your lime green mesh poufs along the inner ring of your work wreath.
3. Add Ribbon Tails
Choose 4 rolls of coordinating Halloween patterned ribbons and cut them into 14” lengths and dovetail the ends. Stack one length on top of a second and fold to find the center. Pinch the center line and secure it into your inner ring pine tines. Spread your ribbon streamers into an “X” form once they are tied in. Alternate ribbon patterns as you add the ribbon streamers. Also, alternate by adding along the inner and outer ring of your wreath form.
4. Attach Wooden Sign
Use a staple gun to attach a sturdy wire onto each corner of your wooden sign. Center the sign onto your wreath and poke the wires through to secure it onto your wreath form. Once your sign is secure, fluff any ribbons or mesh around that may have been pushed down. Trim any ribbon tails that may be too long. Use your wire cutters to snip any excess wire from the back of the wreath.
5. Make your Bow
Let’s make two bunny ear bows starting with one roll of 2.5” wide ribbon. Start with a tail and make two loops that are each 6 inches long and twist in the center. Grab a 1.5” wide ribbon and start with a slightly longer tail. Make two 6” loops and twist in the center. Trim your tail. Make an “X” with your bow loops before adding another layer. Using the second 1.5” ribbon make two 5” loops and trim your tails.
Add a spare ribbon streamer into the twisted center of your bow. Add your last ribbon by making two tails and 5” loops. While you are pinching the center of all the ribbon, turn your wrist over to check your watch, slide the ribbon under to your pointer finger and roll it around the bow. Pull the bow towards you and twist the wire to secure the center. Dovetail any streamers or tails and position the loops and ribbons as you’d like.
6. Attach your Bow to your Wreath
Before positioning your bows, turn your wreath over and twist a wire pipe cleaner at the top center to use as your wreath hanger. Add your bow into the bottom right of your wreath but using the wire to twist onto the wreath form. Once you have it on there, move or fluff any loops that may need adjusting. Add your second bow to the top left of the wreath, using the same method to attach the wire to the wreath form in the back. Make sure your bows aren’t covering up your sign. Cut a long ribbon streamer to add to the bottom of the bow. Dovetail the ends.
7. Final Touches
Use your wire cutters to cut smaller pieces of yellow leaves floral bunch. Dip the ends in your glue pot and add throughout your wreath. Focus first on the outer ring then go back to fill in any holes. Do the same thing using your orange fall leaves floral bunch, adding similar touches throughout your wreath base. Repeat the same process with another orange floral bunch, securing the stems into the base with hot glue. Trim a few glittery Halloween craft picks into smaller pieces and add these picks to the wreath by dipping the ends into hot glue adding a touch of sparkle. Make any last-minute fluffs and enjoy your mesh wreath!
Watch The Video: How To Make A Deco Mesh Trick or Treat Halloween Wreath
If you enjoyed this post, you might also like:
- How to Make a Whimsical Halloween Door Swag
- DIY Fall Sunflower Pumpkin Basket
- DIY Halloween Witch Wreath
Pin this How To Make A Deco Mesh Trick of Treat Halloween Wreath to make later!
Stunning!!! Where did you get your wooden sign?
As mentioned in the video, Trendy Tree.
I just started making mesh wreaths. I have the 21 inch mesh. Can u please give mine guidance on making wreaths with the long mesh? Do you ever all use the Ever use the wood-burning mechanism to cut the mesh?
I make 10 in poofs using a 21 inch mesh and never use the wood burner.
Truly beautiful. Love your items. You present very well.
Beautiful!! Love colors ??