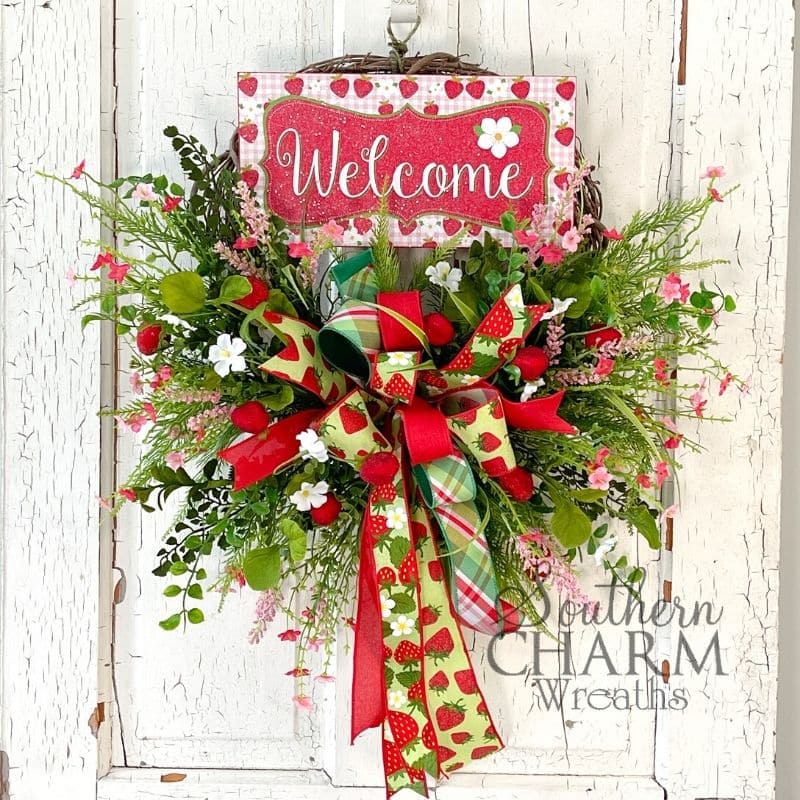
DIY Strawberry Wreath On Grapevine
Celebrate the best fruit of summer – strawberries! This full and happy DIY strawberry wreath is built on a rustic grapevine base and is super-easy to customize.

DIY Strawberry Wreath On Grapevine
One of my favorite summertime desserts is a strawberry shortcake! I just love juicy strawberries – they are the perfect summer fruit. This strawberry wreath is a seasonal wreath that you can hang up in June or after the 4th of July.
If you love nature and incorporating a lot of greenery in your wreaths, then you are really going to enjoy making this wreath. It’s easy to make it as full or as simple as you like.
Let me tell you – this is a hot seller! Wreath makers, add this strawberry wreath to your inventory. It’s attention-grabbing, and people love to hang it up on their front door year-round.
This post may contain affiliate links for your convenience. Click here to read my full disclosure policy.

Supplies For This Project
- 16″ Grapevine Wreath Form
- Strawberry Welcome Sign
- Strawberry Printed Ribbon
- Red and Green Plaid Ribbon
- Red Ribbon
- Greenery
- Floral Stems
- Floral Wire
- Glue Pan
- Wire Cutters
- Scissors
- Staple Gun
DIY Strawberry Wreath On Grapevine: Step-By-Step Tutorial
1. Prep And Attach Sign
The very first step is to attach the sign to the grapevine wreath base. This will be your focal point, so place it at the top of the wreath.
Attach wire to the back of the sign and then tightly twist the wire to the grapevine wreath base. You will then thread your wire through the wreath brambles and twist them, so they are secured.
There is another benefit of placing the wires through the wreath instead of around the outside of it. When you thread the wires through it, you will leave more space for the greenery and ribbons to attach.
2. Make Bow
Next, make the bow (or bows) for your wreath. In the video at the bottom of this post, you will see that I pre-made the bow ahead of time.
I like to spend time making a bunch of bows and storing them for later. This way, I can just grab the bow I want as I’m creating the wreath. It’s a huge time-saver.
3. Attach Your Bow
Use the wire you used to secure the bow together and thread that wire through the grapevine at the bottom of your wreath. I want people to look directly at the middle of the wreath, so I placed the large bow directly underneath my sign.
Then, twist the wire together. Make sure you take the time to fluff and arrange your bow – this step is what really makes your bow look pretty!
4. Add Greenery Picks
Choose your favorite types of greenery to add to your wreath. The ones I chose contain multiple types of grass and textures. I just taught my Wreath Making of The Month Club how to choose greenery and what styles to use. I hope you’ll join us!
Use more than one type of greenery to add depth and fullness to the wreath. The bushel used has three different types of greenery in it.
When you know what type of greenery picks you are going to use, add them to the wreath. Remember to keep the design balanced. Whatever you do to the left, you should also do to the right.
Continue to layer and add greenery, working your way away from the large bow.
5. Add Strawberry Picks
What is a strawberry wreath without strawberry picks? I have a bouquet with fake strawberries and leaves, and it is the perfect thing for this wreath. Break them apart and add them individually to your wreath.
To do this, arrange individual pieces around the bow by dipping the ends in hot glue before placing them into the grapevine base. Work your way around the top and bottom of the bow, making sure to keep both sides balanced.
6. Add Filler Flowers
Now it’s time to add a few filler flowers. These are flowers with smaller buds that have some of the same shades of red and pink as the colors in your ribbons. Dip them into the glue and layer them throughout your existing floral and strawberry picks.
7. Final Touches
You can stop here, or you can keep going and add more layers to your wreath. Keep adjusting it until it is perfected to your liking.
Watch The Video: DIY Strawberry Wreath On Grapevine
If you enjoyed this post, you might also like:
- DIY Summer Sunflower Door Hanger
- How To Make A Ladybug Summer Geranium Wreath
- Deco Mesh Bumblebee Wreath DIY Tutorial
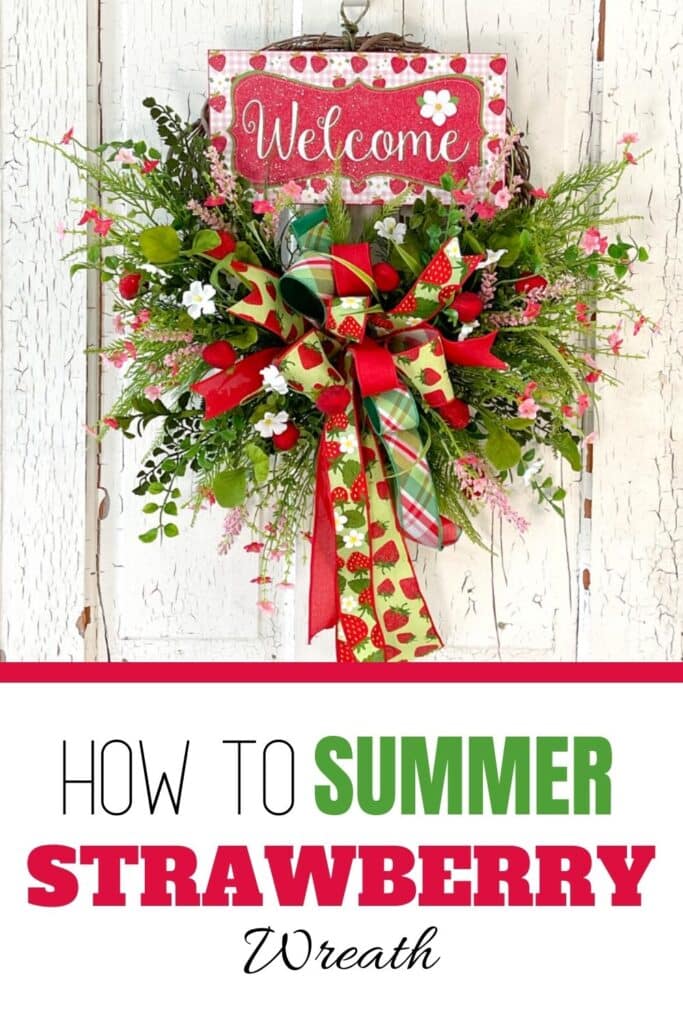
Liked this DIY Strawberry Wreath On Grapevine? Pin it for later!


Can you please tell which greenery you used on this. Thank you
Very proud for you all. I think I’m about to get Babb into wreaths too. I’ve done a lot of rafting but wreaths are so much easier and bring in better profits too. And they’re not too heavy to carry to shows or markets. I’ll watching you all to learn things too. Good Luck and thanks
Sandi Holcomb
Dedignsbysandi
You Are A Master ???I Have Learned Soooo Much From You !!! Thank You !!! I’m Not in your Classes because of My Work Schedule But I Don’t Miss A Thing …
Gorgeous!!!!❤️
Beautiful wreath. Would you please share where you purchased the strawberry florals? I’ve been trying to find them and have t had any luck.
Thanks!
Hey Lisa – You can find all of Julie’s favorite vendors in our Big Book of Faux Floral Suppliers here:
https://southerncharmwreaths.com/faux-floral-suppliers/