
Easy Flocked Christmas Wreath DIY on a Grapevine Base
Have you ever stood in front of a pile of Christmas supplies and talked yourself out of starting because you weren’t sure how it would come together? I’ve been there more times than I can count. So for this tutorial, I wanted to make something that looks full and festive but keeps the design process simple.
I’ll be honest, I went live that morning with a hat on because I had a hair appointment later and hadn’t washed my hair. And I sneezed through half of it, because flocking always sets me off. But the wreath came together in well under an hour, and I think it’s one of the most repeatable designs I’ve shown you.
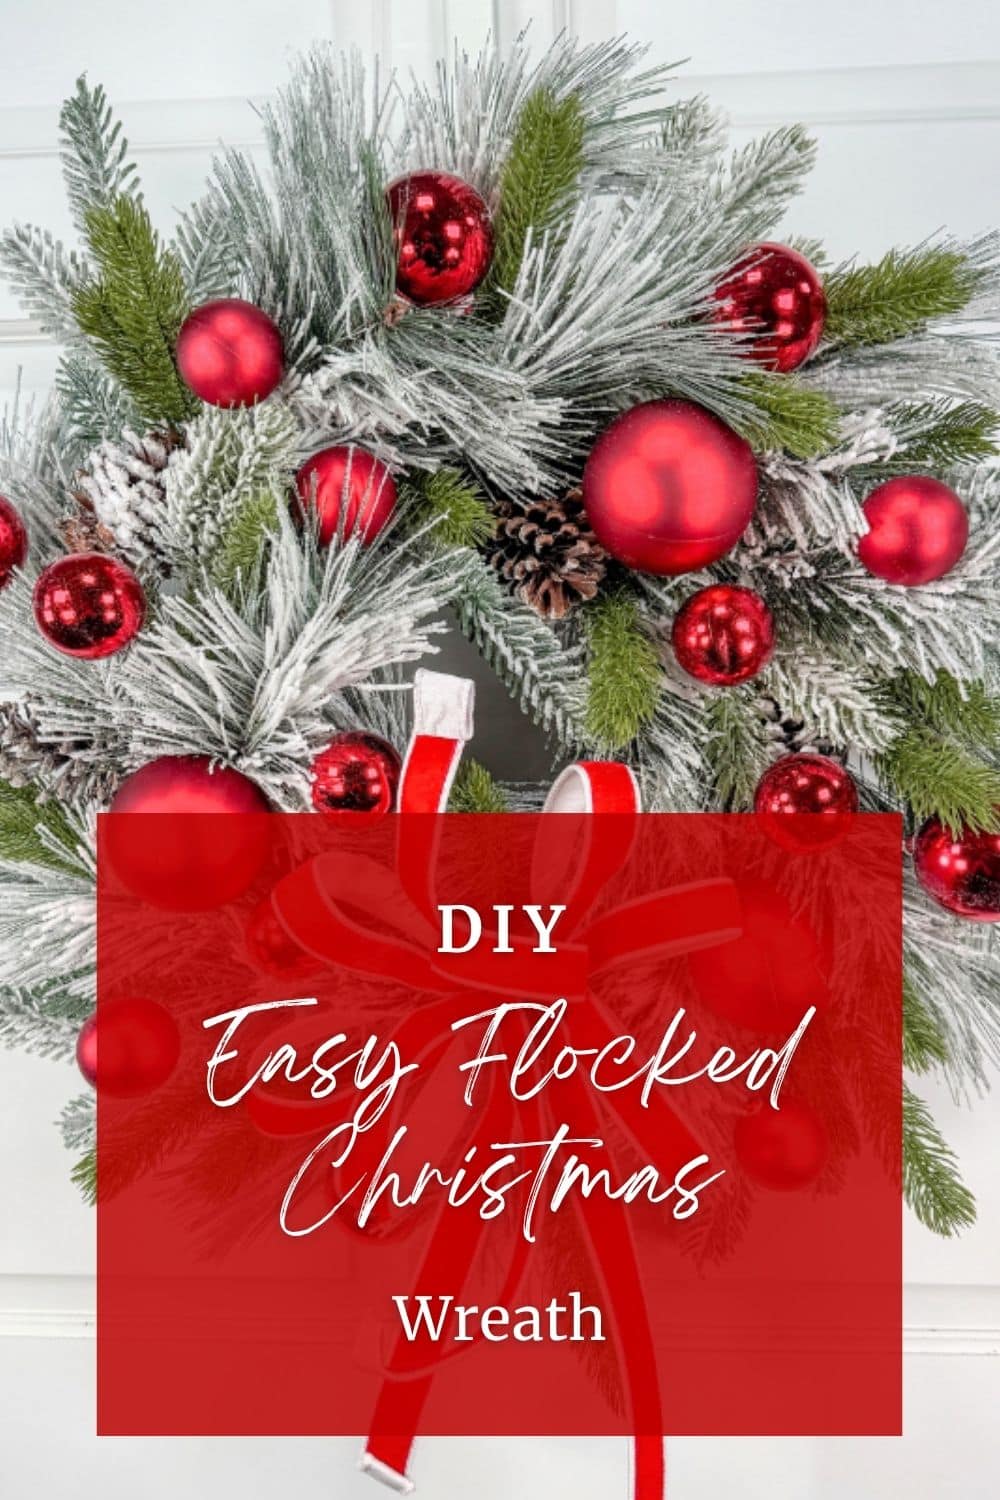
Here’s what you’ll get from this post:
- the exact supplies I used
- how I attach big flocked sprays to a grapevine base so they stay put
- where I place ornaments so the red is spread around the wreath
- how I finish it with a simple loop bow
How do you make a flocked Christmas wreath on a grapevine base?
Start with a 14″ grapevine wreath and give it a light coat of spray paint.
Trim five flocked pine sprays, wrap the cut ends with floral tape, then dip each stem in hot glue and push it into the grapevine with the grain, all going clockwise.
Fill gaps with leftover pieces, add three 80mm shatterproof ornaments with wire or a steel pick, and finish with a loop bow made from about five yards of wired ribbon.
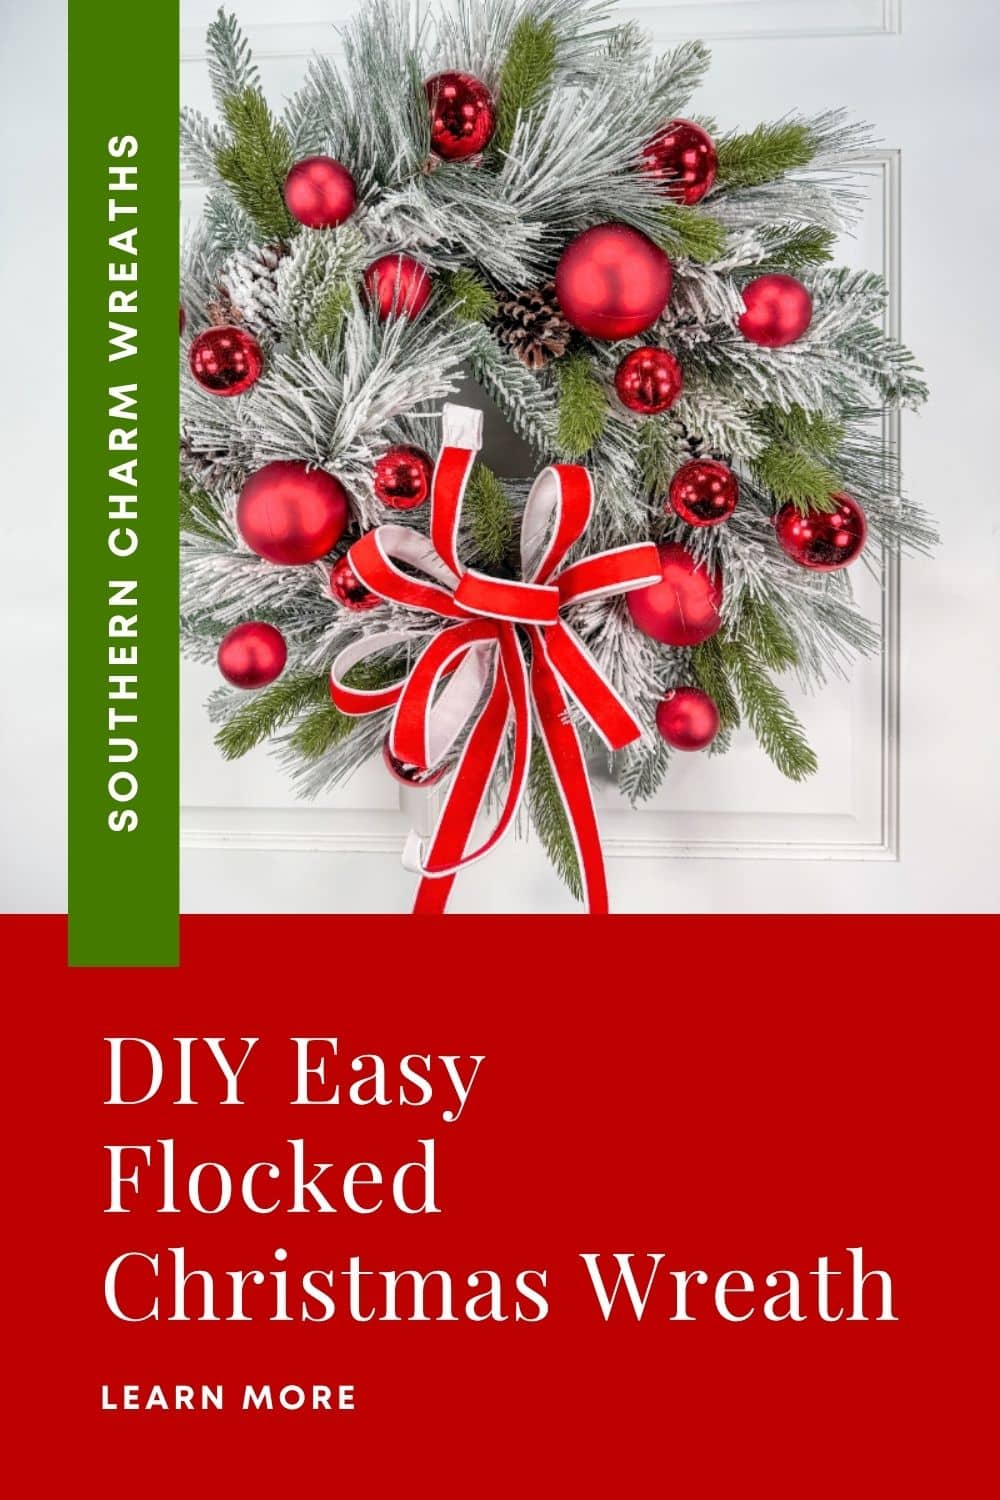
The finished wreath measures about 23 to 24 inches wide and 8 inches deep.
What supplies do you need for a flocked grapevine wreath?
This is a short list on purpose. The sprays do most of the work because each one already has several kinds of greenery, pine cones and red ball ornaments built in.
I’m always telling my Everbloom Design Club members to mix up their greenery, and buying sprays like these gives you that variety without buying six separate bushes.
Supplies I used
- 14″ grapevine wreath from DecoExchange
- 5 flocked mixed pine sprays with red balls from Greenery Market
- 1 angel pine greenery bush for filling in
- 3 shatterproof ornaments, 80mm
- About 5 yards of 1″ wired ribbon (I used a red velvet Farrisilk ribbon substitute)
- Spray paint for the grapevine (optional)
Tools I used
- Heavy-duty stem cutters, since these spray stems are thick
- Needle-nose pliers for bending the stems
- Floral tape
- A glue pot. Mine is an electric skillet with melted hot glue sticks and a silicone spatula, all from Amazon. Here’s my post on how to set up an electric skillet glue pan.
- Steel picks and a pick machine, or floral wire
- Pipe cleaner, bind wire or a zip tie for the bow
If you’re newer to this and want the full list, my top 15 wreath making tools for beginners covers everything I keep on my table.

How to make an easy flocked Christmas wreath, step by step
Step 1: Give your grapevine a quick coat of paint
I spray painted my grapevine wreath before the live, and I want you to see that I didn’t do it all the way. I barely covered the front, hit a few spots on the sides, and didn’t bother with the back at all. If a little brown peeks through between the flocked sprays, it’ll be all right. Nobody is going to see it once the greenery is in. If you need to tidy up your base first, here’s how I clean up a grapevine wreath.
Step 2: Trim the sprays and tape the cut ends
These sprays are big and the stems are thick, so use sturdy stem cutters instead of your everyday snips. Once you cut the stem, you’ll notice the paper wrap starts to unravel. If that string comes loose, the whole spray can start to come apart.
Here’s my fix: wrap the cut end with floral tape. Floral tape isn’t sticky until you stretch it, so pull it gently as you wrap to activate it. Don’t pull too hard or it’ll snap. A couple of turns around the end is all you need.
Step 3: Figure out how many sprays you need
If you’re not sure how many sprays to buy, lay them around the wreath before you glue anything. That gives you a quick estimate. If you come up a little short, you can always fill in with extra greenery.
When I’m shopping in person at a store like Hobby Lobby, I use a different trick. I plan out a quarter of the wreath in my cart, then multiply by four. That usually gives me a good average of what I’ll need. For this 14″ grapevine, five sprays was the right amount. If you tend to come home with too much, my post on how to not overbuy wreath supplies will help.
Step 4: Bend, glue and insert each spray in the same direction
Before you glue, use needle-nose pliers to put a slight curve in each stem. The stems are thick, so you’ll need a little extra strength, and the curve helps the spray follow the shape of the wreath. Bend all of them in the same direction.
Dip the taped end into your glue pot, brushing the glue in the same direction you wrapped the tape so you don’t accidentally unwrap it. Then push the stem into the center of the grapevine, going with the grain of the vine. Try not to push all the way through to the back. That just creates a mess you’ll have to clean up later.
Work your way around the wreath with every spray going clockwise. On the next spray, lift one up and lay the other down so they overlap. That gives you a layered look instead of five sprays sitting side by side.
Step 5: Fill the gaps with leftover pieces
Once my sprays were in, I had a gap where I could have spaced things out a little better. That’s fine. I cut one more spray into smaller pieces and tucked them into the holes, again going with the grain and not through the back.
Small tip, but it makes a difference: save your extra pieces. If you’ve watched me in Everbloom, you know I save everything. Those leftover branches might become a matching lantern topper for your craft show table.
Step 6: Step back and check your line and rhythm
Put the wreath on an easel and step back. It’s much easier to see if it’s round and full from a few feet away than from right on top of it. Give everything a fluff while you’re there. Here’s my guide on how to fluff an artificial wreath if you want a refresher.
What I’m looking for is line and rhythm. Line means your eye flows smoothly around the wreath. Rhythm is how close together your elements sit. Where the points are close together, the line reads easily. Where there’s a big space between points, you get a hole. If a piece sticks out too far, cut it off the branch, put a steel pick on it, and add it back a little higher so it lays in closer. That one change made a visible difference on my wreath.
Step 7: Add your ornaments so the red is spread around
The sprays already have small red balls, so the three 80mm shatterproof ornaments are there to spread bigger spots of red around the wreath. Look for open spots where they’ll still be seen.
You have a few options for attaching them. Some ornaments come pre-wired, and you can wrap that wire around a nearby branch. If the wire is thin, bend it so it can grab hold of something. You can also add a wooden floral pick or a steel pick and insert it into the grapevine with the grain. If you plan to ship your wreaths like I do, add a dab of glue to the pine too so nothing shifts in the box. For more on this, see how to wire various ornaments for wreath making.
Step 8: Make a simple loop bow
I made my bow from 1″ wired ribbon, about five yards give or take. I did five loops and then added one more slightly smaller loop on the other side. Five would have looked nice too.
Pinch the center and secure it with whatever you like to use: wire, a pipe cleaner, bind wire or a zip tie. There’s no right or wrong here. When you twist, pull your hands away from each other so it cinches tight. Then wire the bow into a spot where you had a small hole, and bend the wire ends up so they don’t unravel.
This bow isn’t a bind point. It’s there for texture, a little height and a pop of red, because who doesn’t love a red bow at Christmas? If there’s a hole under the loops, tuck in one of your leftover greenery pieces. I also wired one of the pine cones I’d cut off back in by wrapping wire around the scales near the base. For more bow help, read my 6 bow making tips every wreath maker needs to know.
Step 9: Add a hanger on the back
Add a hanger so your customer knows exactly how to hang it. Bend a piece of wire in half, push it from the back through to the front, then bring it back to the back. Wrap the two ends, my rabbit ears, around the loop a couple of times and trim the excess. Push any wire ends back in and trim any stray bits of grapevine. That’s it.
Step 10 (optional): Add non-flocked greenery for contrast
You can stop at step 9 and have a wreath people will love. But if you want to take it up a notch, add a few sprigs of greenery that isn’t flocked, like the angel pine bush. The green against the white gives you contrast, and the wreath looks a little more natural. You could also add metallic leaves from your scrap pile if you want more sparkle.
When you add these, go right, left, back and forth around the wreath. Don’t place them in a square of four. Use more than four pieces and weave a couple into the middle. That’s how you get balance. Balance isn’t about putting the same thing on the right and left, it’s about alternating as you insert. If greenery placement is new to you, here’s how to place greenery in a grapevine wreath.
Why this wreath works so well for craft shows
If you sell at craft shows, you know you need designs you can make over and over without overthinking them. This is one of them. Once you’ve made it a couple of times, it goes fast, and the more you make it, the quicker it gets.
It’s also an easy size to travel with. My finished wreath is about 23 to 24 inches wide and about 8 inches deep, starting from a 14″ grapevine. If it gets squished on the way to your booth, you can fluff it right back out. Because I used a quality wired ribbon, the bow can be flattened and reshaped too. That’s something you can tell your customers at the table so they’re not worried about getting it home.
Here’s the truth: people walking past your booth aren’t going to nitpick a small hole. They see the impact it’ll make on their front door, and that’s what sells it. And remember, your goal at a craft show isn’t to sell out. Your goal is to have variety. A quick, repeatable design like this frees up time for the pieces that take longer. When you’re ready to put a number on it, here’s how to price wreaths to sell for profit.
Flocked Christmas wreath FAQs
How many sprays do I need for a 14 inch grapevine wreath?
I used five large flocked pine sprays on a 14″ grapevine, plus one extra spray cut into small pieces to fill gaps. The easiest way to check is to lay your sprays around the wreath before gluing. If you’re a little short, fill in with extra greenery.
Can I use a garland instead of sprays?
Yes. Someone asked this during the live, and a garland works fine. Cut it into sections, tape the cut ends, and insert them the same way you would a spray.
Is red velvet ribbon safe to use on an outdoor wreath?
Check it for colorfastness first. Velvet of any color is prone to bleeding, and red velvet is one of the worst for it. Test a scrap before you put it on a wreath that will hang on a light-colored door.
Can flocking cause allergies?
It can for some people. Flocking always makes me sneeze, so if you’re sensitive, work in a well-ventilated space and wipe down your table when you’re done. It’s also worth knowing in case a customer mentions it.
How do I keep ornaments from moving if I ship the wreath?
Use wire or a steel pick to attach each ornament, then add a dab of hot glue where it touches the pine. That keeps it from shifting in the box.
Do I need to paint the whole grapevine wreath?
No. A light coat on the front and a few spots on the sides is plenty. The flocked sprays cover most of the base, and a little brown showing through looks natural.
Does every wreath need a bow?
No. In my Everbloom tutorial earlier that same week, I used a cluster of pine cones as the focal point instead of a bow. On this wreath, the bow is there for texture, height and color, not as a bind point.
The more you make, the more ideas come
Someone asked me during the live how I come up with so many ideas. Honestly, it’s because I keep making things. The more you write, the better writer you get. The more you bake, the more recipes you find. Wreaths work the same way. These skills start to feel like second nature, but you have to start.
I started with one wreath sold on Etsy. Then people asked how I made it, so I wrote an ebook, and little by little that grew into masterclasses and a membership. I never could have guessed where that first wreath would lead, and you can’t either. If you have the desire to make wreaths or start a wreath business, don’t discount it. Give it a try.
If you’d like to make more Christmas wreaths with me, my Christmas Wreath Making & Marketing Masterclass walks you through six Christmas designs step by step, plus the marketing training to sell them. And if you’re brand new to grapevine bases, start with my DIY Christmas grapevine wreath for beginners.

Have questions about this one? Leave them in the comments. I’m here to help!
Happy Wreathing,
Julie “Sneezing Through Flocking” Siomacco