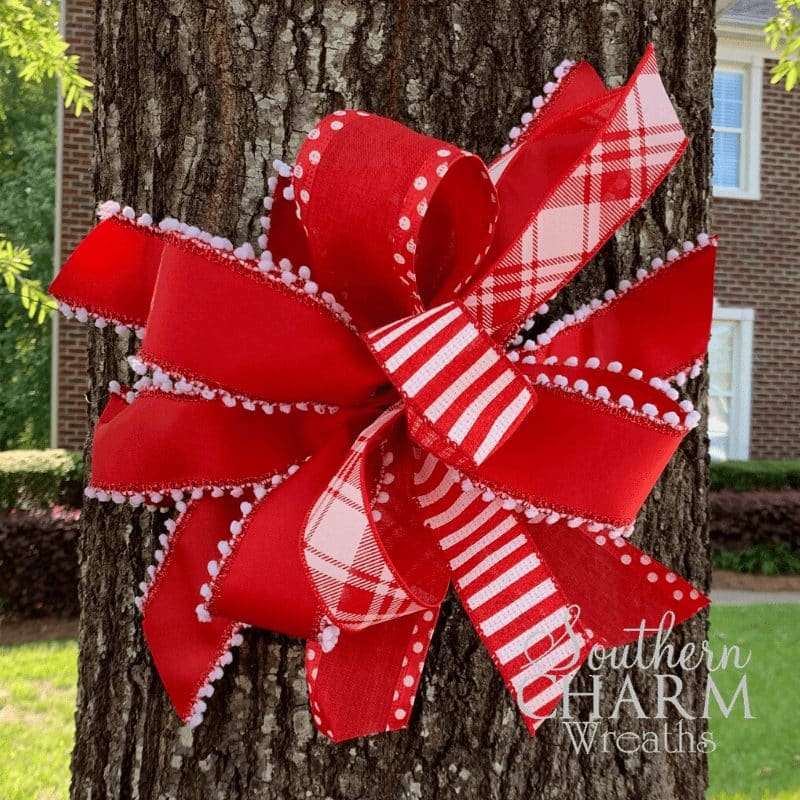
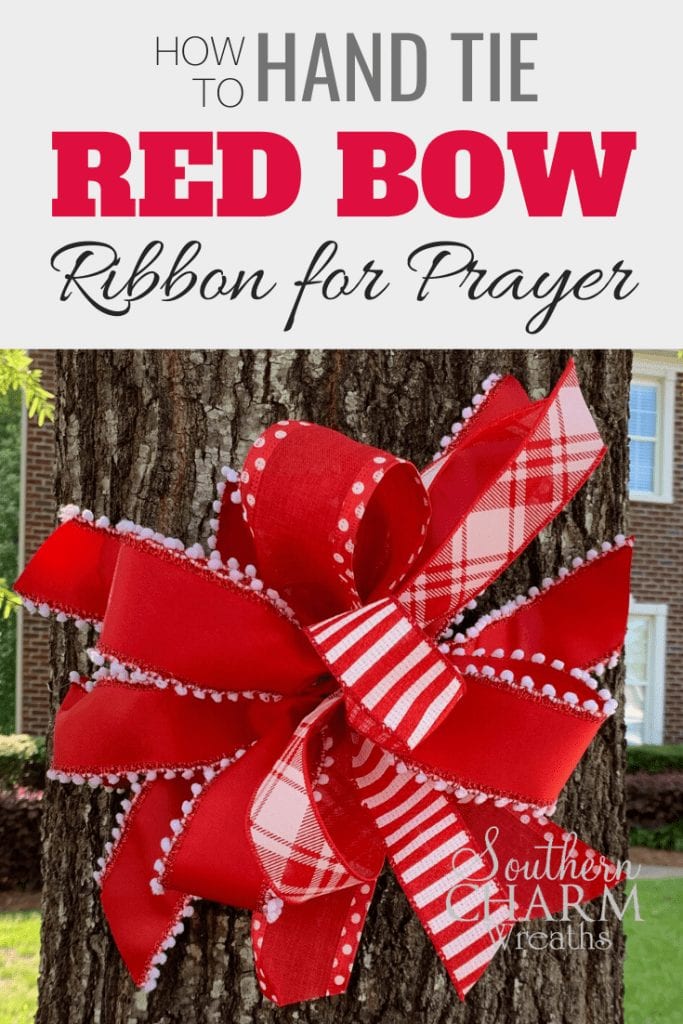
How to Hand Tie a Red Bow For Unity
What crazy times we live in these past couple months. Tension is high and everyone has their own opinion on how things ought to be handled. But the one thing it seems like everyone can agree on is that healthcare workers are doing amazing things for us and we are so grateful.
The red bow unity trend is spreading all over the United States and so many people are looking for red bows. I encourage you to join in and show your support. If you aren’t able to get a red bow, (or maybe you’re stuck inside and need to do something creative to keep your sanity!) stick around and I’ll teach you how to hand-tie a red bow for unity.
This post may contain affiliate links for your convenience. Click here to read my full disclosure policy.
I think it would be fun to make a bunch of these and go hang them up around your family’s and neighbors’ yards. Maybe on a porch or mailbox post. But if you’re going to make a bunch, you’ve got to start with one, so let’s get to work!
Supply List
One spool of red ribbon (or multiple partial spools of coordinating ribbons)
Scissors
Florist Wire
Wire Cutters
If you’re new to my page, here are a few of my favorite places to get ribbon:
TrendyTree
DecoExchange
TheWreathShop
Greenery Market
5thStreetStudio
Hand Tie Bow Making Tips and Tricks
1. Have a piece of florist wire cut set off to the side before you form your bow. That way you don’t have to try and prepare it with one hand while you hold your untied bow in the other.
2. Before you start working each ribbon a bit so that the curl comes out. It’s much harder to properly uncurl it when your hands are full with your bow-in-progress.
3. To keep your loop sizes consistent, lay the ribbon down on your measuring tool, and grab one end of the measured length in each hand. Bring your dominant hand around to the back of the other. Then, exactly where your finger is, pinch the back ribbon into your pointer finger and thumb on your non-dominant hand. Twist the ribbon as you pinch so that the pretty side is facing forward. Doing it this way means your non-dominant hand will be holding the form of the bow, and it leaves your dominant hand free to do everything else.
4. Keep the ribbon pinched between your thumb and finger as long as you can to keep things tight. Then, as you add more layers of ribbon, it will naturally start to push back toward your palm.
5. You can make your bow bigger or smaller by starting with a different loop size. Then for every layer behind, add 2” to the size of the previous layer. If you go smaller than 10” to start, you may want to do fewer layers to keep it from looking too crowded. If you start bigger than 10” you may want to add in more layers to fill it out more. It really all comes down to personal preference.
6. When forming your bow, you’ll want to stagger the layers. Meaning, don’t form your loops directly above and below one another. This is why we go back and forth between layers of two loops and layers of four. Your layers of four should naturally form an X shape, and your layers of two will lay in between the arms of that X. If they don’t lay exactly where they’re supposed to , you can move them around a bit, but it’s easier to do this as they’re being made. Especially if you’re using a ribbon without wired edges.
7. If you’re feeling confident about putting your bow together, (or if you have a bunch of partial rolls) you can make this bow with multiple ribbons. Watch the video below to see how I make two alternate unity bows, each with multiple ribbons.
Steps for Making a Red Bow for Unity
Step 1 – Measure and cut an 18’ length of ribbon for the tails, pinch it tightly at the center and set to the side. This will be your bow tails, and it’s much easier to measure now than when you have your hands full of bow.
Step 2 – Now you’ll go ahead and start your bow by measuring a 10” tail. Then measure and fold two 10” loops across from one another.
Step 3 – Fold a layer of four 12” loops in an X shape underneath the first layer.
Step 4 – The next layer will be an X shape made with 14” loops. Now that the bow is starting to take form, it is a good time to start adjusting the ribbon to look how you want.
Step 5 – The last layer (the bottom of this bow) will be two 16” loops. Then you’ll add the 18” piece of ribbon you set aside at the beginning. (Make sure the right side is facing forward!)
Step 6 – Finally, secure the ribbon with your florist wire. To do this, flip the bow over, lift up your pointer finger, and slide the middle of the wire in place underneath it. Now one end of the wire, wrap it tightly around the front of the bow and back behind so that there are two even wire tails sticking out the back. Hold the wire tails in place and twist the bow until everything is secure.
And there you have it! A handmade bow you can make to put around your neighborhood to show unity in support for the healthcare workers out there fighting this awful virus.
How to Make a Red Bow for Unity and Support Healthcare Workers
If you enjoyed this and want to learn to wreath the professional way, join me in our exclusive Wreath Making of the Month Club!

Happy Wreathing,
Julie
If you enjoyed this post, you might also like:
How to Healthcare Hero Thank You Wreath
How to Make a Double Ribbon Bow the Easy Way
How to Make a Multi Ribbon Patriotic Bow
Nine Ways to Make a Bow for a Wreath
Liked this Unity Bow tutorial? Pin it for later!
Love all you make.
Love different ribbon! Great information on how you can use scrap ribbon to still make a bow.