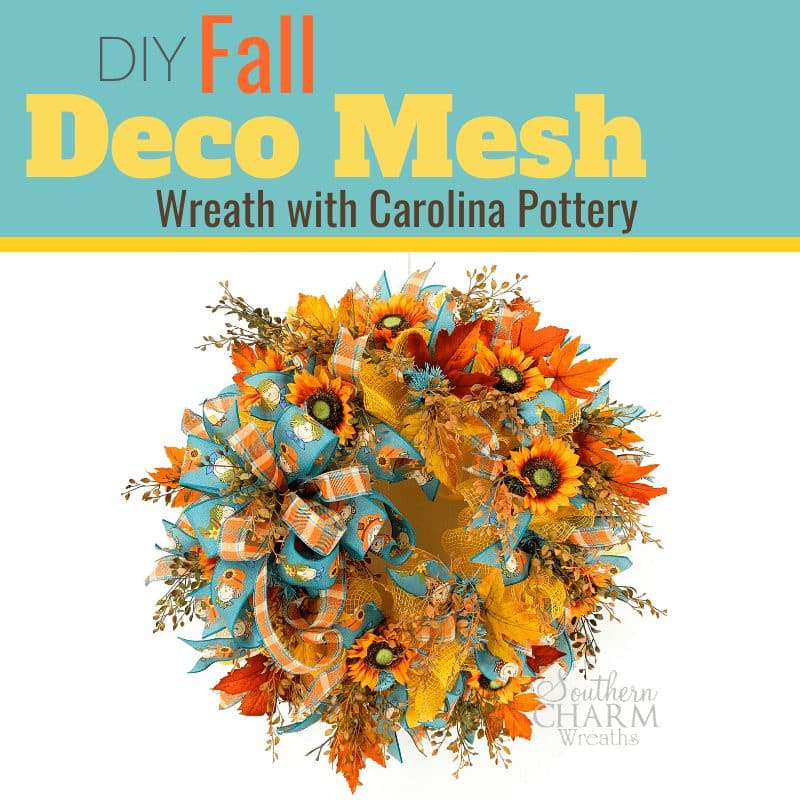
How to Make A Fall Deco Mesh Wreath with Carolina Pottery
I’m happy to partner with Carolina Pottery today to make a fall deco mesh wreath. You’ll be the envy of the neighborhood with this to brighten up your front door. This post may contain affiliate links for your convenience. Click here to read my full disclosure policy.

Today we’re making a Fall Deco Mesh Wreath for your front door using supplies from Carolina Pottery. I’ve been shopping at Carolina Pottery for years because they have quality silk florals and ribbon. Let’s get started!
[Tweet “Let’s Make A Fall Deco Mesh Wreath with Carolina Pottery”]
Supplies for Fall Deco Mesh Wreath
Fall ribbons – 2 different widths (Carolina Pottery)
Deco Mesh – 10″ Mustard Yellow (Carolina Pottery)
Silk flowers, leaves & greenery (Carolina Pottery)
Blue work wreath (Carolina Pottery)
Hot glue gun
Glue sticks
Craft mat
Steps for making a Fall Deco Mesh Wreath with Carolina Pottery
Step 1 – Begin by laying the end of the yellow mesh in two of the twist ties in the inner ring and twist it together. Measure out 10 inches and secure between the next two twist ties. Allow it to “poof” between sections. Repeat around the entire inner ring.
Step 2 – When the inner ring is complete, bring your mesh down to the outer ring and continue all the way around. Once you’ve gone around the outer ring once, go around the outer ring one more time. Then cut off the bolt and put the tail of the mesh in the frame of the wreath to hide it.
Step 3 – Set the wreath aside. Cut eighteen 12″ sections from the yellow mesh. Note: You can use a different color for this part if you would like, I continued with the yellow.
Step 4 – Take one of the mesh sections you just cut, roll the ends under and pinch in the middle. Untwist a twist tie, lay the mesh in and tie back together. Repeat for all pieces of mesh.
Step 5 – Next, cut eighteen 12″ sections of both ribbons and dovetail the ends. Lay one ribbon section on top of the other and crimp in the middle. Now lay the ribbons between two twist ties and twist to secure. Separate the ribbons so they form an “x”. Repeat with all ribbons.
Step 6 – Now it’s time for the silk flowers. Make a loop with the twist tie to help hold each flower. Cut the stems from the bush, add hot glue to the stem and place in the wreath. Repeat all the way around. Note: Feel free to place the flowers without glue first to determine the best layout and then go back and add the glue.
Step 7 – Next I added the silk leaves. Begin by separating the stems and then place in the wreath to determine placement. Add hot glue to the stems when you are ready to add them permanently.
Step 8 – For a beautiful finished look, I added greenery as filler. Trim the bush so you have smaller pieces. Begin by adding greenery to one side and then add a piece opposite of it. Continue adding around the wreath. Note: If you prefer to leave off the greenery you can! We’re building on with each step, you can stop when your wreath is to your liking.
Watch the video below for detailed instructions.
How to Make a Fall Deco Mesh Wreath with Carolina Pottery Video
Carolina Pottery has a lot of different colors of mesh and ribbon, so make sure to change it up to fit your tastes. You can find them in four locations throughout the southeast or check out their website at www.carolinapottery.com and tell them Julie sent you!
If you enjoyed this and want to learn to wreath the professional way, join me in our exclusive Wreath Making of the Month Club!
Happy Wreathing,
Julie
If you enjoyed this post, you might also like:
How to Fall Oval Front Door Wreath
How to Make an Elegant Deco Mesh Christmas Wreath
How to Make a Fall Funky Bow for Wreath
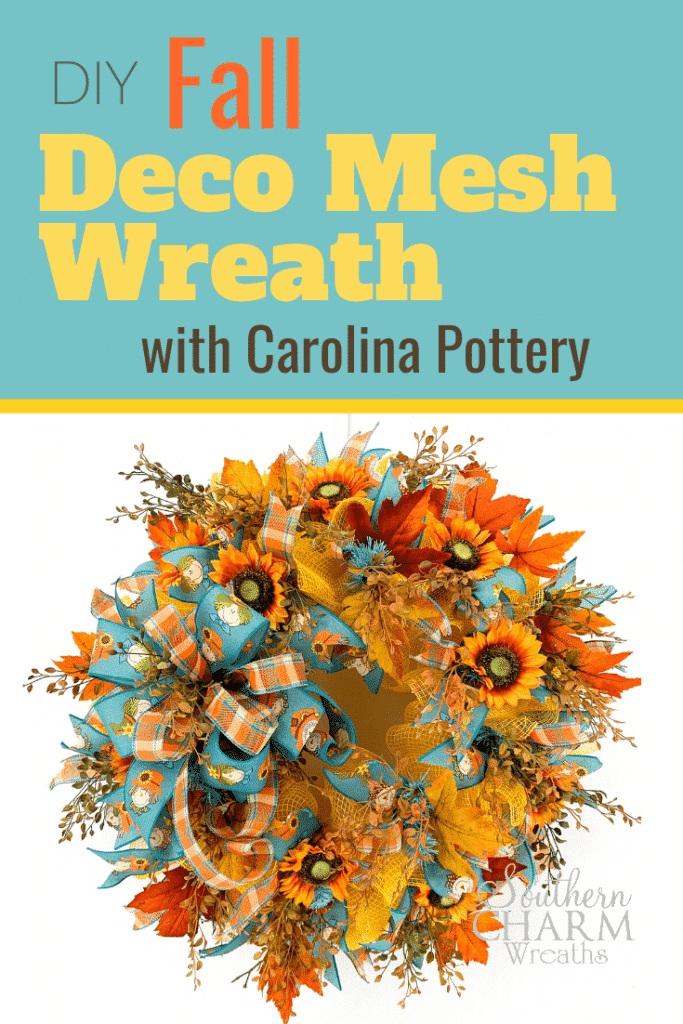
Liked this Fall Deco Mesh Wreath? Pin it for later!


What type of mesh did you use Julie?
It’s just regular mesh.