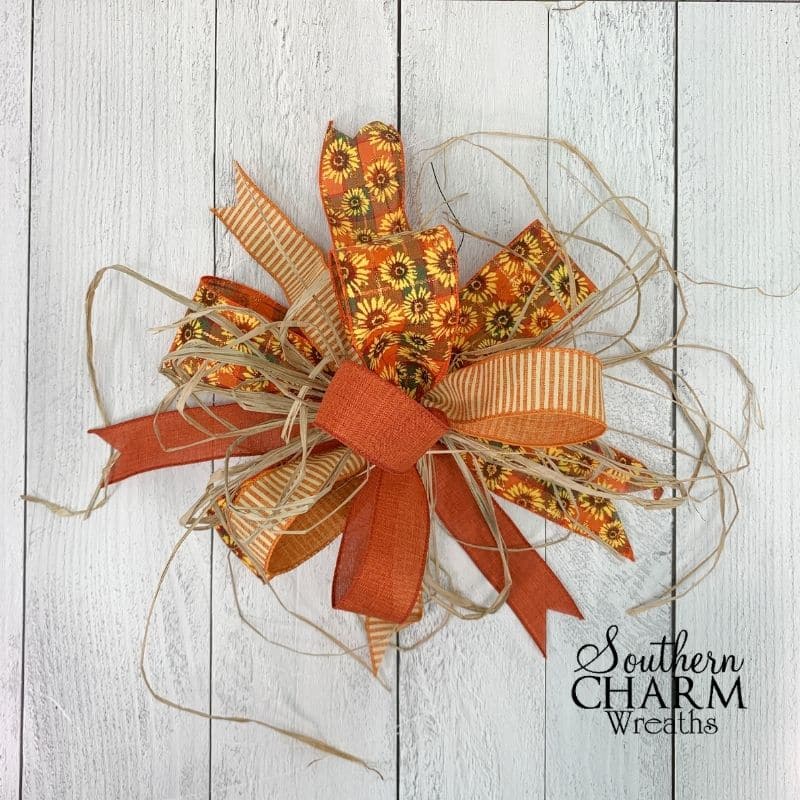
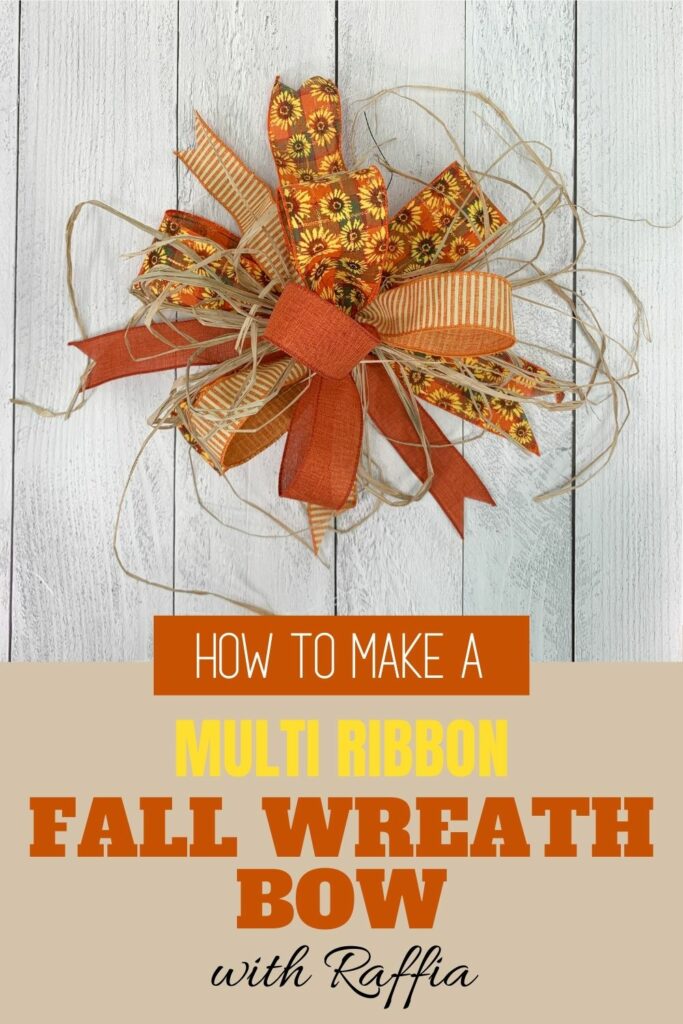
How To Make A Fall Multi Ribbon Bow With Raffia
Looking for an easy and fun way to jazz up your next wreath? Make this multi ribbon bow with raffia. Follow these steps and you’ll have a statement fall bow for your wreath in no time.
I love multi ribbon bows! They add depth to wreaths and can help round out your project beautifully. If you haven’t made anything like this before, don’t be intimated by large bows. They are easier than you might think, especially if you follow this tutorial.
How To Make A Multi Ribbon Bow
This tutorial will walk you through the steps it takes to make a multi ribbon bow accented with raffia. Raffia is a tough fibrous strand made from palm trees. It adds the perfect touch of rustic flair to any project, but I particularly like it for fall bows!
That being said, you can make this type of bow any time of the year. In fact, with a few minor changes, like the ribbon print, you can easily give this a spring or winter look.
Materials
- Raffia
- Wire
- 2 1/2 inch Wired Ribbon
- 1 1/2 inch ribbon in two accent colors
Multi Ribbon Bow Instructions
Step 1: Pull Over Your Raffia
Pull out just a few pieces of raffia. You have a little bit of freedom here as to how much you use. You can eyeball it, but I used 10 strands if you want to create a similar look.
Step 2: Uncoil The Ribbon
Roll out your ribbon so that you can use your hands to uncoil it. Do this for all of the ribbons you are going to use.
Step 3: Make the Bow
- Make a tail – I made an 8-inch tail. Right above that tail, pinch it with your two fingers.
- Lay the top of the tail on your mat (where your fingers are pinching) and measure 12 inches. This produces a 6-inch loop.
- Bring the bottom of the 6-inch loop over to your fingers that are pinching above the tail and hold the loop together with those fingers.
- Twist the bottom of the ribbon, and hold onto it.
- Pull out another 12-inches of ribbon, create another 6-inch loop, pleat and pinch the bottom of the loop, and hold it in your fingers with the other loops.
Step 4: Make Your Loops
You can choose to make 3 loops, but I opted to do 4 in my video.
The secret to making loops for your bow is to not switch hands. Every time you create another loop, pleat and twist the ribbon and pinch it with the fingers that are holding the spot above the tail. You’ll get a good visual for this in the video!
Bring the ribbon loop to the back of your bow and always twist the ribbon before grabbing more and making another loop.
The twisting is what will help the loops display in different directions, instead of just on top of each other.
After you make your loops, cut the ribbon from the bolt.
Step 5: Repeat Loop Steps With First Accent Ribbon
Next, repeat these steps with one of your 1 1/2-inch ribbons. The measurements should all be the same. You will measure 12-inch ribbons and make 6-inch loops, just like before.
Step 6: Add Raffia
When you add the raffia you will do the same thing you did to the ribbon and still pinch with the same hand. Measure 12-inches of raffia and make as many 6-inch loops as you can.
Step 7: Add 2nd Accept Ribbon
Finally, add your last accent ribbon just like you did the first two.
Step 8: Twist It Off With Your Wire
Wrap the wire around the bow to the back. Pull the wire away from you and pull the bow towards you. I like to twist the bow and hold the wire steady. This will give it a nice strong grip.
That’s it! The bow is made, now all you have to do is fluff it out and make it pretty. You can dovetail the ribbons too if you want.
Watch the Video to Make Multi Ribbon Bows
I am a visual learner and find it easier to watch a video when trying a new skill. I put together this quick demonstration to walk you through the steps above. Give it a watch and learn how to make multi ribbon bows!
More Fall Projects
- How to Make a Fall Deco Mesh Wreath
- DIY Simple Fall Lantern Swag
- Simple Fall Farmhouse Table Arrangement
- Fall Cornucopia Centerpiece
Julie I love your tutorial videos!! I am definitely bow challenged but hopefully it will get easier. Been a client since 2014. Thank you for all of your help!
Tiplersville, MS in the house!!!
Warching From Dequincy in southwest Louisiana. Love your tutorials that you send me in my email. Thank you so much.
Greensboro, NC
Great tutoral
HELLO COULD YOU PLEASE DO A FEW VIDEOS USING BOW DABRA IHAVE INJURES WRISTS AND CANT HOLD THE RIBBON
This is a gorgeous bow! you made it look so easy.
#replay I love this bow and the mix in with raffia