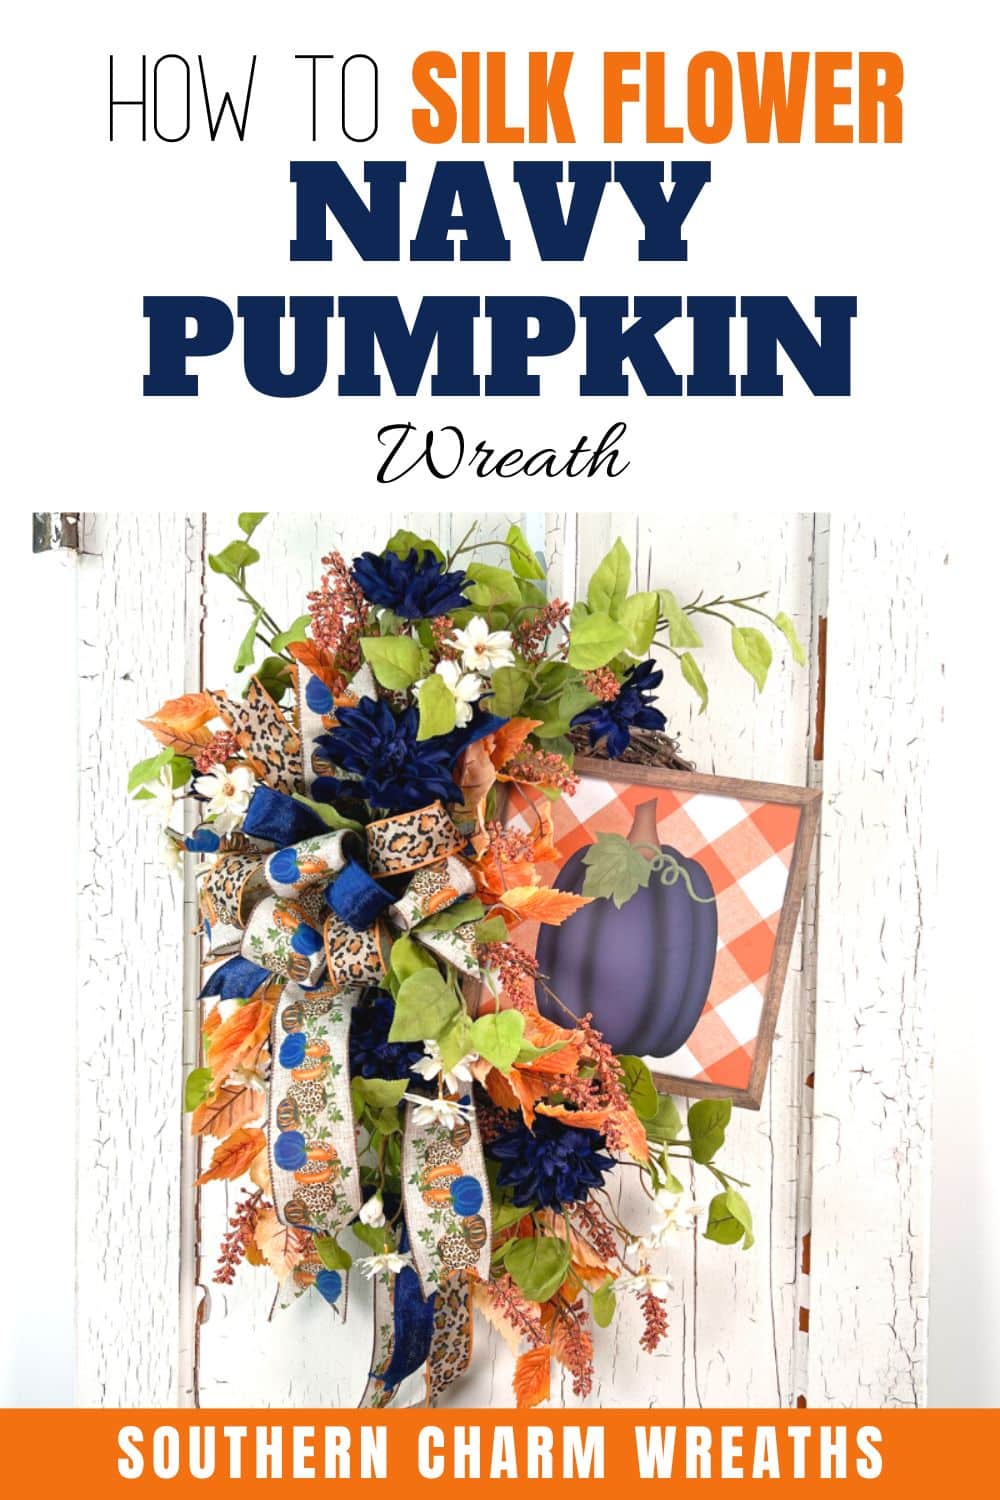
How To Make A Navy Pumpkin Silk Flower Wreath
Navy and orange are the colors of the season! Make a navy pumpkin silk flower wreath on grapevine and display or sell the trendiest wreaths on the block.
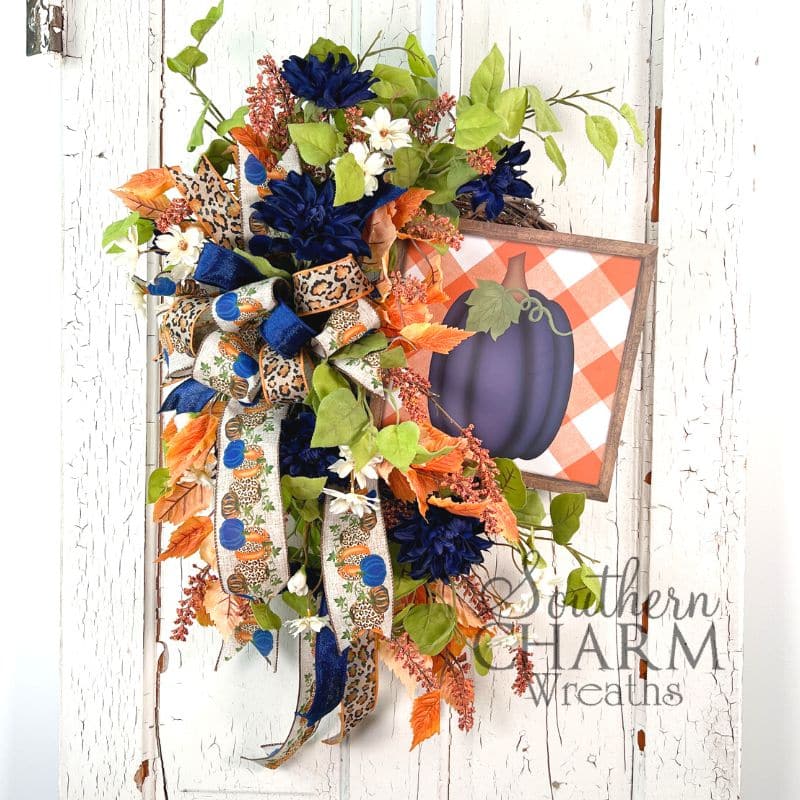
DIY navy pumpkin silk flower wreath
I don’t think pumpkins will ever go out of style, ya’ll! As long as there are jack o lanterns and pumpkin pies, they will be dependable in home decor. What does change is the color scheme you use with your pumpkin decor.
I am loving the blue and orange contrast in this navy pumpkin wreath. The dark shades of blue remind me of the midnight sky on Halloween. Even if you aren’t into that holiday’s spooky parts, these colors work well together.
Whether you enjoy celebrating farmers harvesting their crops, candy and trick-or-treaters, or you just want a wreath that will sell well on Etsy, this is the project for you!
This post may contain affiliate links for your convenience. Click here to read my full disclosure policy.

Supplies for this project
- 14-inch Grapevine Wreath
- Navy Blue Pumpkin Sign
- Navy Blue Pumpkin 2 1/2″ Wired Ribbon
- 1 1/2″ Cheetah Print Wired Ribbon
- 1″ Velvet Navy Blue Ribbon
- Greenery
- Silk Navy Dahlia Flowers
- Glue Pan
- Wire Cutters
- Scissors
- Staple Gun
DIY navy pumpkin silk flower wreath: Step-by-step tutorial
1. Prep and attach sign
Before you do anything else, attach the sign to your wreath. The navy blue pumpkin sign is the largest focal point. So, it’s the item I will use to design all my greenery and ribbons around.
Place the sign where you want people’s eyes to look first. This can be at the wreath’s very top or one of the sides. I placed the navy pumpkin sign on the right-hand side of the wreath.
The best way to attach the sign to the grapevine wreath is to push the wire through the sign and then thread the wire through the grapevine brambles. Then, twist the wires tightly. Jiggle the sign as a test to make sure it is on tight enough.
When you place the wires through the wreath instead of around the outside, you will leave more space for the greenery and ribbons to attach.
2. Make a bow
Next, make the bow for your wreath. The bow is the second focal point of the wreath. I made a large bow with lots of the same colors as the wreath’s sign.
In my video below, you’ll see that I had already made the wreath before doing my live video. Making bows ahead of time is an excellent way to save yourself time when you are making wreaths.
Here’s a quick rundown of how to make a hand-tied bow:
- Start by making your streamer.
- Then, measure the ribbon out another 12 inches and fold it in half, making a 6-inch loop. (Make as many loops as you want.)
- Then, repeat the same steps with the 1 1/2-inch and 1-inch ribbon.
- Secure all your loops and tails together with the florist’s wire.
Watch my video below to see how I made the bows, or read this tutorial for specific step-by-step directions.
3. Attach your bow
Thread the wire from your bow through the grapevine brambles. Attach your bow directly opposite your sign. This balances the weight of the wreath. Twist the wire from your bow so that the bow is attached securely.
Make sure you take the time to fluff and arrange your bow – this step is what really makes it look pretty!
4. Add greenery as the base
To add a base of greenery around the bow, dip the ends of the greenery picks into your melted glue and insert them into the grapevine wreath base.
Start adding greenery super close to the bow and build out and away from it as you continue to add more greenery.
5. Layer with orange leaves
I added orange leaves to bring out the orange colors from the sign and the wired ribbons. Layer them between the greenery you already secured to the grapevine base.
6. Add focal florals
I used navy dahlia flowers as my focal florals to go with the navy pumpkin on the sign. Since these are so showy and big, you don’t need to add very many of them. Trim the ends of the flowers so they aren’t too long, and then secure them to your wreath in between the greenery.
7. Final touches
You can stop here or keep going and add more layers to your wreath. Keep adjusting it until it is perfected to your liking.
Watch the video: How to make a navy pumpkin silk flower wreath
If you enjoyed this post, you might also like:
- How To Make A Fall Pumpkin Door Hanger
- How To Make A Fall Deco Mesh Wreath
- DIY 6-Minute Fall Wreath For Beginners
Liked this DIY navy pumpkin silk flower wreath? Pin it for later!
Love this wreath!! The navy pumpkin is awesome!! I always like new ideas! YOU make the most beautiful wreaths
of all I have watched on YOU Tube!
So excited to join your wreath making club!! Thank you for this opportunity!!
I love, love this wreath. Where can sign & ribbon be purchased?
Hey Kathy – You can find all of Julie’s favorite vendors in our Big Book of Faux Floral Suppliers here:
https://southerncharmwreaths.com/faux-floral-suppliers/
Beautiful as always! Navy blue is my favorite color so I always give an extra thumbs up to something that has it in it. Thank you so very much for sharing your talent with all of us regardless of membership or not, I know that your continued success & the growth of your business is a result of your generous & kind spirit. JM
Your wreaths are beautiful. Were do you purchase your supplies or do you have a store?
Hey Linda – We do not currently sell any supplies. You can find all of Julie’s favorite vendors in her Big Book of Faux Floral Suppliers here:
https://southerncharmwreaths.com/faux-floral-suppliers/
Love watching you
Where. Did ribbon come from please
Hey Judie – You can find all of Julie’s favorite vendors in our Big Book of Faux Floral Suppliers here:
https://southerncharmwreaths.com/faux-floral-suppliers/
Beautiful design. Colors are stunning. I prefer grapevine most of the time but I’d like to see you create a deco mesh because I think you have more class.