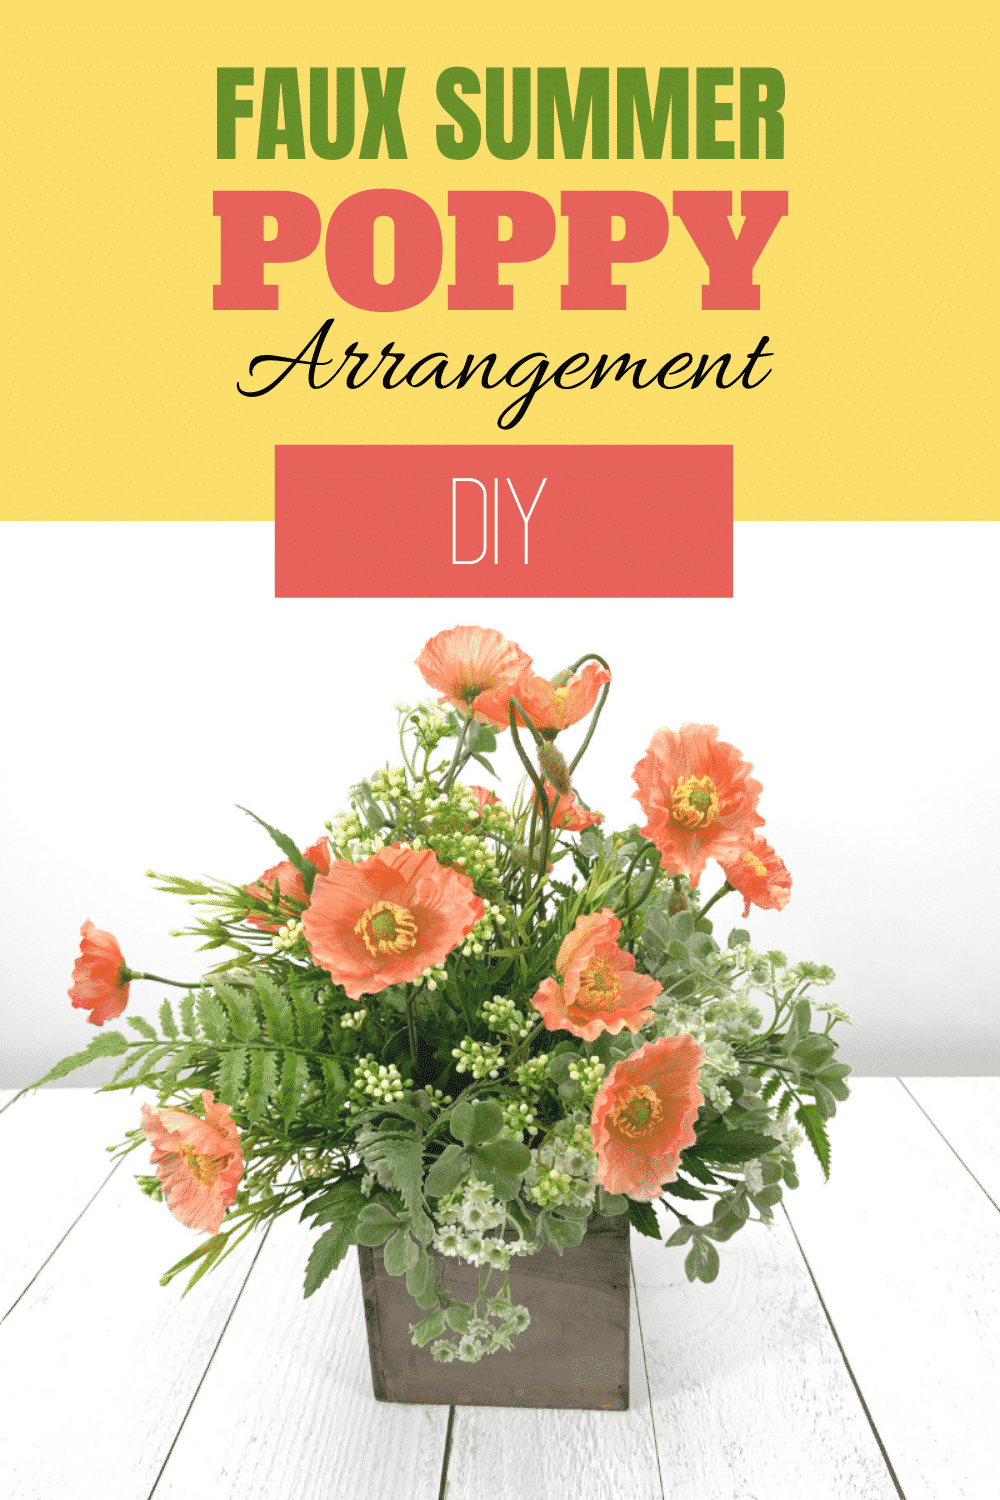
DIY Faux Poppy Floral Arrangement For Mother’s Day
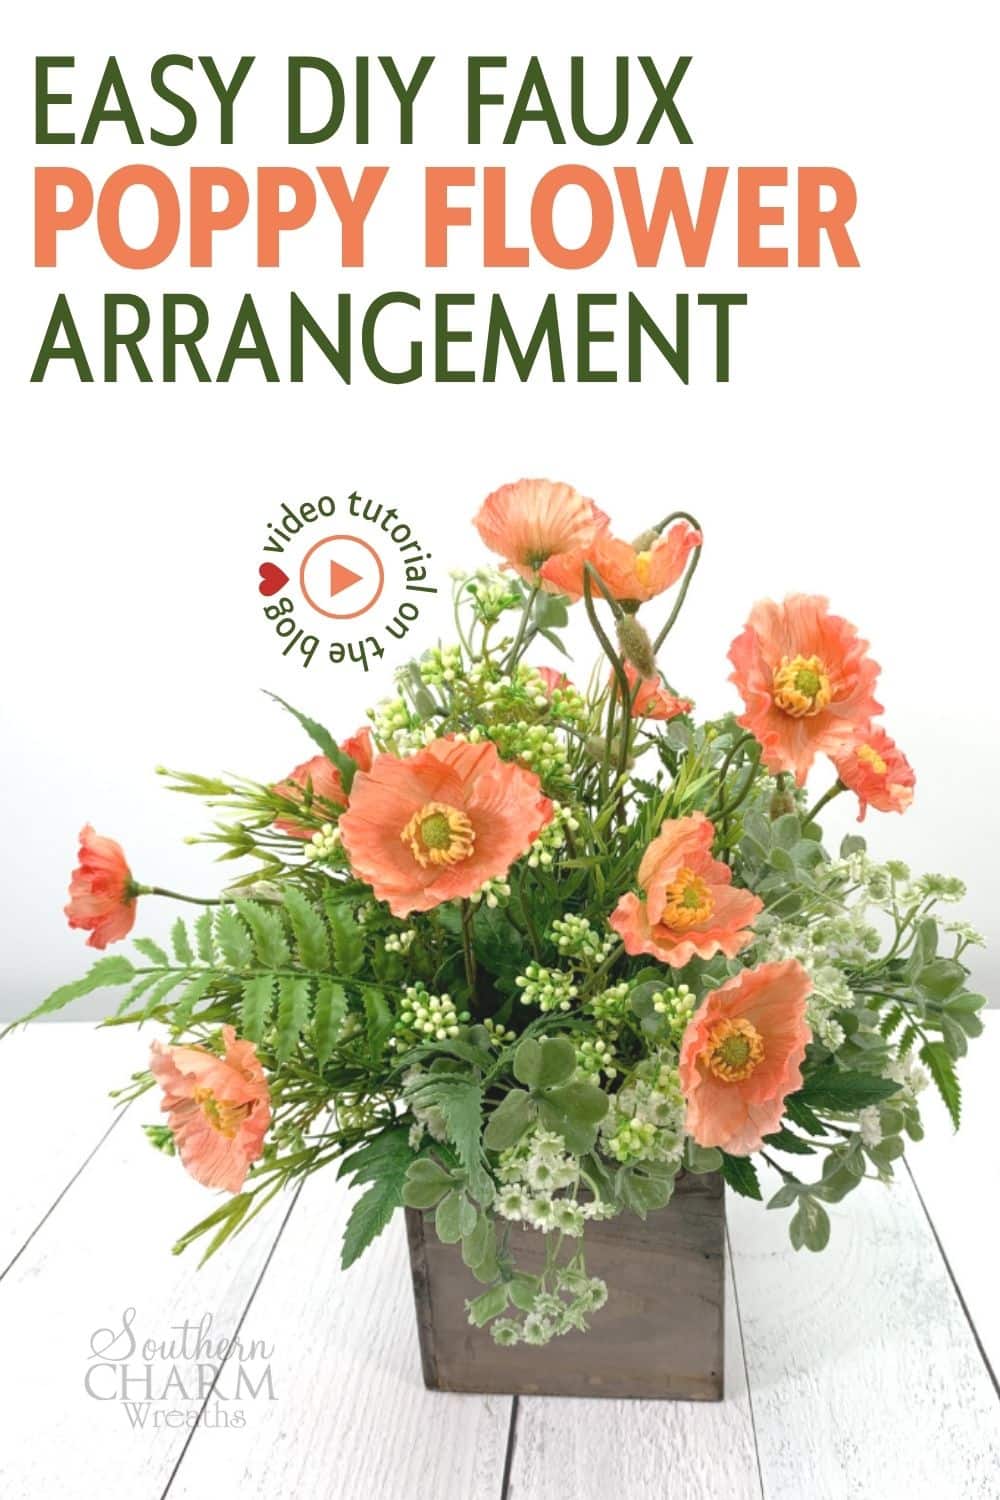
Looking for a DIY floral arrangement that works as a Mother’s Day gift, a table centerpiece, or a long-lasting home accent? This faux poppy arrangement uses silk flowers and faux greenery in a small wood container, so it stays looking fresh all season without any upkeep.

How to Make a Poppy Arrangement
In this tutorial, you’ll learn how to prep your foam base, trim and place silk poppies, and layer in greenery for a natural, garden-style look.
What You’ll Need
To make this faux poppy floral arrangement, gather the following supplies:
This post may contain affiliate links for your convenience. Click here to read my full disclosure policy.
- Wood container (5″x5″ recommended)
- Silk poppy stems
- Greenery
- Moss
- Floral Foam
- Wood Floral Picks
- Glue Sticks
- Glue Pan
New to preparing containers? See the full guide: How to Prep a Foam and Moss Container for Silk Flower Arrangements
Silk Flower Poppy Arrangement Step-by-Step Instructions
Step 1: Prep the Foam and Moss Container
Start by securing floral foam in your container and covering the top with faux moss. This creates the base that holds all your stems in place. A 5″x5″ wood box works well for this size arrangement.
For a full walkthrough of this step, see: Beginner’s Guide to Foam and Moss Containers
Step 2: Trim the Faux Poppies
Separate individual blooms from each poppy stem. Hold each bloom against your container to judge the height, then trim the floral pick to match.
Dip the bottom of each pick into warm glue and press it into the foam. Space the poppies around the container, leaving gaps between them. Those gaps are where you’ll layer in greenery next.
Step 3: Add Greenery
Cut faux greenery stems and glue them into the spaces between the poppies. Use vertical stems with minimal leaves so the poppies remain the focal point.
Mix in a variety of textures: fern fronds for length, clover for fullness, and small white buds for contrast. Variety in texture is what gives the arrangement a natural, gathered look.
Step 4: Fill In the Gaps
Continue adding greenery and small filler picks until there are no visible gaps in the foam. Step back and check the arrangement from multiple angles as you work.
No ribbon is needed here. The coral-orange poppies provide enough color contrast on their own against the wood container.
Watch The Video: Poppy Floral Arrangement
If you enjoyed this and want to learn more on how to get started with wreath making, try my Wreath Making 101 Workshop!

Thanks for joining me today in the wreath workshop! Comment below and tell me what’s your favorite part or let me know what I should make next!
Happy Wreathing,
Julie
Frequently Asked Questions
Can I use this arrangement as a centerpiece? Yes. The 5″x5″ wood container sits flat on a table and works well as a dining table or coffee table centerpiece.
What type of glue works best for silk flower arrangements? A glue pan with regular hot glue sticks gives you the most control. Avoid a standard glue gun for this, since you need to dip picks quickly.
How long will a faux poppy arrangement last? Since everything is silk and faux, this arrangement will last indefinitely. Keep it out of direct sunlight to prevent fading.
Can I make this to sell? Yes. This is a popular arrangement to sell at craft fairs, on Etsy, or as a custom gift. The supplies are affordable, and the finished arrangement photographs well.
Do I need prior experience with floral arranging? No. This tutorial is beginner-friendly. The main skills needed are basic trimming, gluing, and spacing.
More Floral Arrangement Ideas
If you enjoyed this faux poppy arrangement, then here are some more floral arrangement projects you will enjoy too.
- DIY Summer Silk Flower Arrangement For Beginners
- DIY Rustic Spring Silk Flower Arrangement
- How To Make a Mother’s Day Flower Arrangement in a Cup
Liked this Summer Poppy arrangement? Pin it for later!