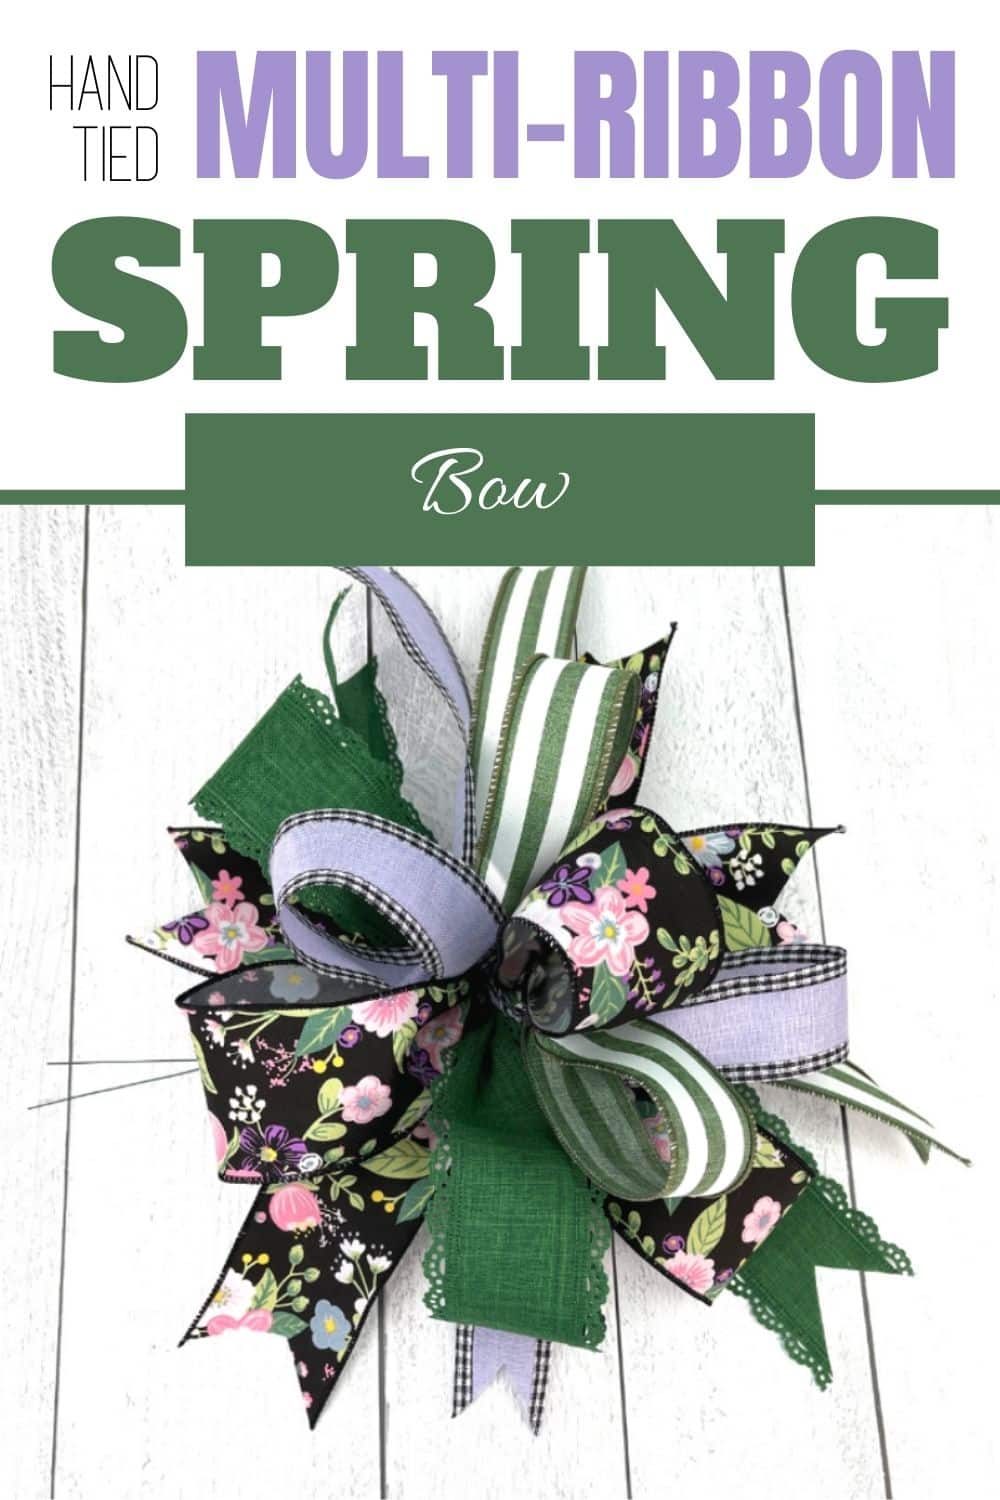
DIY Hand Tied Multi Ribbon Spring Bow
Discover how easy it is to create your very own DIY spring bow completely by hand. Hand tying bows is easier than you might think and the end result is absolutely stunning!
How To Make A Hand Tied Multi Ribbon Spring Bow
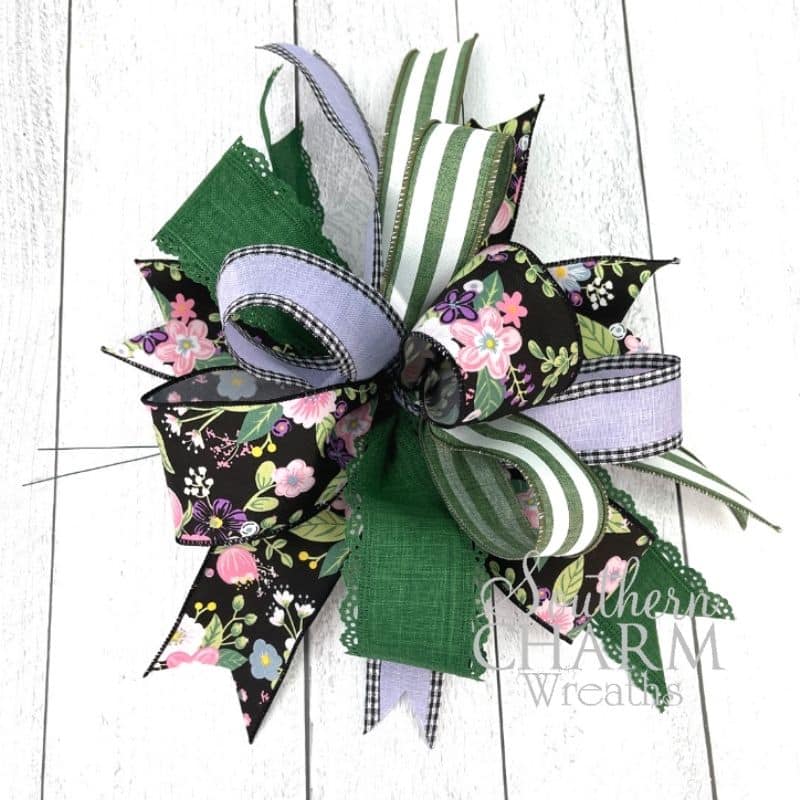
The best way to create interest in your wreaths is to attach a voluminous and showy bow as the focal point. Multi ribbon bows layer different sized ribbons and different patterns to create a fabulous look.
With a multi ribbon bow, you can incorporate all the different colors and patterns from your wreath in one place. It really ties everything together (pun intended).
Don’t be afraid to mix and match patterns – that’s the fun part of making a multi-ribbon bow. Stripes and dots go perfectly together!
This post may contain affiliate links for your convenience. Click here to read my full disclosure policy.

Supplies For This DIY Spring Bow Project
- 2 1/2″ Wired Ribbon
- 1 1/2″ Wired Ribbon
- 22-Gauge Florist Wire
How To Make A Spring Multi Ribbon Hand-Tied Bow
Step 1: Measure Out The Tail
Make the tail as long as you want it for this spring bow DIY. In my video, I made a 10″ tail. I used a measuring tape on my table, but you can also eyeball it.
When in doubt, make it longer than you think. That way, you can always trim it up later.
Step 2: Pinch The Top Of The Tail
Using your index finger and thumb in your non-dominant hand, pinch the top of the tail. This hand is where you will be holding all the ends of the loops, so that is why we use our non-dominant hand.
Step 3: Measure And Fold The Loops
Now you are ready to make your first loops. Just like with the tail, the exact measurements are not important. I measured 12″ of ribbon and folded it in half in my non-dominant hand, making a 6″ loop.
The way you twist the loops is very important. Twist the ribbon towards yourself as you bring it up to your hand. This will keep the print facing outward. Before you make the next loop, the pretty side of the ribbon should be facing forward (towards you).
Be creative and make as many loops as you want. I thought that two loops of the first ribbon were plenty. When you have enough loops, cut the ribbon off from the bolt. You don’t have to measure how long the tail is when you trim it.
Step 4: Repeat With Another 2.5″ Wired Ribbon
Do the exact same thing with another ribbon of the same width. Keep folding and twisting loops until you think you have enough loops.
As you keep making more loops, move the first part of the bow closer to your palm so that you can pinch the loops of the second ribbon with your index finger and thumb.
Remember: when you are creating a loop above your thumb, twist away from you. When you create a loop below your thumb, twist towards yourself.
Step 5: Layer With 1.5″ Ribbon Loops
Next, add a slightly thinner ribbon in a complementary color or pattern and repeat the same steps again.
To add more texture, choose a slightly smaller ribbon and make the loops a little smaller as well. I made two 6″ loops (measured 12″ of ribbon and folded in half) with a 1.5″ ribbon.
Loop them above and below your thumbs again and then combine them with the rest of the loops.
Keep repeating with as many smaller ribbons as you want.
Step 6: Add A Ribbon Streamer On The Back
Finish the look by adding a piece of the last ribbon you used as a streamer on the back. I added a 10″ streamer on the back and used the ribbon from the first set of loops.
Step 7: Secure DIY Spring Bow Together With Florist Wire
Twist a piece of 22-gauge florist wire around the middle of your loops so that it secures them together tightly into one gorgeous bow.
At this point, it is done! If you want to add a little finesse to it, you can dovetail the end of the tails, but that is totally up to you.
Watch The Video: Hand Tied Multi Ribbon Spring Bow
If you enjoyed this post, you might also like:
- DIY Multi Ribbon Football Bow
- Quick Christmas Bow Hack For Your Seasonal Wreaths
- How To Make A Bow With Two Pieces of Ribbon
Like this Post? Pin it for later!
Hi there, I have tried and tried can someone please help so I don’t miss out on the bow making event
Please contact us at [email protected] for assistance.
This is impossible for me. I have wasted so much ribbon and my hands ache. I finally just ordered the bow maker. Hopefully, I can do it with that.
Hey Rachel – I am sorry to hear about your hands. We do have a tutorial for the EZ Bow Maker that you may find helpful here:
https://southerncharmwreaths.com/review-how-to-use-the-ez-bow-maker/
Hey Julie. I have the hardest time with placing my loops once I get the bow done. Like you were say g about move one here, move one there l, if that makes sense.